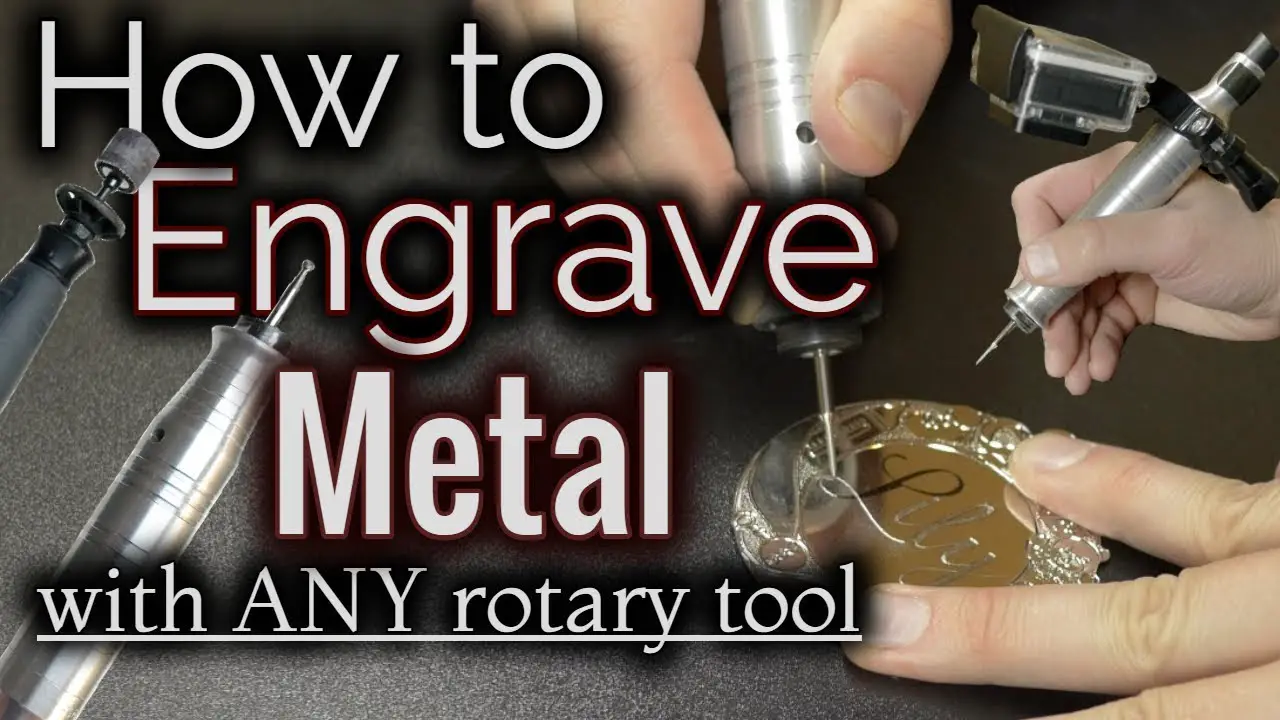
To engrave with a Dremel, secure the material, choose the right bit, and practice control. Engraving with a Dremel allows for precise and detailed designs on various materials such as wood, metal, or glass.
This versatile tool offers a creative outlet for personalizing items or creating unique artwork. With the right technique and practice, you can achieve professional-looking engravings that showcase your creativity and attention to detail.
We will explore the step-by-step process of how to engrave with a Dremel effectively, providing you with the guidance needed to master this skill and create stunning engraved projects.
Let’s delve into the world of Dremel engraving and unleash your artistic potential!
Contents
Introduction To Dremel Engraving
Discover the art of engraving with a Dremel tool, a versatile and powerful device. Learn how to create intricate designs on various materials using different Dremel attachments and techniques. Unlock your creativity and personalize your projects with precision and detail.
Benefits Of Using A Dremel For Engraving
Using a Dremel for engraving offers precise control and versatility. The small size of the Dremel tool allows for intricate designs.
Tools And Materials Needed
You will need a Dremel engraving tool, various engraving bits, a stable work surface, safety glasses, and your desired surface to engrave on.
Introduction to Dremel Engraving Dremel engraving is a versatile and precise way to create unique designs on various surfaces.
Choosing Your Dremel Tool
When it comes to engraving with a Dremel, selecting the right tool is crucial. Choosing Your Dremel Tool requires careful consideration of the various types available and the specific features that make them suitable for engraving tasks. Let’s explore the different options and features to help you make an informed decision.
Types Of Dremel Tools Suitable For Engraving
There are several types of Dremel tools that are well-suited for engraving. The Dremel rotary tool is a popular choice due to its versatility and precision. It allows for fine detailing and intricate designs, making it ideal for engraving on various materials such as wood, metal, glass, and plastic.
Another option to consider is the Dremel Stylo+, which is a lightweight and ergonomic tool specifically designed for delicate engraving work. Its pen-like design provides excellent control and maneuverability, making it a great choice for intricate engraving projects.
Selecting The Right Attachments And Bits
Once you have chosen the appropriate Dremel tool for your engraving needs, selecting the right attachments and bits is essential for achieving the desired results. The engraving bits come in various shapes and sizes, each designed for specific engraving techniques and materials.
For fine detailing and precision engraving, diamond-tipped bits are highly recommended. They are durable and capable of creating intricate designs on hard materials such as glass and metal.
Carbide bits, on the other hand, are suitable for engraving on softer materials like wood and plastic, providing versatility for a range of projects.
Preparation Steps
When it comes to engraving with a Dremel, preparation is key. Taking the time to properly set up your workspace and follow safety precautions can make all the difference in achieving a successful engraving project. In this section, we will go over the necessary preparation steps to take before beginning your engraving.
Setting Up Your Workspace
Before starting your engraving project, it is important to set up your workspace to ensure you have all the necessary tools and materials within reach.
Here are some steps to consider:
- Choose a well-lit area with good ventilation.
- Clear your workspace of any clutter or distractions.
- Place a non-slip mat or cloth under your work area to prevent slipping or movement.
- Gather all necessary tools and materials, such as your Dremel tool, engraving bits, and safety equipment.
Safety Precautions
Engraving with a Dremel can be dangerous if proper safety precautions are not taken. Here are some important safety tips to keep in mind:
- Wear eye protection, such as safety glasses or a face shield, to protect your eyes from flying debris.
- Wear a dust mask or respirator to prevent inhalation of dust or fumes.
- Wear gloves to protect your hands from the heat generated by the tool.
- Ensure your Dremel is properly grounded to prevent electrical shocks.
By following these preparation steps, you can ensure that your engraving project goes smoothly and safely. Remember to always take your time and work carefully to achieve the best results.
Design Basics And Techniques
When it comes to engraving with a Dremel, mastering the design basics and techniques is crucial for creating stunning and intricate designs.
Whether you’re a beginner or an experienced engraver, understanding the fundamentals of design and various techniques for different materials can elevate your engraving projects to the next level.
Fundamentals Of Design For Engraving
Before diving into engraving with a Dremel, it’s essential to grasp the fundamentals of design. This includes understanding the principles of composition, symmetry, and balance.
When creating a design, consider the spacing and placement of elements to ensure a visually appealing result. Sketching out your design on paper beforehand can help you plan the layout and proportions.
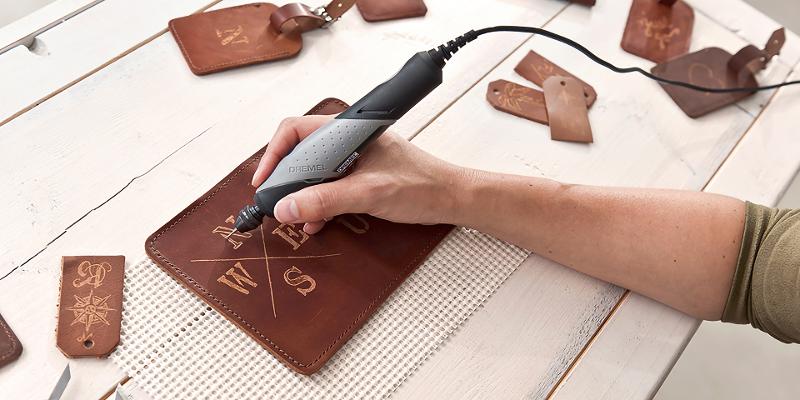
Techniques For Different Materials
Engraving with a Dremel allows for the customization of various materials, including wood, metal, glass, and plastic. Each material requires specific techniques to achieve optimal results.
For wood, adjusting the speed and depth of the Dremel’s engraving bit is crucial to prevent splintering. When engraving metal, using a lubricant can reduce friction and heat buildup, resulting in cleaner lines.
Glass engraving calls for delicate, light-handed movements to avoid chipping or cracking, while plastic engraving requires a steady hand and controlled pressure.
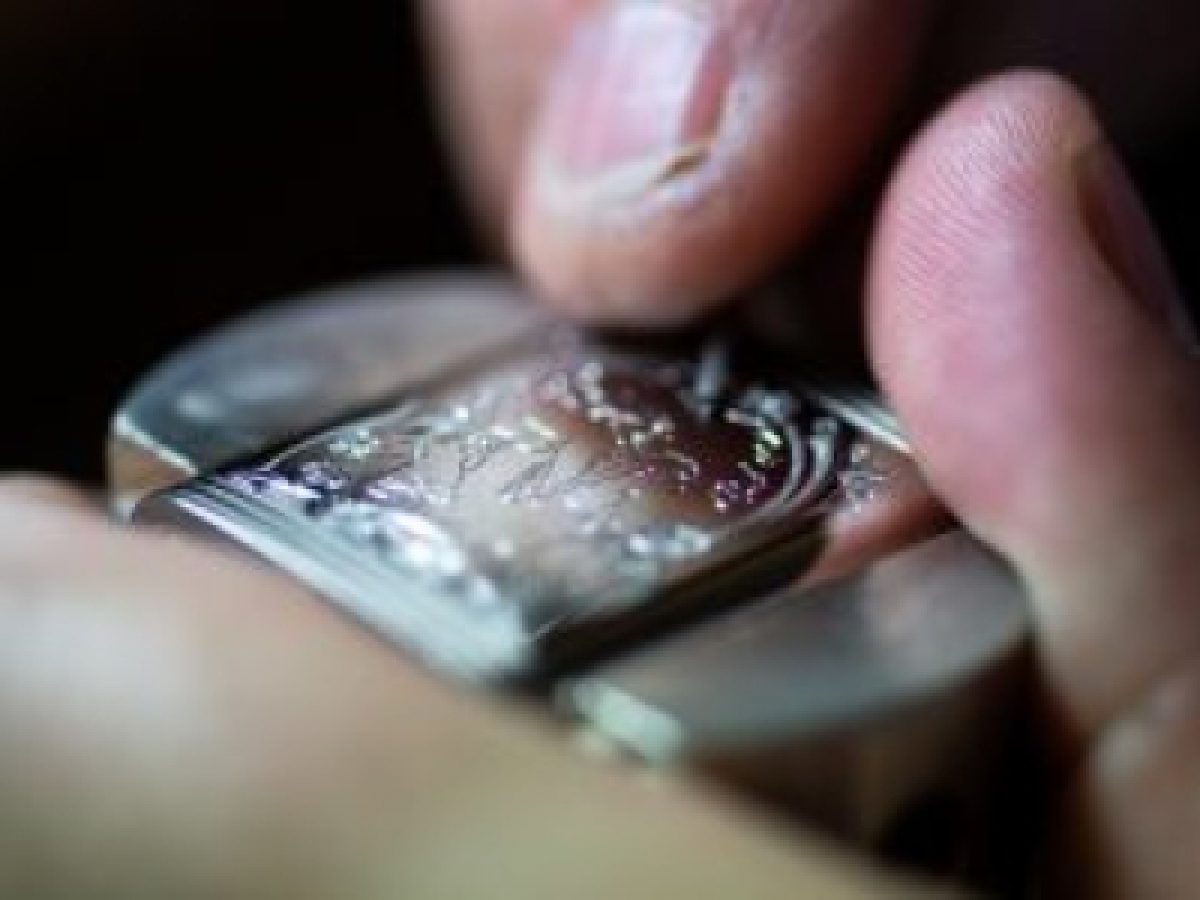
Step-by-step Engraving Process
Engraving with a Dremel is a versatile and creative way to add personalized designs to various surfaces. The step-by-step engraving process involves starting your project, using detailed engraving techniques, and achieving impressive results. Let’s delve into the intricacies of this process to create stunning engraved pieces with your Dremel tool.
Starting Your Project
Before diving into the engraving process, it’s crucial to gather the necessary materials. Ensure you have a Dremel rotary tool with the appropriate engraving bit, a stable work surface, and safety gear including goggles and a dust mask.
Once you have everything ready, you can proceed to prepare the surface you plan to engrave, whether it’s metal, wood, glass, or another material.
Detailed Engraving Techniques
To achieve precise and intricate designs, it’s essential to practice controlled movements with your Dremel tool. Begin by securing the workpiece firmly, then start by tracing your design lightly before gradually increasing the depth of the engraving.
Experiment with different speeds and pressures to understand how they affect the engraving process, and remember to take breaks to assess your progress and make any necessary adjustments.
Handling Common Challenges
Engraving with a Dremel can pose common challenges, but with the right techniques, you can overcome them easily. Using the appropriate speed and pressure, along with practicing on scrap materials, can help you achieve precise and clean engravings with your Dremel tool.
Troubleshooting Common Issues
If you’re new to engraving with a Dremel, you may encounter some issues along the way. One common problem is the tool slipping or jerking, which can ruin your design. To prevent this, make sure you have a steady grip on the tool and use a light touch.
Another issue is the bit getting stuck in the material. This can happen if you’re using too much pressure or not moving the tool smoothly. To fix this, stop the tool and gently twist the bit to release it.
Tips For Smooth Engraving
To ensure a smooth engraving experience, there are a few tips you can follow. First, make sure you have the right bit for the material you’re engraving.
A diamond-tipped bit is ideal for harder materials like glass or metal, while a high-speed cutter is better for softer materials like wood or plastic. Second, practice on a scrap piece of material before engraving your final design.
This will help you get a feel for the tool and prevent mistakes. Finally, take breaks if your hand starts to cramp or if you’re feeling fatigued. Engraving can be a time-consuming process, so it’s important to pace yourself.
Example Code For Engraving With A Dremel
If you’re still having trouble with your engraving, it may be helpful to see an example of the process.
Here is some sample code for engraving a simple design on a piece of wood:
1. Secure the wood in a vice or clamp to prevent it from moving.
2. Choose a high-speed cutter bit and insert it into the Dremel.
3. Turn on the tool and adjust the speed to a medium setting.
4. Begin engraving your design, using a light touch and steady hand.
5. Take breaks as needed and check your progress frequently.
6. When you’re finished, turn off the tool and remove the wood from the vice. With these tips and techniques, you should be able to handle any challenges that come up while engraving with a Dremel.
When it comes to engraving with a Dremel, the finishing touches are crucial to bringing out the beauty and detail of your work. In this section, we will explore the important steps of cleaning and polishing engraved items, as well as preserving your delicate creations.
Cleaning And Polishing Engraved Items
To ensure the brilliance of your engraved pieces, thorough cleaning and polishing are essential. Begin by using a soft-bristled brush to gently remove any debris from the engraved areas.
Next, apply a small amount of metal polish to a soft, clean cloth, and carefully buff the engraved surface in circular motions. This will help to remove any tarnish or oxidation, revealing the intricate details of your engraving.
Preserving Your Work
After completing the engraving process, it is important to take measures to preserve your work for the long term. Applying a protective coating is an effective way to safeguard the engraved item from tarnishing and scratching.
Consider using a clear lacquer or sealant specifically designed for the material you have engraved on. Ensure that the engraved item is completely dry before applying the protective coating, and follow the manufacturer’s instructions for the best results.
Advanced Projects And Ideas
Embark on more intricate projects with your Dremel by exploring Advanced Projects and Ideas.
Creative Engraving Ideas
Delve into Creative Engraving Ideas to personalize items like glassware and jewelry.
- Monogramming glass coasters
- Engraving intricate designs on metal pendants
- Personalizing wooden cutting boards
Expanding Your Skills With Complex Designs
Challenge yourself with more intricate patterns and designs to Expand Your Skills with Complex Designs.
- Engrave detailed floral motifs on wooden frames
- Create custom designs on leather wallets
- Personalize stone pendants with intricate patterns
Frequently Asked Questions
Can You Use A Dremel Tool To Engrave?
Yes, a Dremel tool can be used for engraving due to its precision and versatility.
How To Etch Metal With A Dremel?
To etch metal with a Dremel, secure metal piece, choose desired design, attach appropriate accessory, and carefully etch.
How Do You Manually Engrave?
To manually engrave, use a sharp tool to carve designs into the surface carefully. Start with a clean and flat work area, and practice good hand control for precise results. Remember to take breaks to avoid strain and maintain focus.
Can A Dremel Engraver Cut Metal?
Yes, a Dremel engraver can cut metal efficiently due to its high-speed rotary cutting capabilities.
Conclusion
Engraving with a Dremel can be a rewarding and creative endeavor. With the right tools, techniques, and practice, you can achieve impressive results on various materials.
Remember to prioritize safety, precision, and patience as you explore the endless possibilities of Dremel engraving. Enjoy the process and let your creativity shine!