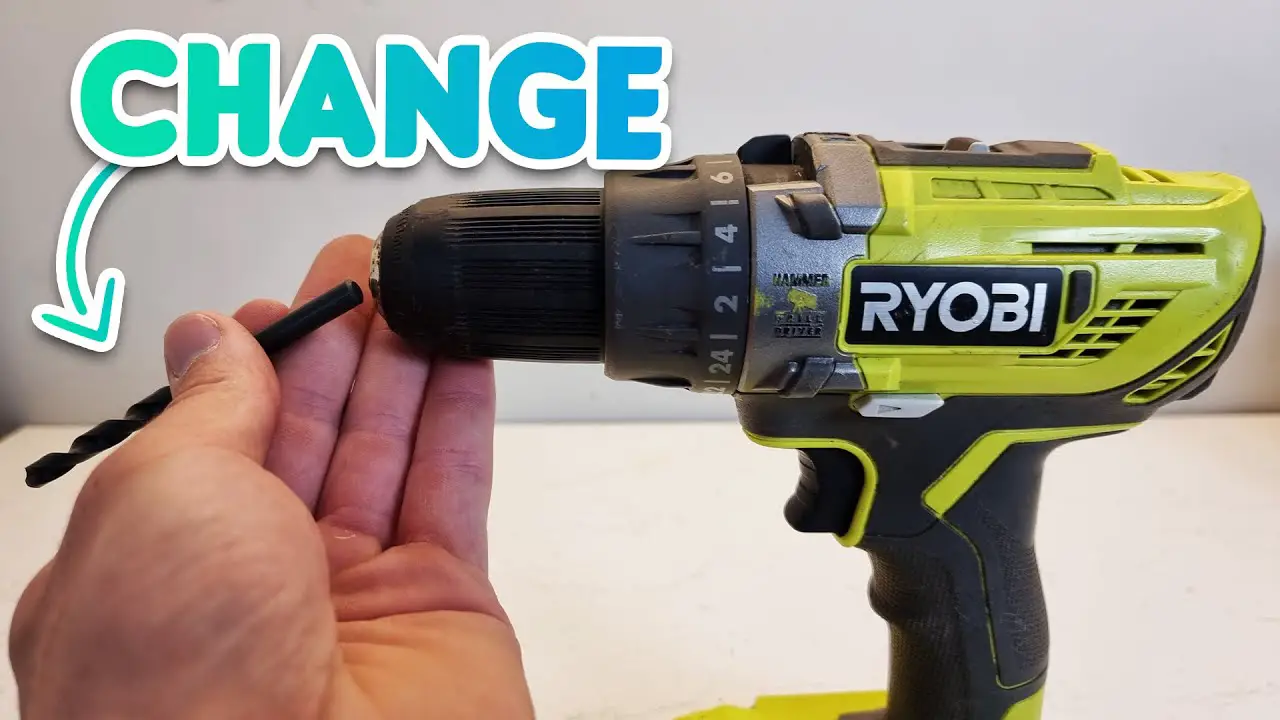
To change the bit on a Ryobi Drill, first, you need to release the current bit by rotating the chuck counterclockwise. Then insert the new bit and tighten the chuck by rotating it clockwise.
Changing the bit on a Ryobi Drill is a simple task that can be done in just a few steps. Whether you are a DIY enthusiast or a professional, knowing how to change the bit on your drill is essential.
It allows you to switch between different types of bits, such as drill bits or screwdriver bits, and to adapt to different materials and tasks.
We will guide you through the process of changing the bit on a Ryobi Drill, step by step. By the end of this article, you will be ready to tackle any drilling or driving challenge with ease.
Contents
Introduction To Ryobi Drills
Ryobi power tools are known for their quality and reliability. Among their range of tools, Ryobi drills stand out for their versatility and user-friendly design.
Whether you are a seasoned professional or a DIY enthusiast, a Ryobi drill can be a valuable addition to your toolkit.
The Popularity Of Ryobi Power Tools
Ryobi power tools are popular among consumers due to their durability and performance. With a wide selection of tools available, Ryobi has established itself as a trusted brand in the power tool industry.
Safety First: Preparing To Change The Bit
Before changing the bit on your Ryobi drill, make sure to follow these safety precautions:
- Turn off the drill and unplug it from the power source.
- Wear protective gloves and safety goggles to prevent injuries.
- Inspect the drill for any damage before proceeding.
By taking these safety measures, you can ensure a safe and hassle-free bit changing process for your Ryobi drill.
Identifying Your Ryobi Drill Model
Why Model Matters?
Knowing your Ryobi drill model is crucial for selecting the correct replacement parts.
Common Ryobi Drill Models
Below are some popular Ryobi drill models:
- Ryobi P2080
- Ryobi P271
- Ryobi P252
Types Of Drill Bits
Drill bits come in a variety of shapes and sizes, each designed for specific tasks. Understanding the different types of drill bits and their applications is essential for achieving the best results for your drilling projects.
Standard Bit Selection
When it comes to standard bit selection, there are several common types of drill bits that are suitable for general drilling tasks. These include:
- Twist Bits: These are the most common and versatile type of drill bits, suitable for drilling into wood, plastic, and light metals.
- Brad Point Bits: Ideal for woodworking, these bits have a sharp center point for precise drilling.
- Spade Bits: Designed for drilling larger holes in wood, these bits have a flat, spade-shaped tip.
- Auger Bits: With a screw-like design, these bits are ideal for drilling deep holes in wood.
- Masonry Bits: Featuring a carbide tip, these bits are specifically designed for drilling into concrete, brick, and stone.
Specialized Bits For Specific Tasks
For more specialized tasks, there are specific types of drill bits that cater to unique drilling needs. Some of these specialized bits include:
- Forstner Bits: Perfect for creating flat-bottomed holes, these bits are commonly used in woodworking for dowel holes and pocket holes.
- Tile Bits: Featuring a carbide or diamond tip, these bits are designed specifically for drilling through ceramic or porcelain tiles.
- Step Bits: Also known as cone bits, these are ideal for drilling multiple-sized holes in thin materials such as sheet metal and plastic.
- Countersink Bits: These bits are used to create a conical recess for screws, ensuring a flush finish when fastening materials together.
- Reamer Bits: Perfect for enlarging existing holes with precision, reamer bits are commonly used in metalworking and woodworking.

Tools You’ll Need
When it comes to changing the bit on a Ryobi drill, having the right tools is essential for a smooth and hassle-free process.
Before you begin, it’s important to gather the essentials and consider optional accessories that can make the bit change even easier.
Let’s explore the tools you’ll need and optional accessories for a seamless bit change experience.
Gathering The Essentials
Before starting the bit change process, make sure you have the following essential tools at hand:
- Ryobi Drill: The drill itself is, of course, the key tool for the job.
- New Drill Bit: Ensure you have the correct replacement bit for the task at hand.
- Chuck Key or Keyless Chuck: Depending on the type of chuck on your Ryobi drill, you’ll need the appropriate tool to loosen the chuck and remove the old bit.
Optional Accessories For Easier Bit Change
While not essential, the following accessories can significantly streamline the bit change process:
- Magnetic Bit Holder: A magnetic bit holder can help keep the new bit in place during installation, especially for smaller drill bits.
- Quick-Change Chuck: This accessory allows for rapid bit changes without the need for a chuck key, saving time and effort.
- Drill Bit Set: Having a set of drill bits in various sizes can ensure you always have the right bit for the job without needing to stop and find a suitable replacement.
Step-by-step Bit Removal
When it comes to using a Ryobi drill, changing the bit is a fundamental skill that every DIY enthusiast or professional should master. The process of removing a bit from a Ryobi drill is simple and straightforward when you follow the step-by-step procedure.
In this guide, we will walk you through the process of bit removal, ensuring that you can effortlessly switch between different drill bits for your various projects.
Loosening The Chuck
To begin the bit removal process, you must first loosen the chuck of your Ryobi drill. Ensure that the drill is turned off and the battery is removed before proceeding. Hold the chuck firmly and rotate it counterclockwise to open the jaws. This will release the grip on the bit and allow for easy removal.
Extracting The Old Bit
Once the chuck is loosened, carefully extract the old bit from the drill. Hold the chuck with one hand and use your other hand to pull the bit straight out of the chuck. Be cautious not to force the bit, as it may be tightly secured.
Gently wiggle the bit if necessary to free it from the chuck’s grip. Once the bit is removed, inspect the chuck to ensure there are no remaining metal shavings or debris.
Inserting The New Bit
Inserting the new bit into your Ryobi drill is a simple process that can greatly impact the efficiency of your drilling tasks. Proper alignment and securing of the bit are crucial for safety and optimal performance.
Aligning The Bit Properly
Before inserting the new bit, ensure that the drill is turned off and the battery is removed for safety. Hold the drill with one hand and locate the chuck key with the other.
Insert the chuck key into the hole on the side of the chuck and tighten it securely. This will loosen the chuck, allowing you to insert the new bit.
Securing The Bit In Place
Once the chuck is loosened, insert the new bit into the chuck, ensuring that it is straight and aligned with the jaws of the chuck. Hold the bit firmly in place and tighten the chuck using the chuck key.
Rotate the chuck key clockwise to secure the bit firmly in place. Ensure that the bit is held securely and does not wobble when the chuck is tightened.
Testing The New Setup
To change the bit on a Ryobi drill, start by switching off the drill and unplugging it from the power source. Press the chuck release button and twist the chuck counterclockwise to loosen it.
Insert the new bit and twist the chuck clockwise to tighten it. Finally, test the new setup by drilling a small hole in a piece of scrap wood.
Conducting A Safety Check
Before proceeding with testing the new setup, ensure to conduct a safety check. Safety Checklist: – Wear protective gear such as goggles and gloves. – Inspect the drill for any damages or loose parts. – Ensure the drill is turned off before changing the bit.
Performing A Test Drill
Now it’s time to perform a test drill with the new bit to ensure proper functionality. Steps for Test Drill:
1. Insert the new bit securely into the chuck.
2. Tighten the chuck using the chuck key or by hand.
3. Power on the drill and select the appropriate speed setting.
4. Position the drill tip on the desired surface.
5. Engage the trigger gradually to start drilling. By following these steps, you can effectively test the new setup of your Ryobi drill with the changed bit.
Maintenance And Care
To change the bit on a Ryobi drill, first, ensure the drill is turned off and unplugged. Use the chuck key to loosen the chuck, then insert the new bit and tighten securely. Remember to wear protective gear for safety.
Cleaning The Chuck
To clean the chuck, wipe it with a clean cloth. Avoid using harsh chemicals.
Storing Your Ryobi Drill And Bits
Store the drill and bits in a cool, dry place away from moisture. Remember to clean the chuck and store your drill in a dry place to keep it in good condition.
Troubleshooting Common Issues
When changing the bit on your Ryobi drill, you may encounter a few common issues that can hinder the process. Understanding how to troubleshoot these issues can save you time and frustration.
Here are some common problems you might encounter when changing the bit on your Ryobi drill and how to address them:
Bit Won’t Fit
If you find that the bit won’t fit into the chuck of your Ryobi drill, there are a few potential causes to consider:
- The bit is not the correct size for the chuck.
- The chuck may be damaged or dirty, preventing the bit from fitting properly.
Chuck Is Stuck
Encountering a stuck chuck can be frustrating, but there are some simple troubleshooting steps you can take to address this issue:
- Ensure that the drill is turned off and unplugged.
- Try applying some lubricant to the chuck to help loosen it.
- If the chuck is still stuck, consult the drill’s manual for specific instructions on how to address this issue.
Advanced Tips And Tricks
Improving Bit Grip
For better grip, clean the chuck regularly and use a magnetic bit holder.
Extending The Life Of Your Drill Bits
Keep bits cool by dipping them in water while drilling and store them in a dry place.
Mastering Bit Changes
To master bit changes on a Ryobi drill, start by ensuring the drill is turned off and then pressing the spindle lock button.
Next, loosen the chuck by turning it counterclockwise, remove the old bit, insert the new one, and tighten the chuck by turning it clockwise. This simple process will have you changing bits with ease.
Recap Of Steps
To master bit changes on your Ryobi Drill, follow these simple steps:
- Ensure the drill is turned off and unplugged before changing the bit.
- Loosen the chuck by turning it counter-clockwise with your hand.
- Insert the new bit and tighten the chuck by turning it clockwise with your hand.
- Use a chuck key to tighten the chuck further if necessary.
- Test the new bit by turning the drill on and off to ensure it is securely in place.
Benefits Of Skillful Bit Changes
Changing the bit on your Ryobi Drill may seem like a small task, but it can make a big difference in the quality and efficiency of your work. Skillful bit changes can:
- Save time by allowing you to quickly switch between different bits for different tasks.
- Improve accuracy by ensuring the bit is securely in place and won’t slip or wobble during use.
- Extend the life of your drill by preventing damage to the chuck and bit.
- Provide a safer work environment by reducing the risk of accidents caused by loose or improperly secured bits.
Now that you know the steps to change the bit on your Ryobi Drill and the benefits of mastering this skill, you can confidently tackle any drilling task with ease and efficiency.

Frequently Asked Questions
How To Change Drill Bit In Ryobi Drill?
To change drill bit in Ryobi drill, follow these steps:
1. Unplug the drill for safety.
2. Rotate the chuck counterclockwise to open.
3. Remove the old bit.
4. Insert the new bit.
5. Tighten the chuck clockwise.
How To Remove Drill Bit From Ryobi Impact Driver?
To remove a drill bit from a Ryobi impact driver, hold the chuck firmly and turn it counterclockwise. Pull out the bit once it is loose.
How Do You Change A Drill Bit On A Drill?
To change a drill bit on a drill, first, unplug the drill for safety. Then, loosen the chuck to remove the old bit.
Insert the new bit and tighten the chuck securely. Finally, test the drill to ensure the bit is properly secured.
How To Unlock Ryobi Drill Chuck?
To unlock a Ryobi drill chuck, hold the drill firmly and rotate the chuck counterclockwise. Use a chuck key if necessary.
Conclusion
Changing the bit on your Ryobi drill is a simple task that enhances your DIY projects. Following the step-by-step guide ensures a smooth process.
Proper maintenance of your tools leads to efficient work and longevity. Take care of your equipment for optimal performance and enjoy hassle-free drilling experiences.