To take a screw out of a Ryobi Drill, use the appropriate screwdriver size and turn counterclockwise. Make sure to securely hold the drill to prevent any damage.
Taking screws out of a Ryobi Drill is a simple process that can be done efficiently with the right tools and technique. By following a few easy steps, you can safely remove the screw and continue using your drill as needed.
Whether you are replacing a part or performing maintenance, knowing how to remove screws from your Ryobi Drill is a valuable skill for any DIY enthusiast or professional.
Contents
Introduction To Ryobi Drills
To take a screw out of Ryobi Drill, first, make sure it’s unplugged. Then, hold the chuck firmly and turn the drill clockwise to loosen the screw. Finally, remove the screw by pulling it out of the chuck.
The Popularity Of Diy Projects
DIY projects have gained immense popularity due to the satisfaction and cost-effectiveness they offer.
People are increasingly taking on home improvement tasks, making power tools an essential part of their arsenal.
Ryobi Drills In The Market
Ryobi is a well-known brand in the power tools market, offering a wide range of drills suitable for various applications.
With their focus on innovation and user-friendly designs, Ryobi drills have become a top choice for DIY enthusiasts and professionals alike.
Preparation For Screw Removal
Prepare to remove a screw from a Ryobi drill by selecting the correct screwdriver size. Align the driver with the screw head and apply steady pressure while turning counterclockwise to safely extract the screw.
Gather The Necessary Tools
Gather the required tools before starting the screw removal process.
- Ryobi drill
- Screwdriver
- Protective gloves
- Safety goggles
Safety Measures Before Starting
Ensure safety precautions are in place before attempting to remove the screw.
- Wear protective gloves and goggles.
- Ensure the drill is turned off.
- Secure the workpiece to prevent movement.
Identifying The Screw Type
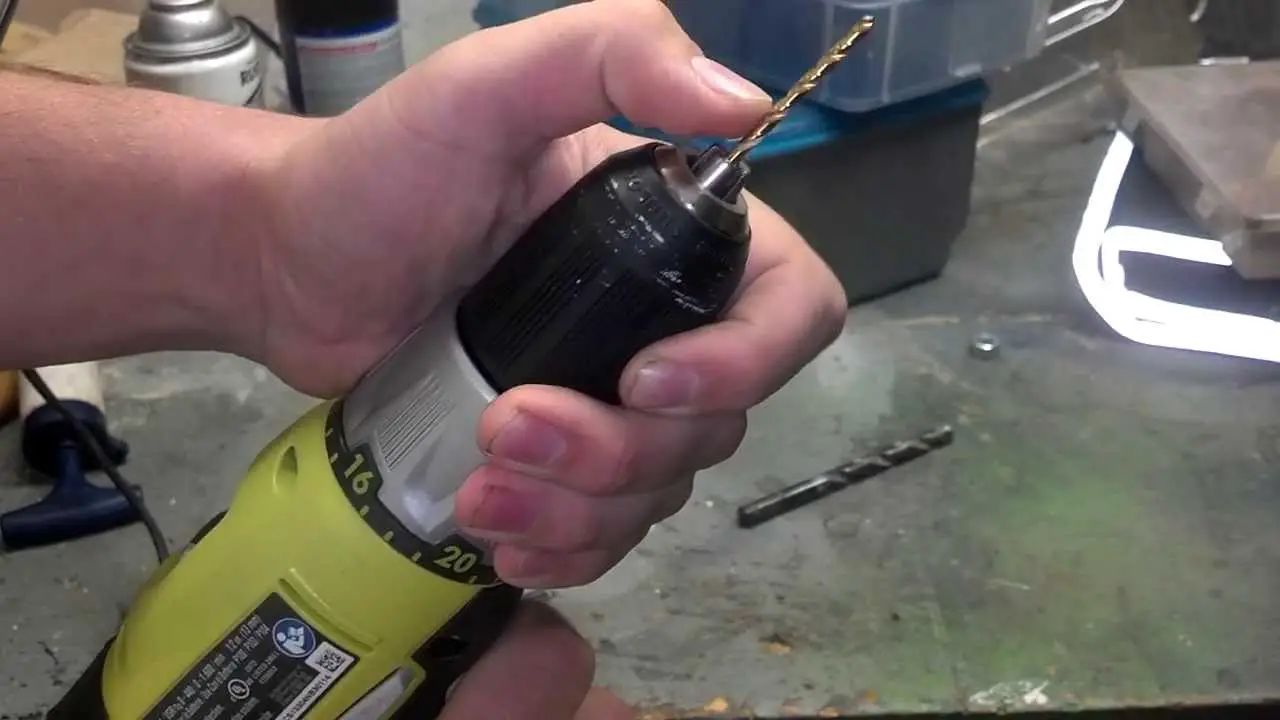
Identifying the screw type is the first step in successfully removing a screw from your Ryobi drill. Different types of screws require different tools, so it’s important to know exactly what you’re dealing with before you start. Let’s take a look at the common screw heads and how to select the right bit for the job.
Common Screw Heads
There are several common screw heads that you might encounter when working with a Ryobi drill. These include:
- Flathead screws
- Phillips head screws
- Torx screws
- Hex screws
- Square drive screws
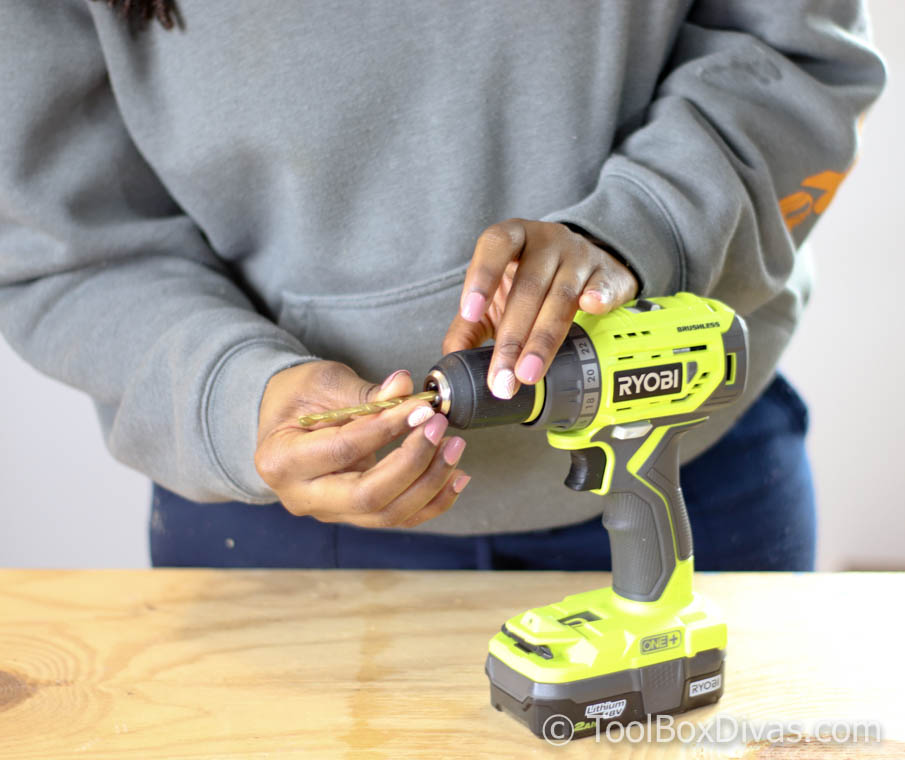
Selecting The Right Bit
Once you’ve identified the type of screw you’re dealing with, it’s time to select the right bit for your Ryobi drill. Each type of screw head requires a corresponding bit, so it’s important to match them up correctly to avoid damaging the screw or the drill. Make sure to choose the correct bit size and type, ensuring a secure fit before attempting to remove the screw.
Setting Up The Ryobi Drill
Setting up the Ryobi Drill is the first step in utilizing its full potential. Properly adjusting the torque, understanding the forward/reverse function, and familiarizing yourself with its key components are essential for smooth operation.
Adjusting The Torque
To adjust the torque on your Ryobi drill, locate the torque adjustment collar just behind the chuck. Turn the collar to the desired setting based on the material and task at hand. Higher torque settings are suitable for tougher materials, while lower torque settings are ideal for delicate jobs.
Forward/reverse Function
The forward/reverse function on the Ryobi drill is a crucial feature. Use the switch located above the trigger to easily change between forward and reverse modes. This functionality is particularly useful when driving screws or removing them from surfaces.
Technique For Screw Extraction
When it comes to removing a stubborn screw from your Ryobi drill, having the right technique for screw extraction is crucial. With the correct approach, you can avoid damaging the screw or the drill and make the process much smoother. Here are some essential tips for extracting a screw from your Ryobi drill.
The Optimal Speed Setting
Choose the optimal speed setting on your drill to match the size and material of the screw. For larger screws or those embedded in tough materials, use a lower speed setting to prevent stripping the screw head.
Conversely, for smaller screws or softer materials, a higher speed setting can help loosen the screw without causing damage.
Applying Pressure Correctly
When removing a screw from your Ryobi drill, apply pressure correctly by holding the drill steady and applying firm but controlled force in a straight line. Avoid tilting the drill or applying excessive force, as this can lead to slippage and potential damage to the screw head or the drill itself.
Troubleshooting Challenges
When it comes to dealing with the challenges of removing screws from a Ryobi drill, a few troubleshooting techniques can come in handy. Whether you’re dealing with stripped screws or ones that simply won’t budge, understanding how to navigate these obstacles can save you time and frustration.
Dealing With Stripped Screws
If you encounter stripped screws while trying to take them out of your Ryobi drill, there are a few strategies you can employ. One effective method involves using a rubber band to fill in the gaps and provide extra grip.
Another approach is to carefully drill a small indentation into the head of the screw, allowing the screwdriver to gain better traction.
When The Screw Won’t Budge?
If you find yourself in a situation where the screw simply refuses to budge, consider applying a penetrating oil to help loosen it.
Additionally, using a heat gun or hairdryer to warm the screw can expand the metal and make it easier to remove. If all else fails, using a screw extractor tool might be necessary to grip and remove the stubborn screw.
Maintenance Tips For Ryobi Drills
To remove a screw from your Ryobi drill, ensure the drill is turned off. Use a compatible screwdriver bit and insert it into the screw head, turning counterclockwise to loosen and remove the screw effortlessly. Regularly inspect and clean the drill to maintain optimal performance.
Regular Cleaning
Regular cleaning of your Ryobi drill is essential to maintain its performance and longevity. Use a soft cloth to wipe away dust and debris.
Inspect the chuck for any dirt or residue and clean it with a brush. Keep the vents clear to prevent overheating.
Proper Storage
Proper storage is key to protecting your Ryobi drill when not in use. Store it in a dry place away from moisture to prevent rust.
Use a case or pouch to shield it from dust and impacts. Keep it in a secure spot to avoid accidental damage.
Upgrading Your Ryobi Experience
Accessory Recommendations
Enhance your Ryobi drill by exploring a range of accessories that can take your drilling experience to the next level.
From high-quality drill bits to ergonomic handles, upgrading your accessories can greatly improve the efficiency and precision of your work. By investing in the right accessories, you can make your Ryobi drill a versatile tool for various applications.
Advanced Features And How To Use Them
Unleash the full potential of your Ryobi drill by understanding and utilizing its advanced features. From variable speed settings to precision control, familiarize yourself with the advanced capabilities of your drill to achieve professional-grade results.
Learn how to effectively use the clutch settings, LED work light, and other advanced features to maximize your drilling experience.
Frequently Asked Questions
How To Remove Screw Bit From Ryobi Drill?
To remove a screw bit from a Ryobi drill, hold the chuck and turn it counterclockwise. The bit will then easily come out.
How To Unlock Ryobi Screw Driver?
To unlock a Ryobi screwdriver, locate the directional switch and change the rotation direction as needed.
How To Remove Screws With A Power Drill?
To remove screws with a power drill, follow these steps:
1. Select the appropriate drill bit.
2. Secure the screwdriver bit into the drill.
3. Place the bit into the screw head.
4. Apply steady pressure and turn the drill clockwise.
5. Once the screw is loose, use a manual screwdriver to remove it completely.
How Do You Get A Screw Bit Out Of A Drill?
Use a pair of pliers to grip the bit firmly. Then, rotate the bit counterclockwise to remove it from the drill.
Conclusion
Removing a screw from a Ryobi drill is a simple task with the right tools and techniques. By following the steps outlined in this guide, you can easily disassemble your drill for maintenance or repair. Remember to work carefully to avoid any damage.