To install a PVC repair coupling, you will need to cut the damaged section of the PVC pipe, clean the pipe ends, apply PVC primer and glue to the coupling and pipe ends, and then join the coupling with the pipe ends. This process will provide a secure and leak-free connection for your PVC repair.
Welcome to our guide on how to install a PVC repair coupling. Whether you’re a professional plumber or a DIY enthusiast, knowing how to install a PVC repair coupling can save you time and money when fixing damaged PVC pipes.
In this guide, we’ll walk you through the step-by-step process of installing a PVC repair coupling, so you can confidently restore your broken pipes without the need for expensive replacements. By following these simple instructions, you’ll be able to repair your PVC pipes quickly and effectively. Let’s get started!
Contents
Prepare The Pipe And Fitting
To install a PVC repair coupling, begin by preparing the pipe and fitting. Clean the ends of the pipes, removing any burrs or debris. Then, ensure the repair coupling fits snugly over the ends and secure it in place with solvent cement.
Clean The Pipe And Fitting
To ensure a proper installation, it’s important to start by cleaning the pipe and fitting thoroughly. Use a clean cloth or rag to wipe away any dirt, debris, or moisture from both the pipe and the fitting. This will help create a secure and leak-proof connection.
Measure And Mark The Pipe
Next, it’s crucial to measure and mark the pipe accurately. Carefully take measurements from the end of the pipe to determine the length needed for the installation. Use a measuring tape or ruler for precise measurements.
Mark the pipe using a permanent marker or a piece of chalk to ensure accuracy during the installation process. This will help guide you when cutting the pipe and ensure a proper fit for the repair coupling.
Now that we have cleaned the pipe and fitting and measured and marked the pipe, we are ready to proceed with the installation process. By following these steps, you can ensure a successful and reliable installation of a PVC repair coupling.
Apply PVC Primer And Cement
To properly install a PVC repair coupling, it is essential to apply PVC primer and cement.
Apply Pvc Primer
Using a clean brush, apply PVC primer to the outside of the pipe end
Ensure that you cover the entire area that will be connected
Let the primer dry completely before proceeding to the next step
Apply Pvc Cement
Apply PVC cement to the same area where the primer was applied
Coat the pipe end and the inside of the coupling with the cement
Quickly twist the coupling onto the pipe to ensure a secure bond
Connect The Pipe And Fitting
When it comes to connecting the pipe and fitting of a PVC repair coupling, there are specific steps you need to follow to ensure a secure and reliable connection.
Properly connecting the pipe and fitting is crucial to prevent leaks and maintain the integrity of the plumbing system. In this section, we will cover the essential steps to connect the pipe and fitting using a PVC repair coupling.
Slide The Coupling Onto The Pipe
Before connecting the pipe and fitting, make sure to slide the PVC repair coupling onto the damaged area of the pipe. This ensures that the coupling is in position and ready to be secured in place once the pipe and fitting are joined.
Insert The Pipe Into The Fitting
Once the PVC repair coupling is in place, carefully insert the pipe into the fitting. Ensure that the pipe is inserted fully into the fitting to create a tight and secure connection.
Proper insertion of the pipe into the fitting is critical to prevent any potential leaks and maintain the structural integrity of the plumbing system.
Secure And Finish The Connection
Once you have positioned the PVC repair coupling over the damaged section, it’s time to secure and finish the connection to ensure a lasting solution.
Tighten The Coupling
Turn the metal clamps or tightening mechanisms clockwise until the coupling feels snug against the PVC piping.
Wipe Off Excess Cement
- Use a clean cloth or paper towel to wipe off any excess PVC cement that may have squeezed out around the edges of the repair coupling.
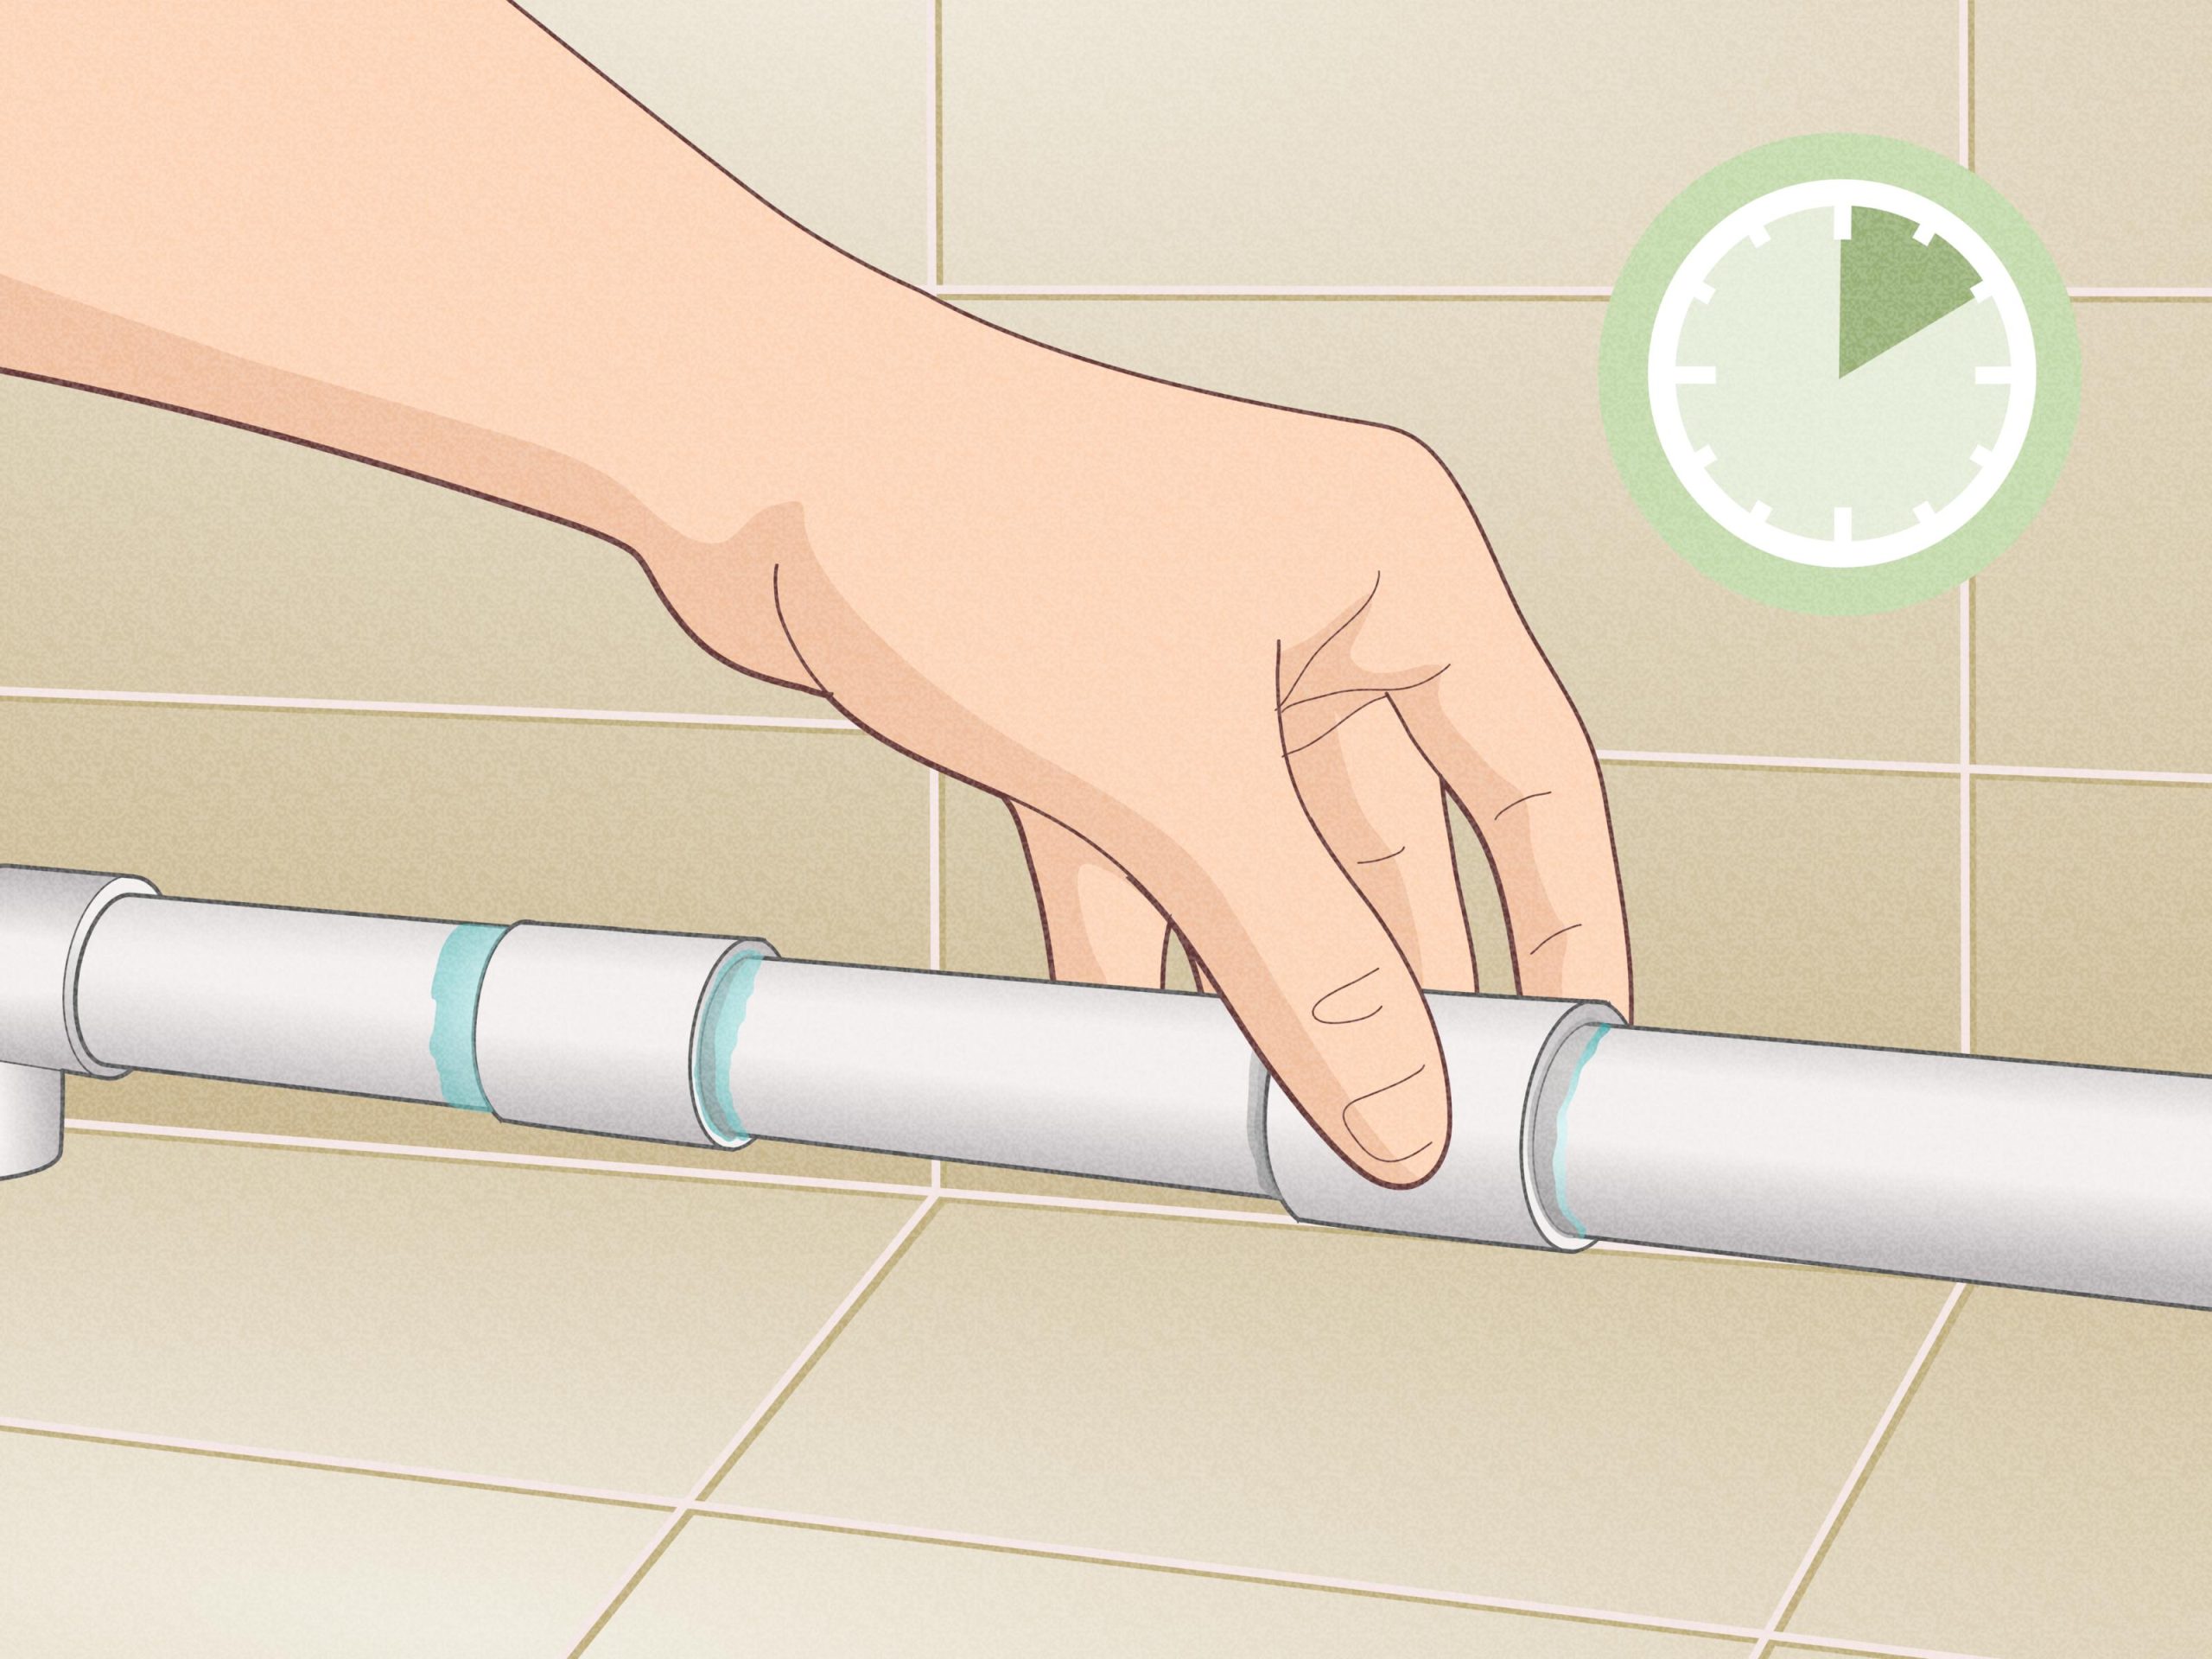
Allow The Connection To Cure
- Give the PVC cement adequate time to set and cure according to the manufacturer’s instructions.
- Refrain from applying any pressure or stress to the repaired section until the connection is fully cured.
Test The Repair
Once you have successfully installed the PVC repair coupling, it is crucial to test it to ensure that the repair has been done effectively.
Testing the repair will help you identify any potential leaks and make necessary adjustments as needed. Follow the steps below to properly test the repair.
Check For Leaks
The first step in testing the repair is checking for any leaks. Leaks can occur due to improper installation or damage to the pipe.
To check for leaks, follow these simple steps:
- Turn off the main water supply
- Wipe the repair area and surrounding pipes with a dry cloth or paper towel
- Turn on the water supply and observe the repair area closely
- Look for any signs of dripping or water escaping from the coupling
- If you notice any leaks, tighten the connections or reposition the repair coupling as necessary
Run Water Through The Pipe
After checking for leaks and making necessary adjustments, the next step is to run water through the pipe to ensure that the repair holds up under normal usage conditions.
Follow these steps:
- Gradually turn on the water supply
- Monitor the repaired section closely as the water flows
- Observe for any signs of leakage or water spraying from the repair area
- If you notice any issues, turn off the water supply and make further adjustments
- If there are no leaks and the water flows smoothly, the repair has been successfully tested
Testing the repair is an essential step in the installation process of a PVC repair coupling. It allows you to identify and rectify any potential issues, ensuring a reliable and long-lasting repair.
By following these simple steps, you can have confidence in the repair and peace of mind that your plumbing system is in good condition.
Frequently Asked Questions For How To Install A Pvc Repair Coupling
What Is The Difference Between A Coupling And A Repair Coupling?
A coupling connects two pipes while a repair coupling fixes a broken pipe section.
How Do You Install Pvc Compression Coupling?
To install a PVC compression coupling, cut the PVC pipe, slip on the compression nut, and tighten the coupling onto the pipe ends.
Ensure a secure connection for optimal performance. Apply PVC cement for leak-proof joints. Finally, check for any leaks to confirm a successful installation.
How Do You Cement A Pvc Slip Coupling?
To cement a PVC slip coupling, start by cleaning the joint surface. Apply PVC primer and then PVC cement to the outside of the pipe and inside of the coupling.
Quickly slide the coupling onto the pipe and hold it in place for a few seconds to ensure a strong bond.
How Do You Connect Pvc Pipe Coupling?
To connect PVC pipe coupling, apply primer or cleaner to both pipe ends, then add glue evenly. Push the coupling onto the pipes and twist to spread the adhesive. Hold in place for 30 seconds to set.
Conclusion
Incorporating a PVC repair coupling is a straightforward solution for fixing leaks quickly. Follow the simple steps mentioned above to successfully install a PVC repair coupling without any hassles.
Ensure proper measurements and secure fittings for a durable and effective repair. Get started on your repair project today!