
To change the blade on a Ryobi table saw, first, unplug the saw for safety. Then, raise the blade and use the wrench to loosen and remove the arbor nut.
Carefully swap out the blade, making sure it’s facing the correct way, and re-tighten the arbor nut. Lower the blade and plug the saw back in before testing the new blade.
Remember to always prioritize safety when working with power tools. Now, let’s dive deeper into the steps for changing the blade on a Ryobi table saw to ensure smooth and efficient blade replacement.

Contents
- Introduction To Ryobi Table Saw Maintenance
- Identifying When To Change Your Saw Blade
- Tools And Materials Needed
- Step-by-step Guide To Changing The Blade
- Installing The New Blade
- Safety Checks Post-installation
- Tips For Prolonging Blade Life
- Troubleshooting Common Issues
- Frequently Asked Questions
- Conclusion
Introduction To Ryobi Table Saw Maintenance
To maintain your Ryobi table saw, it’s essential to know how to change the blade. Start by unplugging the saw, then use the blade wrench to loosen and remove the blade.
Carefully install the new blade, ensuring it’s secure before testing the saw. Regular maintenance ensures optimal performance and safety.
The Importance Of A Sharp Blade
Using a sharp blade on your Ryobi table saw is crucial for clean and precise cuts.
Safety First: Preparing For Blade Change
Before changing the blade, disconnect the saw from the power source and wear protective gloves.
Identifying When To Change Your Saw Blade
To ensure optimal performance and safety, it’s important to know when to change your saw blade. If you’re using a Ryobi table saw, the process of changing the blade is straightforward. Simply follow the manufacturer’s instructions and take the necessary safety precautions to avoid injury.
Signs Of A Dull Blade
A dull blade can cause splintering and burning of wood, leading to imprecise cuts.
Check for chipped or missing teeth, blade heat, or excessive sawdust accumulation.
Performance Issues And Blade Wear
Blade performance decreases over time, affecting cutting accuracy and speed.
Excessive vibration, noisy operation, or difficulty in feeding material are signs of blade wear.
Tools And Materials Needed
Before you start the process of changing the blade on your Ryobi table saw, it’s crucial to gather the necessary tools and materials. Ensuring you have everything you need will make the process smoother and more efficient.
Essential Tools For The Job
Here is a list of essential tools required for changing the blade on your Ryobi table saw:
- Adjustable Wrench: To loosen and tighten the arbor nut
- Safety Glasses: Protect your eyes from debris and potential hazards
- Gloves: Ensure a secure grip and protect your hands during the process
- Hex Key Set: Necessary for removing the throat plate and blade guard
- Push Stick: For handling smaller pieces of wood safely
- Replacement Blade: Ensure it is compatible with your Ryobi table saw
- Rags: For cleaning any debris or lubricating the arbor
Choosing The Right Replacement Blade
When selecting a replacement blade for your Ryobi table saw, it’s important to consider the following factors:
- Blade Size: Ensure the new blade matches the size specifications of your table saw
- Tooth Count: Consider the tooth count based on the type of cuts you’ll be making
- Material Compatibility: Select a blade suitable for the materials you frequently work with
- Quality and Durability: Invest in a high-quality blade for precise and long-lasting performance

Step-by-step Guide To Changing The Blade
Changing the blade on your Ryobi table saw is an essential maintenance task that ensures the tool continues to perform at its best.
Whether you’re a seasoned woodworker or a DIY enthusiast, knowing how to change the blade is a valuable skill that can help you maintain safety and precision in your projects.
Below is a step-by-step guide to help you navigate this process smoothly and confidently.
Powering Down And Securing The Saw
Before starting the blade replacement process, make sure to power down your Ryobi table saw and unplug it from the electrical outlet.
This precautionary step is crucial to prevent any accidental start-ups while working on the blade. Once the saw is powered down, secure the blade guard in the raised position to allow easy access to the blade and arbor.
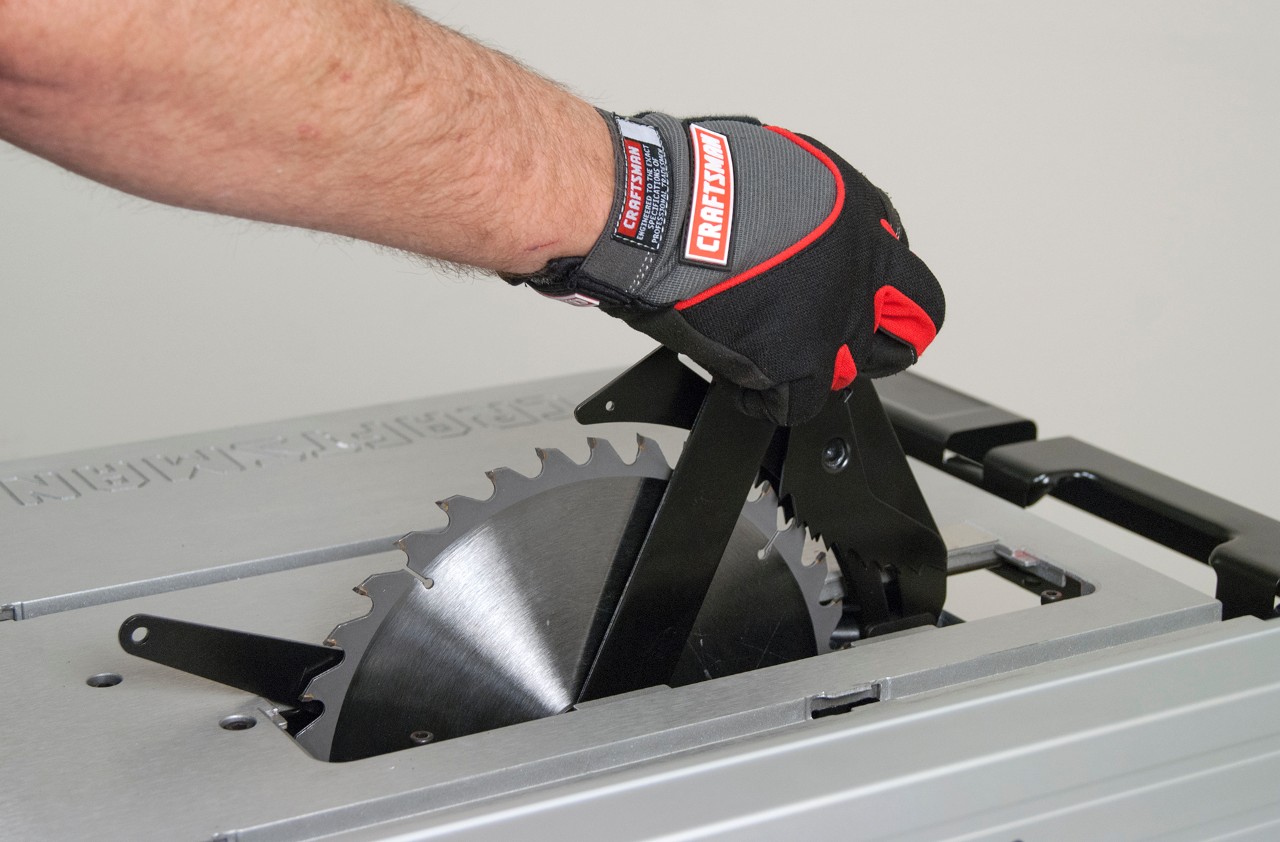
Removing The Old Blade
Use the wrench provided with your Ryobi table saw to loosen and remove the arbor nut. Carefully remove the outer washer and the old blade from the arbor.
Take note of the orientation of the teeth on the old blade to ensure proper installation of the new one. Inspect the arbor and the blade flanges for any dirt, debris, or wear, and clean them if necessary.
Installing The New Blade
When it comes to installing a new blade on your Ryobi table saw, it’s essential to ensure that the process is done correctly to guarantee safety and optimal performance.
The installation of the new blade is a crucial step that requires precision and attention to detail. In this guide, we’ll walk you through the steps for installing the new blade on your Ryobi table saw, focusing on aligning the blade correctly and securing it in place.
Aligning The Blade Correctly
Before you begin the installation process, ensure that the power cord of the table saw is unplugged to prevent any accidental activation. Next, raise the blade to its highest position and use a wrench to loosen the arbor nut, which holds the blade in place.
Then, carefully remove the old blade and inspect the arbor for any debris or damage. Afterward, place the new blade onto the arbor, making sure that the teeth are facing in the correct direction. Finally, tighten the arbor nut securely to hold the blade in place, using the wrench to ensure it is properly aligned.
Securing The Blade In Place
Once the blade is aligned correctly, it’s important to secure it in place to prevent any movement during operation. First, lower the blade back to its normal cutting position, ensuring that it is parallel to the miter slot.
Then, use a blade guard to cover the blade for added safety. Next, check the blade alignment by measuring the distance between the miter slot and the blade at the front and rear of the table.
Afterward, adjust the blade if necessary to ensure it is perfectly parallel to the miter slot. Finally, tighten the arbor nut one final time to securely fasten the blade in place, making sure it is firmly seated on the arbor.
Safety Checks Post-installation
After successfully changing the blade on your Ryobi table saw, it’s crucial to perform safety checks to ensure everything is in proper working order.
Safety should always be the top priority when working with power tools, and these post-installation checks are essential for a secure and efficient operation of your table saw.
Ensuring Proper Blade Tension
Check the blade tension to ensure it is properly tightened. A loose blade can lead to inaccurate cuts and potential safety hazards. Use the manufacturer’s instructions to adjust the tension, ensuring it is within the recommended range for your specific saw model.
Test Run: Verifying Blade Alignment
After installation, it’s essential to conduct a test run to verify the blade alignment. Power on the saw and observe the blade to ensure it runs smoothly without any wobbling or unusual vibrations. Use a straight piece of wood to check for accurate and precise cuts, which indicate proper blade alignment.
Tips For Prolonging Blade Life
To prolong blade life on your Ryobi Table Saw, ensure to regularly clean the blade and lubricate moving parts. Use quality blades and avoid forcing cuts to prevent premature wear. Sharpen or replace blades as needed for optimal performance and safety.
Regular Cleaning And Maintenance
Proper maintenance is essential for extending the lifespan of your Ryobi table saw blade. Regularly clean the blade to prevent build-up of pitch and resin, which can affect cutting performance.
Use a blade cleaning solution or simple soap and water to remove debris and residue. Inspect the blade for any signs of damage or dullness, and address issues promptly.
Proper Saw Operation Techniques
Operate your Ryobi table saw with care to preserve the blade’s sharpness and efficiency. Avoid forcing the blade through material and let the blade do the work.
Ensure the blade is properly aligned and tightened before starting any cutting tasks. Use appropriate feed speed to prevent overworking the blade. Remember to follow manufacturer guidelines for optimal performance.
Troubleshooting Common Issues
When changing the blade on your Ryobi Table Saw, troubleshooting common issues is essential to ensure smooth operation. Here are some common problems you might encounter:
Blade Wobble And Misalignment
Blade wobbling or misalignment can lead to inaccurate cuts and potential safety hazards. Make sure to securely tighten the blade and check for any debris or obstructions.
Overcoming Blade Installation Challenges
Blade installation challenges are common but can be easily overcome with proper steps. Ensure the blade is facing the correct direction and follow the manufacturer’s instructions carefully.
Frequently Asked Questions
How To Remove A Blade From A Ryobi Table Saw?
To remove a blade from a Ryobi table saw, first unplug the saw. Loosen the arbor nut with a wrench. Remove the outer washer and blade. Be cautious of sharp edges.
How To Change Blade On Ryobi Saw?
To change the blade on your Ryobi saw, start by unplugging the tool. Loosen the blade clamp screw and remove the old blade.
Insert the new blade and tighten the screw. Make sure the blade is properly aligned and secure before using the saw again.
How To Raise Blade On Ryobi Table Saw?
To raise the blade on a Ryobi table saw, locate the blade height adjustment wheel. Turn it clockwise to raise the blade and counter-clockwise to lower it.
Make sure the saw is switched off and unplugged before making any adjustments. Always follow the manufacturer’s instructions for safety.
How To Unlock Ryobi Saw Blade?
To unlock a Ryobi saw blade, locate the blade lock button and hold it down. Use the wrench to loosen the arbor nut, then remove the blade carefully.
Conclusion
Changing the blade on your Ryobi table saw is an easy task that can be accomplished quickly with the right tools and techniques. By following the steps outlined you can ensure that your saw is working at its best and producing accurate cuts.
Remember to always prioritize safety when handling power tools and to consult the manufacturer’s instructions for any specific guidelines. With a little practice and patience, you’ll be able to change your saw’s blade in no time.