To use a Ryobi drill, insert the desired drill bit, adjust the speed and torque settings, then press the trigger to start drilling. Ensure the battery is charged before use.
Are you ready to tackle your next DIY project with a Ryobi drill? These versatile tools are perfect for a wide range of tasks, from simple home repairs to more complex woodworking projects.
In this guide, we will walk you through the steps on how to use a Ryobi drill effectively and safely. Whether you are a seasoned pro or a novice DIY enthusiast, mastering the art of using a Ryobi drill will empower you to take on any project with confidence and precision.
Let’s dive in and explore the world of possibilities that await with your trusty Ryobi drill by your side.
Contents
- Introduction To Ryobi Drills
- Essential Features Of Ryobi Drills
- Selecting The Right Drill For Your Project
- Safety First: Preparing To Use Your Ryobi Drill
- Getting Started: Setting Up Your Drill
- Drill Operation Techniques
- Advanced Drilling Tips
- Maintenance And Care For Longevity
- Troubleshooting Common Issues
- Expanding Your Toolkit
- Creative Projects To Tackle With Your Ryobi Drill
- Mastering Diy With Ryobi
- Frequently Asked Questions
- Conclusion
Introduction To Ryobi Drills
Brand Legacy
Ryobi, a renowned power tool brand, is trusted by DIY enthusiasts and professionals alike.
Popular Models For Diy Projects
- Ryobi P1811
- Ryobi P277
- Ryobi P1813
Essential Features Of Ryobi Drills
Ryobi drills come with essential features that make them easy to use. Firstly, the adjustable clutch allows for precision drilling and screwdriving.
Secondly, the keyless chuck enables quick and easy bit changes. Finally, the ergonomic design ensures comfort during extended use. Ryobi drills are known for their versatility and user-friendly features.
Key Specifications
Ryobi drills typically have a variable speed trigger for precise control.
Battery Life And Power
The battery life of Ryobi drills is impressive, lasting for hours of continuous use. Using a Ryobi drill is straightforward, making it an ideal choice for both beginners and experienced users. Ryobi drills come with a range of accessories to enhance their functionality.
The ergonomic design of Ryobi drills ensures comfortable handling during extended use. With a quick-release chuck, changing drill bits is quick and hassle-free.
The LED light feature on Ryobi drills illuminates dark work areas for improved visibility. Ryobi drills are durable and built to withstand tough working conditions.
Selecting The Right Drill For Your Project
Choosing the right drill for your project is crucial to ensure efficiency and precision. By assessing your project needs and comparing drill types, you can make an informed decision that will lead to successful outcomes.
Assessing Project Needs
Before diving into your project, it’s essential to assess the specific requirements to determine the type of drill that will best suit the task at hand.
Consider the materials you’ll be working with, the size of the holes needed, and the duration of the project. These factors will help you narrow down the options and select the most suitable drill for the job.
Comparing Drill Types
Drills come in various types, each designed for specific tasks. Understanding the differences between cordless drills, hammer drills, and impact drivers is crucial in selecting the right tool.
By comparing their features, power, and capabilities, you can identify the drill type that aligns with your project requirements.
Safety First: Preparing To Use Your Ryobi Drill
When it comes to using power tools like the Ryobi Drill, safety should always be your top priority. Before you start any project, it’s crucial to ensure that you are properly prepared and equipped with the necessary safety gear.
In this section, we’ll cover the essential steps for ensuring your personal safety and setting up your workspace before using your Ryobi Drill.
Personal Safety Gear
Personal protective equipment (PPE) is crucial when operating power tools. Before you start using your Ryobi Drill, make sure you have the following safety gear:
- Eye Protection: Safety goggles or glasses to protect your eyes from dust, debris, and flying particles.
- Hearing Protection: Earplugs or earmuffs to reduce the risk of hearing damage from the noise of the drill.
- Appropriate Clothing: Avoid loose clothing and wear closed-toe shoes to protect yourself from potential hazards.
Workspace Setup
Creating a safe and organized workspace is essential for using your Ryobi Drill effectively. Here are some key considerations for setting up your workspace:
- Clean and Clear Area: Ensure your workspace is free from clutter, tripping hazards, and obstructions.
- Stable Work Surface: Use a sturdy workbench or surface to provide stability while drilling.
- Secure Workpiece: Clamp or secure the material you are drilling to prevent movement or slipping during operation.
Getting Started: Setting Up Your Drill
When it comes to using a Ryobi drill, getting started with the basics is essential for a smooth and efficient drilling experience.
Setting up your drill properly will not only ensure safety but also improve the overall performance of the tool. Let’s dive into the essential steps of setting up your Ryobi drill to get you started on your DIY projects in no time.
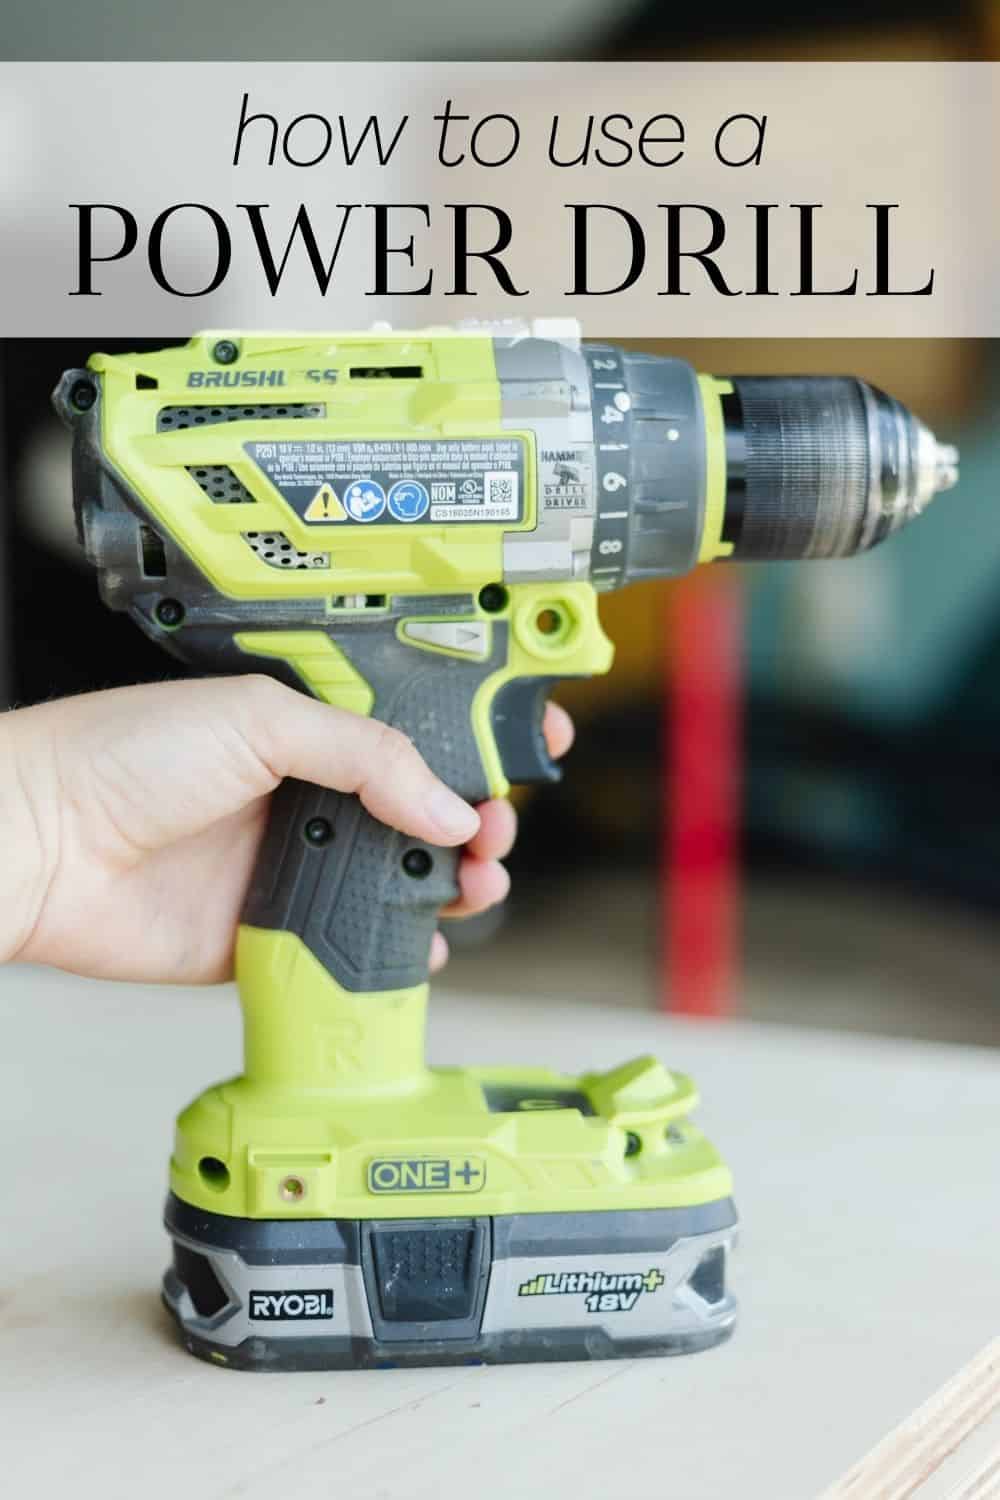
Installing The Battery
Before you begin using your Ryobi drill, installing the battery is the first step. Locate the battery release button on the base of the drill and press it to release the battery.
Align the battery with the slot on the drill and firmly push it in until you hear a click, indicating that the battery is securely in place.
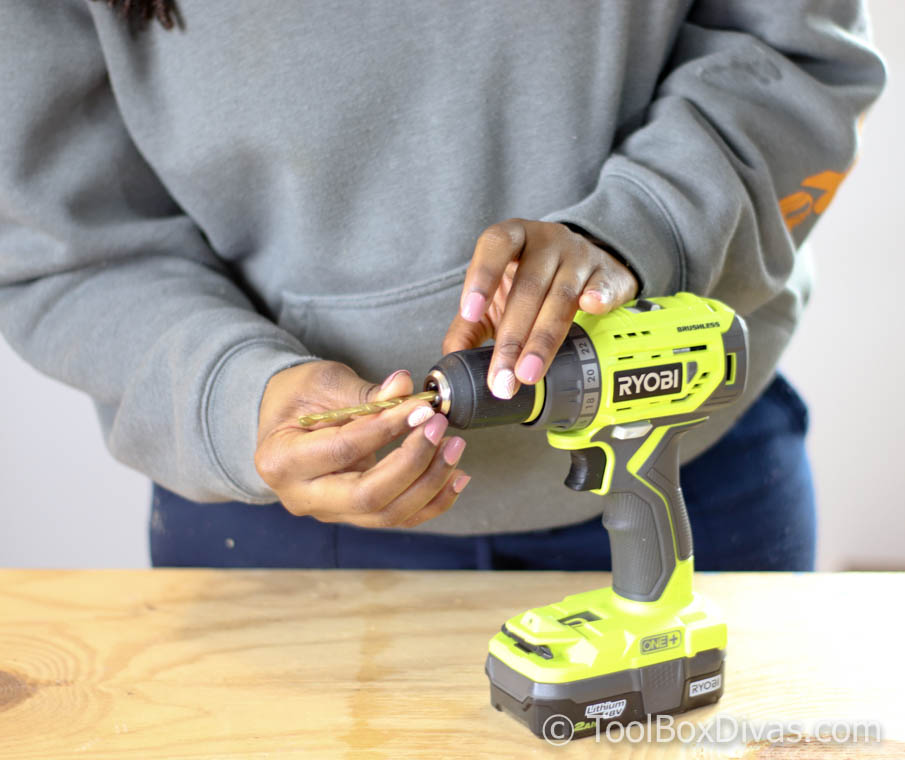
Securing The Drill Bit
Once the battery is installed, the next step is securing the drill bit. Rotate the chuck of the drill in a counterclockwise direction to open it.
Insert the drill bit into the chuck and tighten it by turning the chuck in a clockwise direction. Ensure that the drill bit is centered and securely fastened in place before moving on to your drilling tasks.
Drill Operation Techniques
When it comes to using a Ryobi drill effectively, mastering the operation techniques is key. Whether you’re a beginner or a seasoned DIY enthusiast, understanding the proper drill operation techniques can help you achieve precise and efficient results.
In this guide, we’ll cover essential aspects such as speed and torque adjustment, as well as drilling and driving basics to help you make the most of your Ryobi drill.
Speed And Torque Adjustment
Adjusting the speed and torque of your Ryobi drill is crucial for different tasks. To adjust the speed, use the variable speed trigger to control the drilling speed based on the material and the type of bit being used.
For tougher materials, such as metal or hardwood, use a lower speed setting to maintain control and prevent overheating.
To adjust the torque, utilize the clutch settings to set the desired level of torque for driving screws. This prevents over-tightening and stripping of the screws, especially when working with delicate materials.
Drilling And Driving Basics
When drilling, start by marking the spot with a center punch to prevent the bit from wandering. Secure the material firmly in place and hold the drill perpendicular to the surface.
Apply steady, even pressure as you drill, and periodically withdraw the bit to clear away debris.
When driving screws, select the appropriate screwdriver bit and adjust the torque setting to match the screw and material. Hold the drill straight and drive the screws with a consistent speed to achieve precise and secure results.
Advanced Drilling Tips
When drilling through tough materials like concrete or metal, use a carbide-tipped drill bit for enhanced durability.
Apply steady pressure and avoid forcing the drill to prevent overheating and damage.
For precise drilling, mark the drill spot with a pencil or a marker to ensure accurate placement.
Use the built-in level of the Ryobi drill to maintain a straight drilling angle for professional results.
Maintenance And Care For Longevity
Proper maintenance and care are essential for extending the lifespan of your Ryobi Drill. By following a few simple steps, you can ensure that your drill stays in top condition for years to come.
Regular Cleaning
Keep your Ryobi Drill clean by wiping it down after each use with a dry cloth. Avoid using water or harsh chemicals that can damage the tool.
Battery And Charger Care
Store batteries in a cool, dry place away from direct sunlight when not in use. Charge batteries only with the recommended Ryobi charger to prevent damage.
Troubleshooting Common Issues
When using your Ryobi drill, you might encounter some common issues that can hinder your work. Understanding how to troubleshoot these issues can help you continue using your drill effectively and efficiently.
Battery Problems
If your Ryobi drill is not operating as expected, the first thing to check is the battery. Ensure that the battery is fully charged and properly inserted into the drill.
Additionally, make sure the battery contacts are clean and free of debris. If the battery still does not work, you may need to replace it with a new one.
Drill Bit Slippage
Drill bit slippage can be frustrating, but it is a common issue with a simple solution. To prevent slippage, make sure the chuck is tightened securely around the drill bit. You can also use a bit designed for the specific material you are drilling into, which can reduce slippage and improve drilling precision.
Expanding Your Toolkit
Discover the versatility of the Ryobi Drill for various DIY projects. Whether you’re assembling furniture or hanging shelves, this powerful tool offers ease of use and precision, making it a valuable addition to your toolkit.
Its ergonomic design and interchangeable bits ensure efficient and accurate performance.
If you’re looking to expand your toolkit, the Ryobi Drill is a great place to start. With its versatility and compatibility with a wide range of accessories, this drill can help you tackle a variety of projects around the house.
Compatible Accessories
One of the great things about the Ryobi Drill is its compatibility with a wide range of accessories. Whether you’re looking to drill through wood, metal, or masonry, there’s an accessory that can help you get the job done. Here are a few accessories you might want to consider:
- Drill Bits: From standard twist bits to spade bits and hole saws, there are a variety of drill bits available that can help you drill through different materials.
- Screwdriver Bits: If you’re looking to drive screws, there are a range of screwdriver bits available that can help you get the job done quickly and easily.
- Hole Saws: If you need to cut large holes in wood or metal, a hole saw attachment can help you do so quickly and easily.
- Grinding Wheels: If you need to grind down metal or sharpen tools, there are grinding wheel attachments available that can help you do so.
When To Upgrade?
While the Ryobi Drill is a versatile tool, there may come a time when you need to upgrade to a more powerful or specialized tool. Here are a few signs that it may be time to upgrade:
- You’re working with harder materials: If you’re working with harder materials like concrete or steel, you may need a more powerful drill with a higher torque rating.
- You need more precision: If you’re doing intricate work that requires more precision than the Ryobi Drill can provide, you may need to upgrade to a more specialized tool.
- You’re taking on bigger projects: If you’re taking on larger projects that require more power or a wider range of accessories, you may need to upgrade to a more versatile tool.
No matter what your needs may be, the Ryobi Drill is a great tool to have in your toolkit. With its versatility and compatibility with a wide range of accessories, it can help you tackle a variety of projects around the house.
Creative Projects To Tackle With Your Ryobi Drill
Get ready to unleash your creativity with these fun and engaging home improvement and crafting projects using your trusty Ryobi Drill. Whether you’re a seasoned DIY enthusiast or just starting out, these project ideas will inspire you to make the most of your power tool.
Home Improvement Ideas
- Build a custom bookshelf for your living room.
- Install a new set of shelves in your garage for extra storage.
- Refresh your kitchen cabinets with new hardware.
- Hang up new curtains or blinds in any room.
Crafting With Power Tools
- Create a wooden serving tray for breakfast in bed.
- Design and build a birdhouse for your garden.
- Construct a jewelry organizer for your accessories.
- Make personalized wooden signs for your home decor.
Mastering Diy With Ryobi
Mastering DIY with Ryobi includes effectively utilizing the Ryobi Drill for various projects. Empower your DIY skills by harnessing the versatility and power of the Ryobi Drill to tackle tasks with ease and precision. Elevate your DIY game with the reliable performance of Ryobi tools.
Recap Of Key Takeaways
Remember to always use the correct drill bit for your project.
Adjust the speed settings on the Ryobi Drill based on the material you are drilling.
Always wear safety goggles and gloves when operating the drill.
Inspiration For Future Projects
Consider using the Ryobi Drill for woodworking, furniture assembly, or hanging shelves.
Explore various DIY projects online to continue honing your skills.
Share your creations on social media for motivation and feedback.
Frequently Asked Questions
How To Put A Drill Bit In A Ryobi Drill?
To put a drill bit in a Ryobi drill, loosen the chuck by hand. Insert the bit into the chuck, then tighten securely.
How Do You Use A Drill For Beginners?
To use a drill for beginners, first, choose the right bit for your project. Then, secure your workpiece and hold the drill firmly.
Next, start the drill at a slow speed and apply gentle pressure. Finally, practice on scrap material before working on your actual project.
How To Use Ryobi Drill Settings?
To use Ryobi drill settings, first select the desired speed and torque settings. Next, adjust the clutch to control the amount of torque applied. Finally, switch the drill to the appropriate drilling or driving mode.
How To Unlock Ryobi Drill Chuck?
To unlock a Ryobi drill chuck, hold the chuck firmly and turn it counterclockwise to release. Ensure the drill is in the “Reverse” setting.
Conclusion
Using a Ryobi drill is a straightforward process that can be accomplished with just a few simple steps. By following the instructions provided in the user manual and taking the necessary safety precautions, you can easily complete a variety of DIY projects around your home.
Remember to always use the appropriate drill bit, adjust the speed and torque settings as needed, and keep the drill clean and well-maintained. With a little practice and patience, you’ll be a pro in no time!