
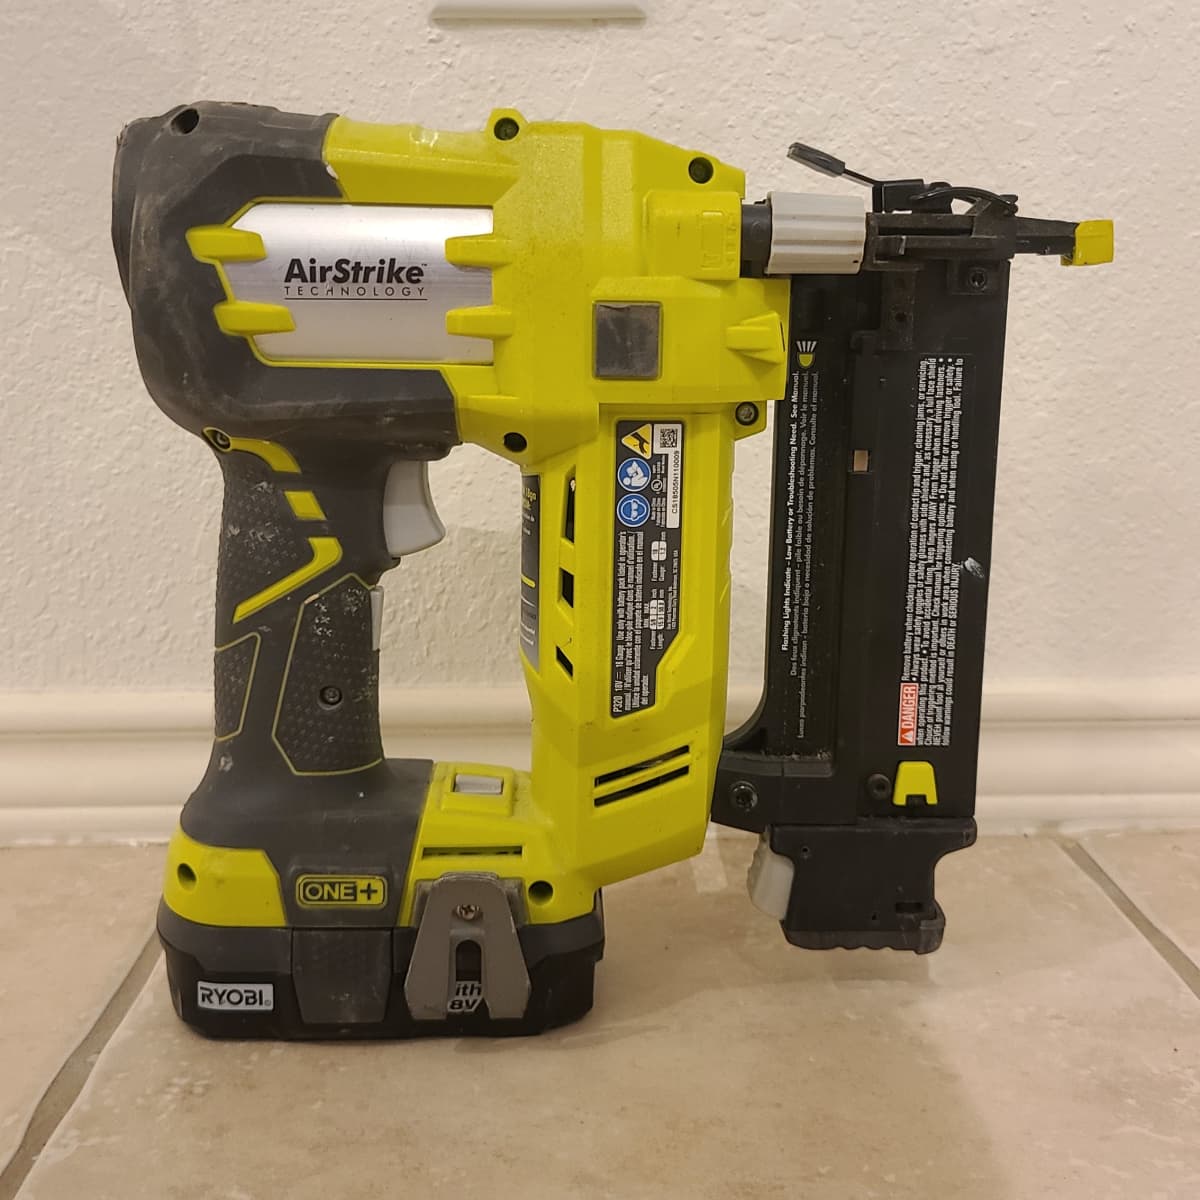
To use a Ryobi Brad Nailer, first, load the appropriate nails into the magazine. Then, adjust the air pressure and safety settings before pulling the trigger to fire the nail.
If you are new to using a Ryobi Brad Nailer, you may find the process a bit intimidating at first. However, with some practice and following the manufacturer’s instructions, you will soon become comfortable using this powerful tool.
In this blog post, we will discuss the steps involved in using a Ryobi Brad Nailer effectively and safely.
Whether you are a seasoned DIY enthusiast or a beginner looking to expand your tool collection, mastering the Ryobi Brad Nailer can help you complete your woodworking projects with ease and precision. Let’s dive in and explore how to make the most of this versatile tool.
Contents
- Introduction To The Ryobi Brad Nailer
- Unboxing Your Ryobi Brad Nailer
- Safety First
- Preparing The Nailer For Use
- Setting Up Your Workspace
- Mastering The Technique
- Practical Tips For Best Results
- Advanced Projects With Your Ryobi Nailer
- Maintenance And Care
- Wrapping Up Your Project
- Frequently Asked Questions
- Conclusion
Introduction To The Ryobi Brad Nailer
Learn how to operate the Ryobi Brad Nailer effortlessly for your DIY projects. Follow the simple steps for loading and firing nails accurately and efficiently. Mastering this tool will enhance your woodworking skills and save you time on your next home improvement task.
If you are a DIY enthusiast or a professional carpenter, you probably know the importance of having the right tools for the job.
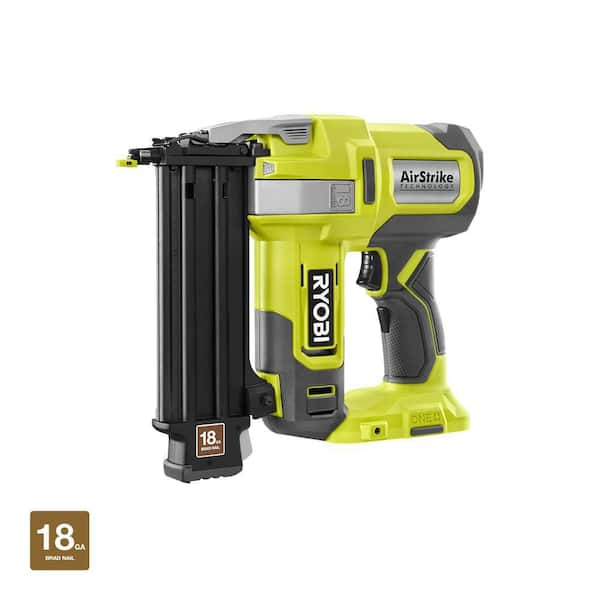
A brad nailer is a handy tool that helps you drive small nails into wood, making it perfect for small woodworking projects, trim work, and other carpentry jobs. The Ryobi Brad Nailer is a popular choice among DIYers and professionals alike, thanks to its ease of use, versatility, and affordability.
Why Choose A Brad Nailer?
Brad nailers are an essential tool for any woodworking project, and there are several reasons why you should consider adding one to your collection. Firstly, they are much smaller than traditional nail guns, making them perfect for precision work.
Additionally, they use small nails, which means they leave smaller holes in the wood, making them ideal for finishing work. Brad nailers are also much faster than using a hammer and nails, and they help to ensure a more consistent finish.
Ryobi’s Place In Power Tools
Ryobi is a well-known brand in the world of power tools, and for good reason. They have been producing high-quality tools for over 75 years, and their commitment to innovation and quality is evident in their products. Ryobi’s range of power tools is extensive, and their Brad Nailer is one of their most popular products.
The Ryobi Brad Nailer is known for its durability, ease of use, and affordability, making it a favorite among DIYers and professionals alike. Whether you are a seasoned carpenter or a beginner, the Ryobi Brad Nailer is an excellent choice for your next project.
Unboxing Your Ryobi Brad Nailer
Unbox your Ryobi Brad Nailer to begin using it effortlessly for your DIY projects. Load the brad nails, adjust the depth, and press the trigger for precise and efficient nailing. Master your Ryobi Brad Nailer to achieve professional results every time.
What’s In The Box?
When you open your Ryobi Brad Nailer package, you will find the following items:
- Ryobi Brad Nailer
- Brad nails
- Adjustment tools
- User manual
Initial Impressions
Upon unboxing, the Ryobi Brad Nailer feels sturdy and well-built. The design is ergonomic and user-friendly, making it easy to handle.
The inclusion of brad nails and adjustment tools ensures you can start using the nailer right away without any additional purchases.
Safety First
Safety should always be the top priority when using a Ryobi Brad Nailer. Understanding how to operate the tool safely is crucial for preventing accidents and ensuring a smooth woodworking experience. By following the proper safety measures, you can minimize the risk of injury and maximize the efficiency of your work.
Personal Protective Equipment
Wearing the appropriate personal protective equipment (PPE) is essential when using a brad nailer. The following items are recommended:
- Safety glasses to protect your eyes from flying debris
- Hearing protection to reduce noise exposure
- Gloves to protect your hands from splinters and sharp edges
Understanding Nailer Safety Features
Ryobi Brad Nailers come equipped with various safety features designed to prevent accidental firing and ensure user protection. Familiarize yourself with these features before operating the tool:
- Dual trigger system to prevent unintentional firing
- Sequential or contact actuation mode for control over nail placement
- Depth adjustment to regulate the depth of nail penetration
Preparing The Nailer For Use
Prepare the Ryobi Brad Nailer for use by attaching the air hose securely. Load brad nails into the magazine, adjusting the depth as needed. Ensure proper safety gear before testing the nailer on a scrap piece for accuracy. Happy nailing with your Ryobi Brad Nailer!
Battery Installation And Charging
Before using your Ryobi Brad Nailer, ensure the battery is properly installed and charged. Follow these simple steps:
- Locate the battery compartment on the nailer.
- Insert the battery into the compartment, ensuring it is securely in place.
- Connect the nailer to the charger and wait for the battery to fully charge.
Loading Brad Nails Properly
Properly loading brad nails into your Ryobi Brad Nailer is essential for smooth operation. Here’s how to do it:
- Open the magazine of the nailer to access the nail chamber.
- Insert the brad nails, making sure they are aligned and seated correctly.
- Close the magazine securely, ensuring the nails are held in place.
Setting Up Your Workspace
Setting up your workspace is crucial for achieving professional results with your Ryobi Brad Nailer. By following these steps, you can ensure a safe and efficient working environment.
Choosing The Right Surface
Before you begin using your Ryobi Brad Nailer, it’s important to select a suitable surface for your woodworking project. Choose a stable and level workbench or table that provides ample space for maneuvering the nailer. Avoid surfaces that are prone to vibrations as this can affect the accuracy of your nail placement.
Organizing Your Materials
Keep your work area organized by arranging your materials in a clear and accessible manner. Group similar items together to streamline the nailing process and minimize the risk of accidents.
Ensure that all necessary materials such as nails, safety goggles, and a dust extractor are within reach to maintain a smooth workflow.
Mastering The Technique
Mastering the Technique of using the Ryobi Brad Nailer is crucial for achieving professional results with your woodworking projects. The right technique not only ensures precision and safety but also enhances the efficiency of your work.
In this guide, we’ll focus on the key aspects of mastering the technique, including holding the nailer correctly and finding the perfect angle.
Holding The Nailer Correctly
Proper handling of the Ryobi Brad Nailer is essential for safety and accuracy. Ensure a firm grip on the handle and trigger, keeping your fingers away from the firing area. Maintain a steady posture to minimize recoil and ensure a consistent driving depth.
Finding The Perfect Angle
Angle the nailer at approximately 90 degrees to the workpiece surface for most applications. Adjust the angle based on the specific joint or surface you are working on. Experiment with different angles to find the optimal positioning for various woodworking tasks.
Practical Tips For Best Results
Using a Ryobi Brad Nailer efficiently requires a good understanding of its features and functions. Here are some practical tips to help you achieve the best results:
Adjusting Depth Of Drive
- Turn the adjustment dial clockwise to increase the depth of drive.
- Test the nailer on a scrap piece of wood to ensure the setting is correct.
- Remember to adjust the depth for different types of wood and nail sizes.
Dealing With Jams
- Disconnect the nailer from the power source before attempting to clear a jam.
- Use the jam release lever to remove the jammed nail.
- Inspect the nailer for any debris that may be causing the jam.
- Clear the jammed area carefully before reconnecting the nailer.
Advanced Projects With Your Ryobi Nailer
If you’ve mastered the basics of using a Ryobi brad nailer, it’s time to take on more advanced projects. With the right technique and a little creativity, you can use your nailer for a wide range of tasks beyond basic trim work and cabinetry. In this section, we’ll explore some creative uses for a brad nailer and offer tips for taking on bigger projects.
Creative Uses For A Brad Nailer
While a brad nailer is typically used for attaching trim and molding, it can also be used for a variety of other tasks.
Here are a few creative ways to use your Ryobi nailer:
- Creating custom picture frames by nailing the corners together
- Assembling wooden crates for storage or decor
- Attaching thin pieces of wood for a decorative wall treatment
- Securing fabric or upholstery to furniture frames
By using a brad nailer instead of traditional screws or nails, you can achieve a more polished and professional look with less effort. Just be sure to choose the right size and length of nail for your project, and practice on scrap pieces of wood before starting your final piece.
Taking On Bigger Projects
If you’re ready to tackle bigger projects with your Ryobi brad nailer, there are a few things to keep in mind. First, make sure you have the right tools and materials for the job. You may need a larger compressor or a more powerful nail gun if you’re working with thicker materials or larger pieces of wood.
Next, take the time to plan out your project and measure everything carefully. This will help ensure that your finished product looks professional and functions properly. And finally, be patient and don’t rush the process. While a brad nailer can save you time and effort, it’s still important to take your time and do things right.
With these tips in mind, you can use your Ryobi brad nailer to take on a wide range of projects beyond basic trim work. Whether you’re creating custom picture frames or building a piece of furniture, a brad nailer can help you achieve a polished and professional look with ease.
Maintenance And Care
When it comes to using a Ryobi brad nailer, proper maintenance and care are essential to ensure its longevity and optimal performance. By adhering to a routine cleaning schedule and being equipped to troubleshoot common issues, you can keep your brad nailer in top condition and maximize its lifespan.
Routine Cleaning
Maintaining your Ryobi brad nailer involves regular cleaning to prevent dust and debris from affecting its functionality. Here are a few simple steps to keep your tool in great shape:
- Unplug the nailer and ensure it is not connected to any power source.
- Use a dry cloth or brush to remove any visible dirt or debris from the exterior of the nailer.
- Inspect the air vents and clean them using a small brush to prevent clogging.
- Apply a few drops of oil to the moving parts as recommended by the manufacturer to maintain smooth operation.
Troubleshooting Common Issues
While regular maintenance can prevent many issues, it’s important to be prepared to troubleshoot common problems that may arise. Here are some common issues you may encounter and how to address them:
- Jamming: If the nailer jams, remove the battery or disconnect the power source, then clear the jammed nails before resuming operation.
- Inconsistent depth: If the nail depth is inconsistent, adjust the depth setting according to the material being nailed, and ensure the nailer is properly maintained.
- Air leaks: If you notice air leaks, inspect the hoses and connections for any damage or loose fittings, and replace or tighten them as needed.
Wrapping Up Your Project
Complete your project effortlessly with the Ryobi Brad Nailer. This versatile tool makes securing trim and other woodworking projects a breeze. Its ergonomic design and adjustable depth feature ensure precise results every time.
Finishing Touches
Apply a protective coat to your project to enhance its durability and appearance.
Storing Your Nailer
Keep your Ryobi Brad Nailer in a dry place away from moisture and extreme temperatures.
Frequently Asked Questions
How Do You Use A Ryobi Brad Gun?
To use a Ryobi brad gun, load the brads into the magazine, adjust the depth gauge to the desired setting, and then press the gun’s nose against the surface you want to attach the brads to.
Pull the trigger to fire the brads into the surface. Always wear appropriate safety gear while using the tool.
How To Set Depth On Ryobi Brad Nailer?
To set depth on a Ryobi Brad nailer, adjust the depth control wheel according to your desired depth.
How To Use An 18 Gauge Brad Nailer?
To use an 18 gauge brad nailer, load the correct size brad nails into the magazine. Press the nailer firmly against the work surface and pull the trigger to drive the nail. Adjust the air pressure as needed for different materials. Always wear safety goggles.
What Nails Go In The Ryobi Brad Nailer?
The Ryobi brad nailer uses 18-gauge brad nails ranging from 5/8 to 2 inches in length.
Conclusion
Mastering the Ryobi Brad Nailer empowers you to tackle projects effortlessly. With these tips, you’re on your way to precision nailing.
Remember, practice makes perfect. Embrace the power and efficiency of your tool. Unleash your creativity and enjoy the satisfaction of a job well done.