To use a laser level on a floor, simply place the level on the floor and adjust it until the bubble is centered. Using a laser level on a floor is an efficient and accurate way to ensure that the floor is perfectly leveled.
Whether you are installing tile, laminate, or hardwood flooring, a laser level can save you time and effort by providing a visual guide to ensure accuracy. By following a few simple steps, you can easily use a laser level on a floor.
This article will guide you through the process, from setting up the laser level to adjusting it for optimal results. So, if you are ready to achieve a professional-looking floor installation, keep reading to learn how to use a laser level on a floor.
Contents
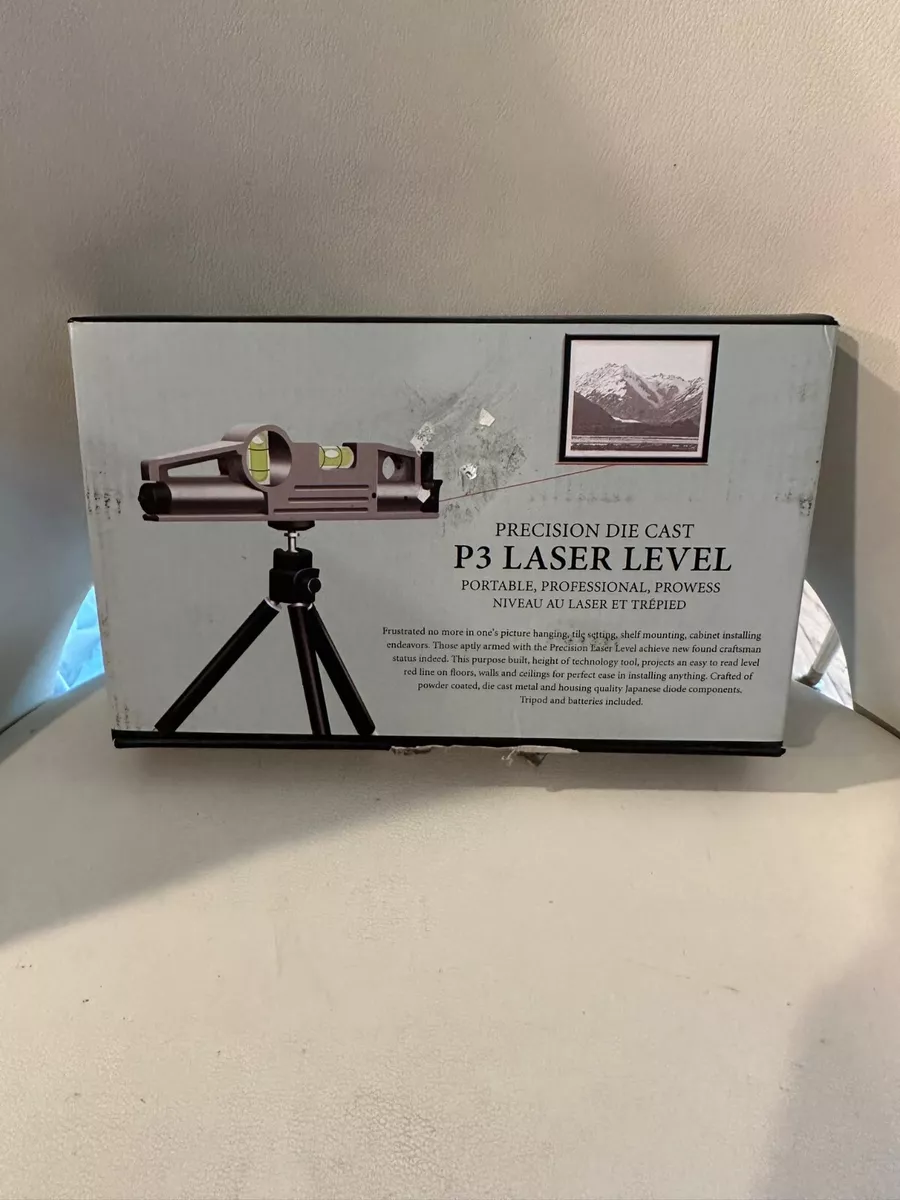
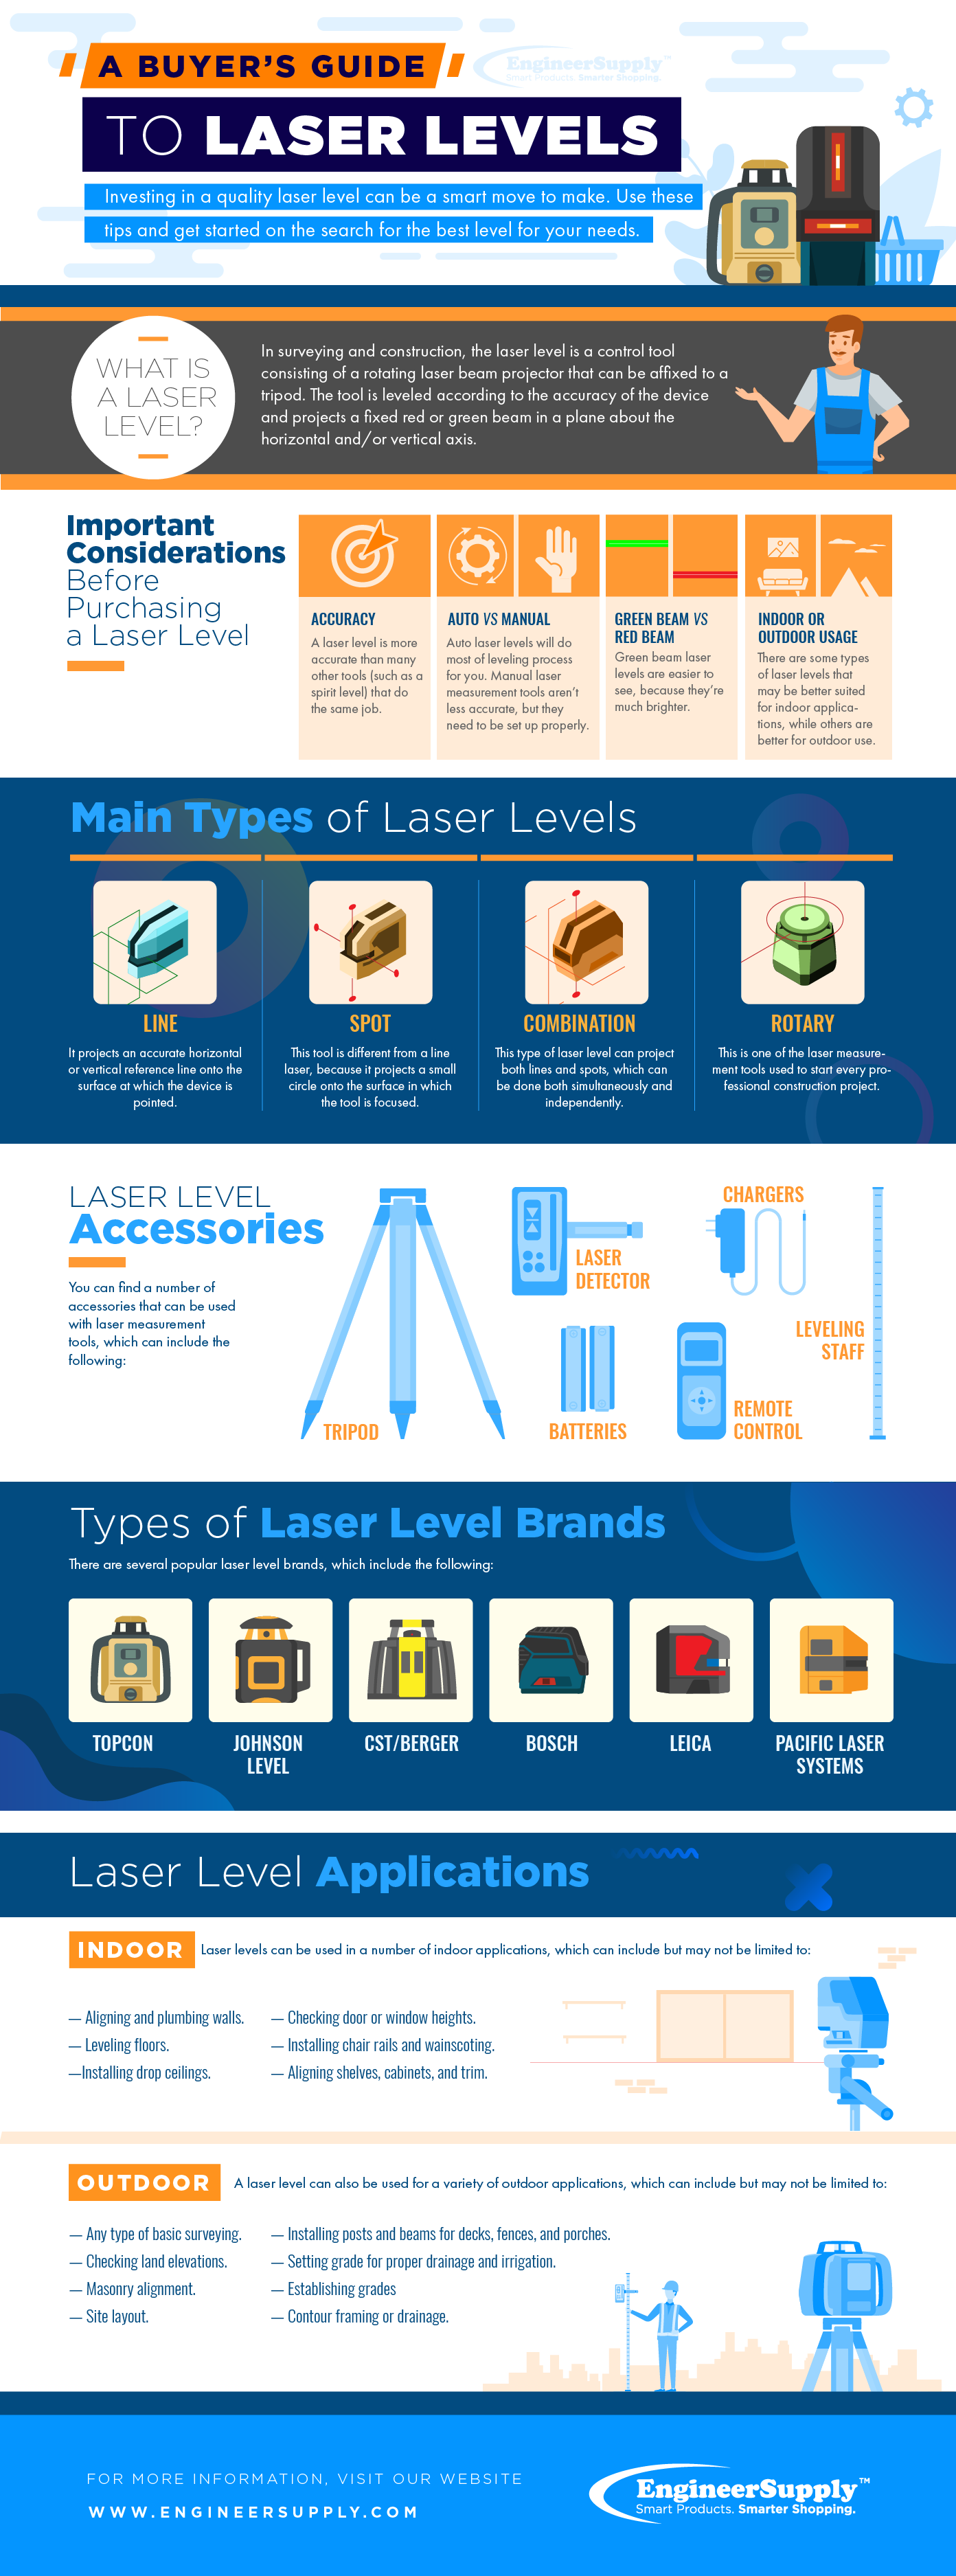
Choosing The Right Laser Level
When it comes to using a laser level on a floor, choosing the right laser level is crucial for accurate results.
Consider The Type
Consider the type of laser level based on your needs, whether it’s a line laser or rotary laser.
Check The Accuracy
Check the accuracy of the laser level to ensure precise measurements for your flooring project.
Preparing The Floor
Preparing the floor is crucial before using a laser level to ensure accurate results. By following these essential steps, you can optimize the floor for precise measurements and alignment.
Clean The Surface
Start by thoroughly cleaning the floor surface to remove any dirt, debris, or obstructions. Sweep or vacuum the area to achieve a smooth and clear surface. This will help eliminate any potential interference with the laser level and ensure accurate readings.
Check For Levelness
Before using a laser level, it’s important to ensure that the floor is level. Use a spirit level or a straight board to check for any unevenness or dips in the floor. Address any uneven areas by filling them with a self-leveling compound to create a smooth and level surface.
Setting Up The Laser Level
When setting up a laser level on the floor, it’s crucial to ensure that the process is done with precision and accuracy.
This step is essential for achieving the desired results and ensuring that the level is properly aligned.
Setting up the laser level begins with finding a stable position and turning on the laser, both of which are key to the success of your leveling project.
Find A Stable Position
To start, identify a stable position on the floor where you intend to use the laser level. It’s important to choose a spot that is firm and level, as any unevenness could affect the accuracy of the level.
Once you’ve found a suitable location, carefully place the laser level on the floor, ensuring that it is secure and not at risk of being disturbed during the leveling process.
Turn On The Laser
After securely positioning the laser level, it’s time to turn on the laser. This step involves locating the power switch or button on the laser level and activating the device.
Once the laser is activated, ensure that it is emitting a clear and visible beam across the floor. It’s important to check that the laser is functioning correctly before proceeding with the leveling process.
Aligning The Laser Level
Before using a laser level on a floor, it is crucial to align it properly so that you can achieve accurate results. The alignment process involves two main steps: using a laser target and adjusting the position of the laser level.
Use A Laser Target
To align the laser level accurately, first, place the laser target at the desired endpoint of the line you want to project on the floor.
Adjust The Position
Once the target is in position, turn on the laser level and adjust its position and angle until the laser beam aligns perfectly with the target. Make sure the laser line is straight and centered on the target.
Using The Laser Level
Using a laser level on a floor is a straightforward process that can yield accurate and precise results. Properly following the laser line and making necessary adjustments is crucial to ensure the desired outcomes.
In this section, we will explore how to effectively utilize a laser level on a floor with the following steps.
Follow The Laser Line
Following the laser line is vital to ensure accurate measurements and proper alignment. Here are the steps to effectively follow the laser line:
- Position the laser level: Place the laser level on a sturdy surface at one end of the area you want to measure. Make sure it is level.
- Turn on the laser: Activate the laser level, and you will see a bright, visible line projected onto the floor.
- Align the laser line: Adjust the position of the laser level, if needed, to align the laser line with the reference points or marks you want to follow.
- Monitor the laser line: Keep an eye on the laser line as you move across the floor. Ensure it stays aligned with your desired measurements or reference points.
By consistently looking out for the laser line and ensuring it remains aligned, you can ensure accurate measurements and achieve the desired outcome.
Make Necessary Adjustments
Occasionally, adjustments may be required to ensure the laser level is functioning optimally. Follow these steps to make necessary adjustments:
- Check the level: Before making any adjustments, ensure that the laser level itself is perfectly level. This will provide a solid foundation for accurate measurements.
- Adjust the laser line height: If the laser line is too high or too low for your needs, adjust the laser level until the line is at the desired height.
- Verify accuracy: Use a measuring tape or ruler to check the accuracy of the laser level’s measurements at various points on the floor. If any discrepancies are found, recalibrate or readjust the laser level accordingly.
- Ensure stability: Throughout the process, make sure the laser level remains stable and does not move. Any movement can affect the accuracy of the measurements.
By regularly checking and making necessary adjustments, you can ensure the laser level is providing precise measurements, leading to accurate results for your flooring project.
Tips And Tricks
Using a laser level can be a game-changer when it comes to achieving precise measurements and accurate installations on a floor. However, there are a few tips and tricks that can elevate your laser level game even further. In this section, we will explore some essential advice to help you successfully use a laser level on a floor.
Avoid Obstacles
When setting up your laser level on a floor, it is crucial to ensure that there are no obstacles in its path. Obstacles such as furniture, equipment, or even uneven surfaces can interfere with the accuracy of the laser beam.
To avoid this, clear the floor area and remove any objects that may disrupt the line of sight between the laser level and the target surface.
If you encounter obstacles that cannot be moved, consider using additional tools for reference to work around them.
Use Additional Tools For Reference
While laser levels are remarkably accurate, some situations may require additional references to guarantee precise measurements. Using additional tools, such as a spirit level or a straightedge, can help cross-verify the laser level’s alignment and ensure accurate results.
Here’s how you can use these tools:
- Place the straightedge or spirit level on the laser level’s projected line.
- Check if the bubble or the level indicator aligns with the laser’s line. If not, adjust the laser level until the bubble shows a perfect alignment.
- Once the straightedge or spirit level aligns with the laser line, you can confidently start marking or installing objects with utmost precision.
By incorporating these additional tools, you can double-check the accuracy of your laser level and achieve excellent results on your floor projects.
Credit: www.engineersupply.com
Frequently Asked Questions For How To Use A Laser Level On A Floor
How Do You Use A Laser Level On A Floor?
To use a laser level on a floor, place it at the starting point, turn it on, and adjust the height to the desired level.
Then, move the laser along the floor while keeping it steady. Check the alignment using a measuring tape or by marking the target points.
Can You Use A Laser Level On The Ground?
Yes, you can use a laser level on the ground for accurate leveling and alignment.
How Do You Check Floor Level With A Laser?
To check floor level with a laser, position the laser level at one end of the room. Turn it on and adjust until the beam hits the target. Measure the height at multiple points across the floor to ensure accuracy.
How Do You Measure A Floor With A Laser?
To measure a floor with a laser, simply position the laser at one end of the room and point it towards the opposite wall.
Activate the laser and measure the distance it travels to the wall, providing an accurate measurement of the floor’s length.
Repeat this process for the width of the room to get the full floor measurement.
Conclusion
Mastering the art of using a laser level on a floor can elevate your DIY projects. Precision and accuracy are key.
Remember to calibrate, position carefully, and take your time. With practice, you’ll soon be a pro at creating level surfaces with ease.