
To restring a Milwaukee weed eater, first, locate the spool, remove the old line, and wind the new line. Restringing a Milwaukee weed eater is a simple process that can be done quickly with the right tools and technique.
By following these steps, you can ensure that your weed eater is ready for optimal performance in no time. When it comes to maintaining your yard tools, restringing a weed eater is a common task that can improve its efficiency.
Milwaukee weed eaters are known for their durability and performance, but regular maintenance is essential to keep them in top shape. In this guide, we will walk you through the steps to restring your Milwaukee weed eater so you can get back to tackling tough weeds and grass with ease.
Step-by-step Guide
In this step-by-step guide, we will walk you through the process of restringing your Milwaukee weed eater. Restringing your weed eater is a crucial maintenance task to ensure smooth and efficient operation.
By following these simple steps, you can quickly and easily restring your Milwaukee weed eater and get back to maintaining your lawn with ease.
Gather Your Materials
Before starting the restringing process, ensure that you have all the necessary materials at hand. You will need:
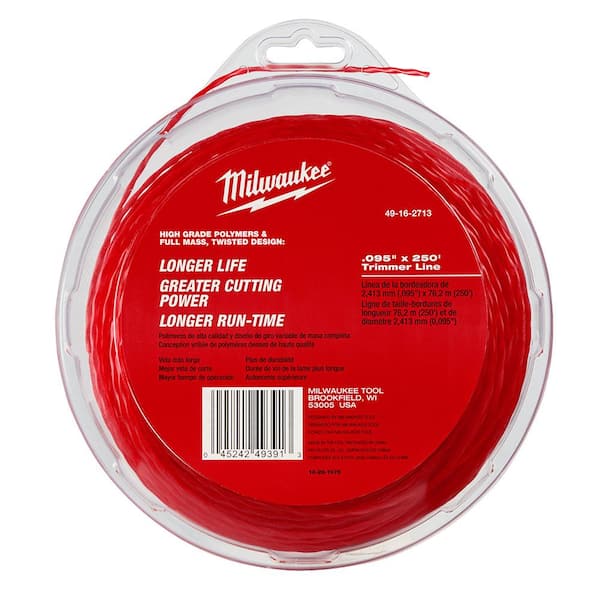
- New trimmer line
- Protective gloves
- Flat work surface
- Safety glasses
Remove The Spool From The Weed Eater
To begin, remove the spool from the weed eater by following the manufacturer’s instructions. Place the spool on a flat work surface to proceed with the restringing process.
Remove The Old Line
Next, carefully remove the old line from the spool. Ensure that all the old line is completely removed to make space for the new trimmer line.
Prepare The New Line
Prepare the new trimmer line by cutting the appropriate length as recommended by the manufacturer. It’s essential to use the correct line diameter for your specific weed eater model to ensure optimal performance.
Wind The New Line Onto The Spool
Now, carefully wind the new trimmer line onto the spool, following the directional arrows indicated on the spool. Ensure that the line is evenly and tightly wound to prevent tangling during operation.
Replace The Spool Onto The Weed Eater
Once the new line is securely wound onto the spool, carefully place the spool back onto the weed eater according to the manufacturer’s instructions. Ensure that the spool is securely in place before resuming operation.

Tips For Efficient Trimming
When it comes to efficient trimming with your Milwaukee weed eater, a few tips and proper techniques can make a significant difference in the quality of your yard work.
By following some simple guidelines, you can achieve optimal performance and maintain your weed eater for long-term use.
Proper Technique For Trimming
Trimming with a weed eater requires the right technique to ensure a clean and precise cut. Hold the weed eater at a comfortable distance from your body, with the cutting head parallel to the ground.
Move the weed eater in a sweeping motion from side to side, ensuring a consistent distance from the area being trimmed. Avoid swinging the weed eater too quickly, as this can lead to uneven cutting and potential damage to plants and landscaping features.
Maintaining Your Weed Eater For Optimal Performance
Regular maintenance is essential for keeping your Milwaukee weed eater in top condition. Clean the cutting head and trimmer line after each use to prevent debris buildup and ensure smooth operation.
Inspect the trimmer line regularly for signs of wear and replace it as needed to maintain cutting efficiency. Additionally, keep the motor and air filter clean to optimize performance and extend the lifespan of your weed eater.
Frequently Asked Questions
How To Put String On A Milwaukee Weed Eater?
To put string on a Milwaukee weed eater, first, remove the spool cover. Then, insert the string through the holes and wind it in the direction indicated. Lastly, replace the spool cover and trim any excess string.
How To Refill Weed Eater Line?
To refill a weed eater line, follow these steps:
1. Turn off the weed eater and disconnect the spark plug.
2. Remove the spool and clean it.
3. Insert the new line following the arrow direction.
4. Reassemble the spool and trim the line.
How To Replace Trimmer Line Bump Feed?
To replace trimmer line bump feed, follow these steps:
1. Turn off the trimmer and unplug it.
2. Remove the spool from the trimmer head.
3. Cut a length of new line and insert it into the spool.
4. Wind the line around the spool in the direction indicated on the spool.
5. Reattach the spool to the trimmer head and test the line.
How To Wind A Double Line Weed Eater?
To wind a double line weed eater, follow these steps:
1. Remove the spool cover.
2. Insert one end of the line into the center hole.
3. Wind the line evenly in the direction indicated.
4. Secure the ends in the notches.
5. Reattach the spool cover and trim any excess line.
Conclusion
Proper maintenance of your Milwaukee weed eater ensures long-lasting performance. Following these restringing steps will keep your tool in top shape.
Remember to refer back to this guide whenever you need to restring your weed eater. Keep your outdoor space neat and tidy with a well-maintained Milwaukee weed eater.