To repair a Dewalt battery, start by removing the battery from the power tool and testing its voltage with a multimeter. If the voltage is lower than the specified range, consider rejuvenating the battery cells using a specialized charger or by performing a deep discharging and recharging cycle.
If the battery still does not hold a charge, it may need to be replaced with a new one. Dewalt batteries are essential components for Dewalt power tools, providing the necessary energy to operate efficiently. However, over time, these batteries can start to deteriorate and lose their capacity to hold a charge.
When this happens, it’s important to know how to repair them to extend their lifespan and avoid the expense of frequent replacements. This article will guide you through the process of repairing a Dewalt battery, helping you save time and money in the long run.
Contents
Common Issues
Learn how to easily repair your Dewalt battery with these simple steps. Say goodbye to common battery issues and keep your tools running smoothly.
Battery Not Holding Charge
The Dewalt battery might not hold charge due to excessive discharging or age.
Overheating Problems
Overheating can occur due to heavy usage or improper ventilation during charging. Common Issues Dewalt battery issues often stem from inadequate maintenance or extreme usage.
Battery not Holding Charge – Excessive discharging or old age may result in charge depletion.
– Ensure regular full charge cycles to maintain battery health.
Overheating Problems – Overheating can damage the battery and lead to safety hazards.
– Avoid charging in extreme temperatures to prevent overheating issues.

Tools Required For Repair
When it comes to repairing your Dewalt battery, having the right tools on hand is essential. With the right tools and safety equipment, you can safely and effectively repair your battery and get it back in working condition.
In this section, we will discuss the tools required for repairing your Dewalt battery, as well as the safety equipment you should have on hand.
List Of Essential Tools:
If you want to repair your Dewalt battery on your own, it is crucial to have the following tools ready:
- Phillips screwdriver: This tool will help you remove the screws that hold the battery casing together.
- Wire cutters: Wire cutters are necessary to cut and strip wires during the repair process.
- Soldering iron: A soldering iron is needed to reattach any loose or broken connections inside the battery.
- Multimeter: This tool allows you to test the voltage and continuity of various battery components to determine the problem.
- Battery tester: A battery tester will help you determine the overall health and capacity of your Dewalt battery.
- Replacement battery cells: In some cases, you may need to replace individual battery cells to fix the problem.
Safety Equipment For Handling Batteries:
When working with batteries, it is important to prioritize safety. Ensure you have the following safety equipment:
- Safety goggles: These will protect your eyes from any sparks or debris that may occur during the repair.
- Nitrile gloves: Nitrile gloves will protect your hands from exposure to any chemicals or hazardous materials found inside the battery.
- Heat-resistant mat: Use a heat-resistant mat to place the battery on during the repair process, keeping your work area safe from any potential heat-related hazards.
- Fire extinguisher: Have a fire extinguisher nearby in case of any accidental fires that may occur during the repair. Safety should always be a priority.
By having the necessary tools and safety equipment, you can confidently tackle the repair of your Dewalt battery. Remember to follow proper safety protocols and take caution when dealing with batteries and electrical components. Now, let’s dive into the step-by-step process of repairing your Dewalt battery.
Step-by-step Repair Guide
Repairing a Dewalt battery pack can save you the cost of buying a new one. In this step-by-step repair guide, we will walk you through the process of diagnosing and fixing common issues with your Dewalt battery.
By following these simple instructions, you’ll be able to extend the lifespan of your battery pack and keep your power tools running smoothly.
Diagnosing The Problem
If your Dewalt battery is not holding a charge or powering your tools as it should, the first step is to identify the problem. Start by inspecting the battery pack for any visible signs of damage, such as cracks or leakage. If you don’t notice any physical issues, the problem might lie within the battery cells.
Replacing Faulty Cells
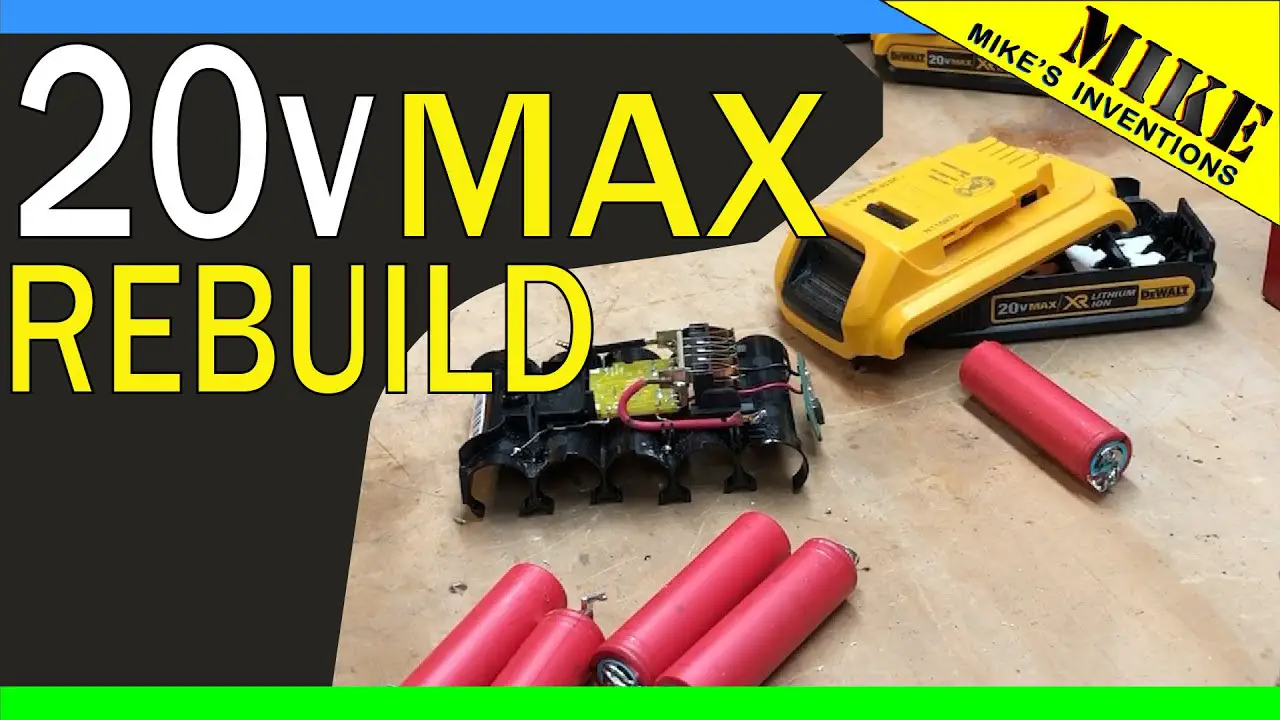
Faulty cells are often the culprits behind a malfunctioning Dewalt battery. To replace these cells, you’ll need to disassemble the battery pack. Begin by removing the screws holding the battery pack together.
Once you’ve opened up the pack, carefully identify the faulty cells. These cells can be easily recognized by their bulging or damaged appearance.
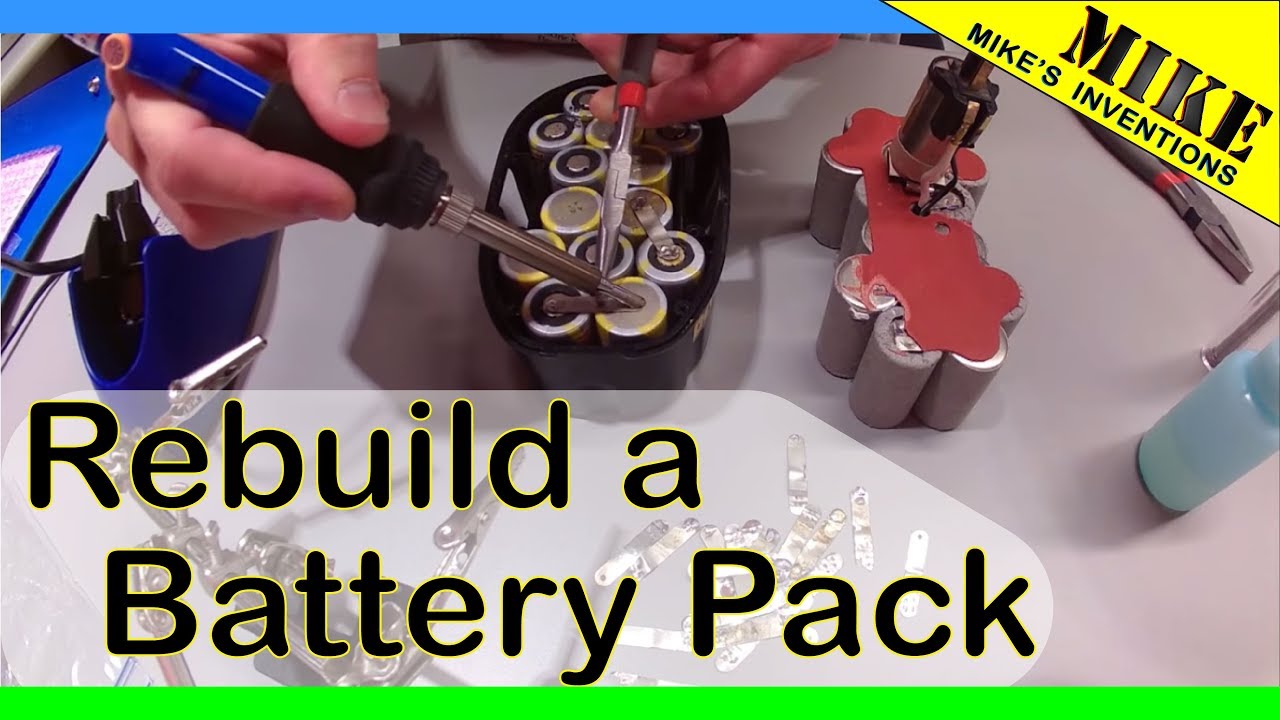
Using a soldering iron, carefully desolder the faulty cells and replace them with new ones. Make sure to match the voltage and capacity of the original cells to maintain optimal performance.
Reassembling The Battery Pack
After replacing the faulty cells, it’s time to reassemble the battery pack. Start by placing the new cells in the pack, ensuring they are securely in place.
Then, reattach the pack’s cover and fasten the screws to secure it. Once the pack is reassembled, give it a full charge before using it with your Dewalt power tools. This will help condition the new cells and maximize their lifespan.
By following this step-by-step guide, you can save money and prolong the life of your Dewalt battery pack.
Remember to always take safety precautions when working with electronics and be mindful of the correct voltage and capacity of the replacement cells. With a little effort and care, you’ll have your Dewalt battery working like new again.
Tips For Maintenance
When it comes to ensuring the longevity and optimal performance of your Dewalt battery, proper maintenance is key. By following some essential tips, you can effectively extend the lifespan of your battery and maximize its productivity.
Here are some valuable insights and guidelines to help you maintain and preserve your Dewalt battery:
Proper Charging Practices
To maintain the efficiency of your Dewalt battery, it’s important to adhere to proper charging practices. Avoid overcharging your battery as this can lead to a shortened lifespan.
Additionally, ensure that you use the appropriate charger designed for your specific Dewalt battery model. Do not attempt to charge the battery with an incompatible charger as this can cause damage.
Storage Guidelines
Proper storage is crucial for preserving the quality of your Dewalt battery. Store the battery in a cool, dry place away from direct sunlight and extreme temperatures.
It’s also recommended to keep the battery away from flammable materials to prevent any potential hazards.
Utilize the original packaging or a designated battery case for safe storage, ensuring that the terminals are protected from any contact that may trigger discharge.
Safety Precautions
When repairing your Dewalt battery, it’s crucial to observe the following safety precautions to avoid accidents:
Avoiding Short Circuits
- Always check for exposed wires or damaged insulation before working on the battery.
- Keep metal tools away from the battery terminals to prevent short circuits.
Handling Chemicals Safely
- Wear protective gloves and goggles to shield your skin and eyes from corrosive chemicals.
- Work in a well-ventilated area when handling battery chemicals to avoid inhaling harmful fumes.
Benefits Of Repairing Instead Of Replacing
Discover the benefits of repairing your Dewalt battery instead of replacing it. Repairing not only saves you money, but also helps reduce waste and promotes sustainability. Find out how to easily repair your battery and extend its lifespan for continued usage.
Cost-effectiveness
Repairing Dewalt batteries is much more cost-effective than replacing them entirely. Repairing batteries typically costs a fraction of the price of buying new ones.
Environmental Impact
Repairing batteries helps reduce electronic waste, benefiting the environment. Choosing repair over replacement contributes to sustainability efforts.
Repairing Dewalt batteries is an eco-friendly choice, helping to reduce waste. Consider the economic and environmental benefits of repairing Dewalt batteries.
Frequently Asked Questions
How Do I Reset My Dewalt Battery?
To reset your DeWALT battery, discharge it completely, then fully charge it. Repeat this process two or three times.
Can You Replace The Cells In A Dewalt Battery?
Yes, you can replace the cells in a DeWALT battery to extend its lifespan and performance.
Can Power Tool Batteries Be Repaired?
Yes, power tool batteries can be repaired by replacing individual cells or the entire battery pack.
How Do You Fix A Lithium-ion Battery That Won’t Charge?
To fix a lithium-ion battery that won’t charge, try the following steps:
1. Check the charging cable and connector for any damage or debris.
2. Restart your device and ensure it is up to date.
3. Try using a different charger or power source.
4. If none of these solutions work, contact the manufacturer or a professional for further assistance.
Conclusion
Repairing Dewalt batteries is a cost-effective and sustainable solution for power tool users.
By following the steps outlined in this blog post, you can extend the lifespan of your batteries and save money in the long run.
It’s a simple and practical way to maintain your power tools and contribute to a more sustainable environment.