Views: 2
Remove battery, loosen left-hand screw, jar hex key counterclockwise, then spin off chuck.
If you want a clean, safe, step-by-step plan for how to remove chuck from makita drill, you’re in the right place. I’ve done this many times in the shop and on job sites. Below, you’ll get a simple method, pro tips for stuck parts, and model notes so you can finish fast and avoid damage.
Contents
- Tools and parts you’ll need
- Know your Makita chuck type
- Step-by-step: how to remove chuck from makita drill
- Stuck chuck? Proven fixes that work
- Install the new chuck the right way
- Safety, care, and common mistakes
- Model-specific notes for popular Makita drills
- Real-world tips from the bench
- Frequently Asked Questions of how to remove chuck from makita drill
- Conclusion
Tools and parts you’ll need
Before you try how to remove chuck from makita drill, gather a few basic tools. This keeps the job quick and safe.
- Safety glasses and gloves Protect your eyes and hands.
- Hex (Allen) key 5 mm or 3/8 inch works well for most chucks.
- Phillips or Torx driver Many Makita chucks use a left-hand screw inside.
- Rubber or dead-blow mallet Helps break the threads loose.
- Penetrating oil For stuck or corroded parts.
- Bench vise with soft jaws Optional but very helpful.
- Blue threadlocker (medium strength) For the retaining screw on reassembly.

Know your Makita chuck type
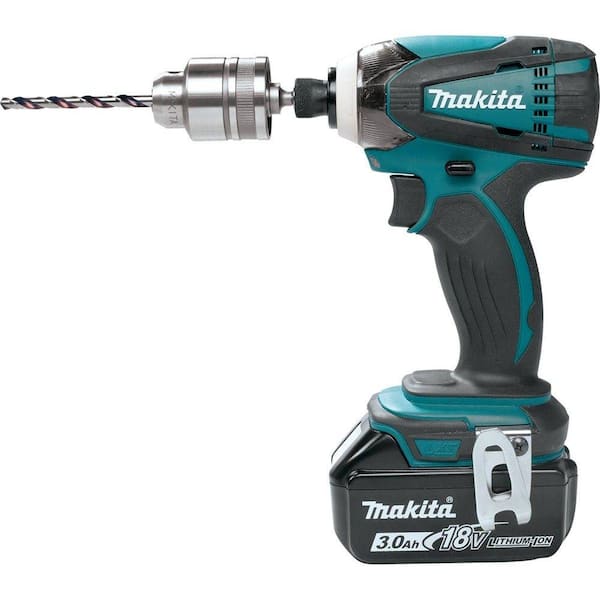
The steps for how to remove chuck from makita drill depend on the chuck type. Most Makita cordless drills use a keyless, 1/2-inch chuck with a left-hand retaining screw inside. Some older or compact models use smaller chucks. A few hammer drills have a spindle lock that helps.
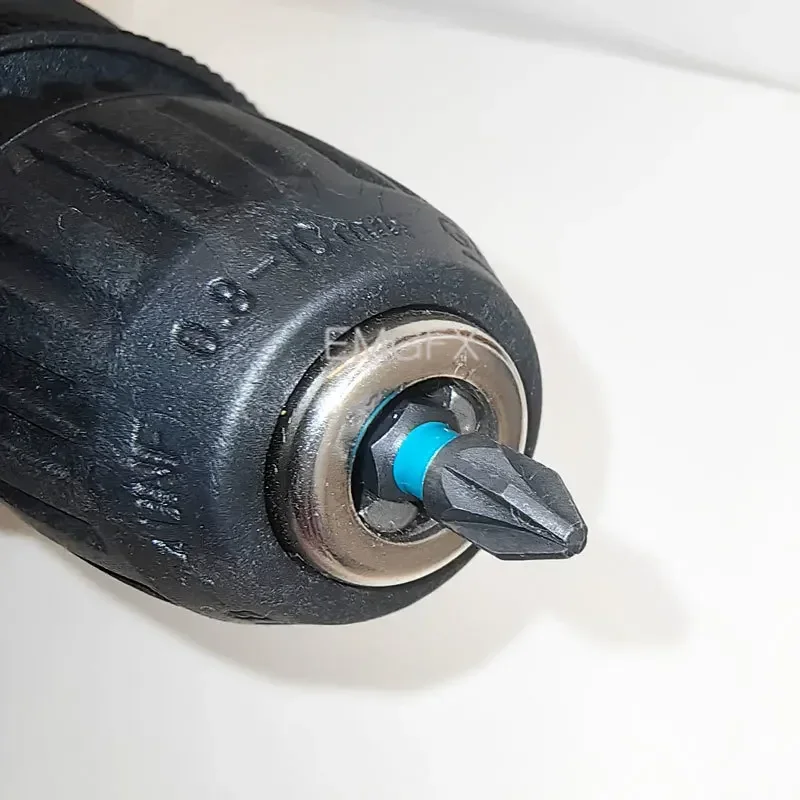
Open the jaws and look inside the chuck. If you see a screw head, that’s the left-hand retaining screw. If you don’t see a screw, your chuck may be threaded on without a screw, or it could be a different system. Check your manual if unsure.
Step-by-step: how to remove chuck from makita drill
Use this simple path for how to remove chuck from makita drill. It works on most Makita cordless and corded models.
- Kill the power
- Remove the battery or unplug the cord.
- Set the mode to drill (not hammer).
- Set the clutch to drill or the highest number.
- Open the jaws all the way
- Spin the sleeve until the jaws are fully open.
- Look inside to find the retaining screw.
- Remove the retaining screw (it’s reverse-thread)
- Use the correct driver: Phillips or Torx is common.
- Turn clockwise to loosen the screw, since it is left-hand thread.
- Put the screw in a tray so you don’t lose it.
- Lock in a hex key and break the threads free
- Insert the short end of a hex key into the chuck and tighten the jaws on it.
- Lay the drill on its side on a soft surface.
- Hit the long arm of the hex key with a mallet counterclockwise. A sharp blow works best.
- The chuck will crack loose, then you can unscrew it by hand.
- Spin the chuck off by hand
- Turn the chuck counterclockwise until it comes off the spindle.
- Wipe the spindle threads clean.
- Notes for keyed chucks and spindle lock
- Keyed chuck removal is the same: remove the screw, then shock the hex key.
- If your drill has a spindle lock, press it while you break the chuck loose.
Pro tip from the field: One crisp mallet hit is safer than many light taps. That sharp shock frees the threads without cooking the bearings.

Stuck chuck? Proven fixes that work
Sometimes how to remove chuck from makita drill hits a snag. Corrosion, threadlocker, or heavy use can seize the threads.
- Add penetrating oil Put a drop at the spindle-to-chuck seam and wait 10 to 15 minutes.
- Use a vise with soft jaws Clamp the hex key, not the drill. Hold the drill body and turn the chuck counterclockwise.
- Warm the chuck body A little heat on the chuck nose (not the gearbox) can help. Go slow and keep heat away from plastic parts.
- Try a strap wrench If the sleeve slips, a strap wrench gives grip without scratches.
- Re-seat the retaining screw If the screw head is damaged, replace it. A stripped screw can block removal.
If nothing moves, stop and reassess. For rare cases, a service shop can remove it with specialty tools.
Install the new chuck the right way
After you finish how to remove chuck from makita drill, installing the new chuck takes a minute.
- Clean and prep Wipe spindle threads and the new chuck threads.
- Thread on by hand Start the chuck counterclockwise to feel for cross-threading, then turn clockwise to seat.
- Snug it up Clamp a hex key and give a light counterclockwise bump to seat the threads.
- Refit the retaining screw Add a drop of blue threadlocker and turn counterclockwise to tighten the left-hand screw.
- Test run Reinstall the battery, run the drill slow, and check for wobble.

Safety, care, and common mistakes
When doing how to remove chuck from makita drill, a few small habits prevent big problems.
- Do not hit the gearbox A sideways hit on the nose can stress bearings. Aim the mallet at the hex key only.
- Use the right driver Do not strip the left-hand screw. Press hard and keep the bit straight.
- Power off first A trigger bump with a loose chuck can cause injury.
- Mind the jaws Keep fingers clear when you shock the hex key.
- Keep parts clean Grit on threads makes the next removal harder.
Model-specific notes for popular Makita drills
Use these notes to tailor how to remove chuck from makita drill to your model.
- XFD and XPH series Most use a keyless 1/2-inch chuck with a left-hand retaining screw. The steps above apply.
- Sub-compact models The chuck is smaller, but removal is the same. Use a smaller hex key if needed.
- Corded hammer drills Some have stronger threadlocker. Penetrating oil and a firmer mallet tap help.
- Metric-thread models A few regions use metric spindle threads. Do not force a replacement chuck with the wrong thread.
- SDS or rotary hammers Those use different tool holders. The method here is for standard drill chucks only.
If you are not sure, check the parts diagram for your exact model number.
Real-world tips from the bench
Here’s what years of shop work taught me about how to remove chuck from makita drill.
- Mark your starting point A tiny pen mark helps you spot if the chuck has moved after the first tap.
- Use a dead-blow mallet It adds force without bounce, so you need fewer hits.
- Save the screw Reuse it with blue threadlocker unless the head is damaged.
- Keep a photo log Snap a quick picture before you start. It helps on reassembly.
Frequently Asked Questions of how to remove chuck from makita drill
What size hex key should I use?
Most Makita drill chucks grip a 5 mm or 3/8 inch hex key well. The key only needs to be long enough for a solid mallet strike.
Why does the retaining screw loosen clockwise?
It is a left-hand (reverse) thread so drilling torque does not loosen it. Turn clockwise to remove and counterclockwise to tighten.
Can I remove the chuck without a mallet?
Yes, but it is harder. A sharp mallet hit on the hex key breaks the bond faster and reduces stress on the drill.
How can I tell if my chuck is damaged?
Look for jaw slipping, uneven grip, or wobble when the bit spins. If you see these, replacing the chuck is a smart move.
What thread size is on Makita drill spindles?
Many are 1/2-20 UNF in the US, but some regions use metric threads. Check your manual or parts diagram before buying a new chuck.
Do I need threadlocker on the retaining screw?
A drop of blue threadlocker is a good idea. It holds the screw, yet you can still remove it later.
Conclusion
You now know how to remove chuck from makita drill with safe, simple steps. Power down, pull the left-hand screw, shock the hex key counterclockwise, and spin the chuck off. The same plan helps you handle stuck chucks and refit a new one with confidence.
Put this guide to work on your next tune-up. Save time, save parts, and keep your drill running true. Want more practical repair tips? Subscribe for fresh how-tos, or drop a comment with your model number and questions.