To change a chuck on a Makita drill, insert the chuck key and turn it counterclockwise to loosen the chuck. Remove the old chuck by hand and replace it with the new one.
Changing the chuck on a Makita drill is a simple process that can be done quickly and easily. Whether you need to replace a worn-out chuck or upgrade to a different type, knowing how to change the chuck on your Makita drill is a valuable skill.
In this guide, we’ll walk you through the step-by-step process of changing the chuck on your Makita drill, so you can get back to your projects in no time.
Contents
- Introduction To Makita Drill Chuck Replacement
- Identifying The Chuck Type
- Tools Needed For Chuck Replacement
- Removing The Old Chuck
- Choosing The Right Replacement Chuck
- Installing The New Chuck
- Testing The New Chuck Installation
- Maintenance Tips For Your New Chuck
- Troubleshooting Common Issues Post-installation
- Frequently Asked Questions
- Conclusion
Introduction To Makita Drill Chuck Replacement
Learn how to easily replace the chuck on your Makita drill with our step-by-step guide. This simple process will have your drill back in action in no time, saving you money on expensive repairs or replacements.
Changing the chuck on your Makita drill is a simple process that can be done at home with the right tools. This guide will walk you through the steps required to replace the chuck on your Makita drill and get you back to your projects in no time.
The Importance Of Maintaining Your Drill
Maintaining your drill ensures optimal performance and extends its lifespan. Regularly replacing parts like the chuck can prevent damage and keep your drill working efficiently.
Safety First: Preparing For The Process
Before starting the chuck replacement process, make sure to disconnect the drill from the power source. Gather the necessary tools and follow these steps carefully to ensure a safe and successful chuck replacement.
- Unplug the drill from the power source
- Gather the required tools
- Follow the step-by-step instructions
- Ensure a safe working environment Remember, safety should always be the top priority when working with power tools.
Identifying The Chuck Type
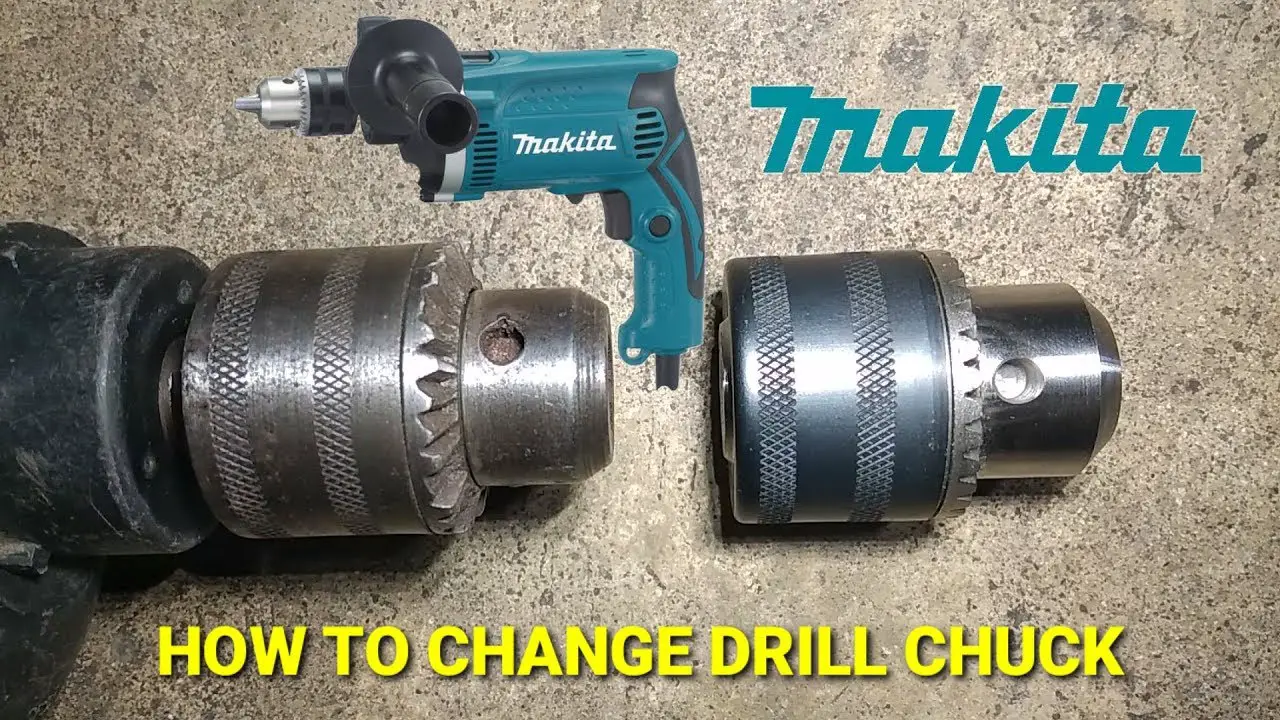
If you want to change a chuck on your Makita drill, the first step is identifying the chuck type. There are two types of chucks – keyed and keyless.
A keyed chuck requires a key to tighten or loosen the chuck while a keyless chuck can be tightened or loosened by hand. Identifying the type of chuck on your Makita drill is crucial as it determines the method you will use to change the chuck.
Keyed Vs. Keyless Chucks
Keyed chucks are commonly found on older Makita drills. They have several parts, including a key, which is used to tighten or loosen the chuck.
To change the chuck on a Makita drill with a keyed chuck, you will need to remove the screw at the center of the chuck and then insert the key into the holes on the chuck and turn it counterclockwise to loosen it. Once the chuck is loose, you can remove it and replace it with a new one.
Keyless chucks are commonly found on newer Makita drills. They are easier to use as they do not require a key to tighten or loosen the chuck.
To change the chuck on a Makita drill with a keyless chuck, you will need to hold the drill firmly and turn the chuck counterclockwise by hand to loosen it. Once the chuck is loose, you can remove it and replace it with a new one.
Determining Your Makita Model
Before changing the chuck on your Makita drill, it is important to determine your Makita model. This information is crucial as it determines the size and type of chuck that will fit on your drill.
You can find the model number of your Makita drill on the label attached to the side of the drill motor. Once you have determined your Makita model, you can purchase a compatible chuck and proceed with changing the chuck.
Changing the chuck on a Makita drill is a simple process that can be done by following the right steps. Whether you have a keyed or keyless chuck, identifying the chuck type is the first step towards changing the chuck.
Once you have identified the chuck type and determined your Makita model, you can purchase a compatible chuck and proceed with changing the chuck.
Tools Needed For Chuck Replacement
To change the chuck on a Makita drill, you’ll need a chuck key, a replacement chuck, and a screwdriver. Start by removing the screw at the center of the chuck using the chuck key. Once the screw is out, the chuck can be easily replaced with the new one.
When changing the chuck on a Makita drill, having the right tools is crucial for a successful replacement process. Before starting, it’s important to gather the necessary equipment to ensure a smooth and efficient chuck replacement.
Standard Tools For The Task
- Adjustable Wrench
- Phillips Screwdriver
- Work Gloves
- Clean Cloth
Specialized Equipment: When And Why
Specialized equipment may be needed for specific situations when changing the chuck on a Makita drill. Understanding the circumstances and reasons for using specialized tools can help simplify the chuck replacement process.
Removing The Old Chuck
Before you can remove the old chuck from your Makita drill, it’s important to loosen it to make the process easier. Start by setting the drill to reverse mode. Hold the drill firmly and press the trigger to run the drill in reverse, which will help to loosen the chuck.
If the chuck is stubborn and doesn’t loosen easily, you can use a few techniques to help with the removal process. One option is to use a rubber mallet to gently tap the chuck. This can help to loosen any stuck components.
Alternatively, you can apply some penetrating oil to the chuck and let it sit for a while to help break up any rust or debris that may be causing the resistance.
Choosing The Right Replacement Chuck
When it comes to changing the chuck on your Makita drill, selecting the right replacement chuck is crucial for maintaining the performance and functionality of your power tool.
In this guide, we will explore the key considerations when choosing a replacement chuck for your Makita drill, focusing on OEM vs. aftermarket chucks and compatibility and performance factors to ensure a smooth transition.
Oem Vs. Aftermarket Chucks
Original Equipment Manufacturer (OEM) chucks are designed and produced by the same manufacturer as the power tool itself. They are specifically engineered to match the specifications of the Makita drill, ensuring seamless integration and performance.
While OEM chucks may come at a higher price point, they offer the assurance of quality and compatibility, making them a reliable choice for those seeking an exact replacement.
On the other hand, aftermarket chucks are manufactured by third-party companies and may vary in terms of quality and compatibility. While they may present a more cost-effective option, it’s important to research and select reputable aftermarket brands to ensure a compatible and reliable replacement.
Compatibility And Performance Considerations
When selecting a replacement chuck for your Makita drill, it is essential to consider compatibility with the drill model and the intended applications. Ensure that the chuck is designed to fit the specific model of your Makita drill, taking into account the chuck size, thread type, and mounting mechanism.
Additionally, consider the performance specifications of the replacement chuck, such as its maximum capacity for drill bit sizes and the level of grip strength it provides. This is particularly important for users who rely on their Makita drill for precision and heavy-duty applications.

Installing The New Chuck
Aligning The Chuck Correctly
1. Insert the new chuck onto the drill spindle.
2. Ensure it is aligned straight and flush.
Securing The Chuck: Step-by-step
- Use the chuck key to tighten the chuck securely.
- Turn the chuck key clockwise to secure it in place.
- Ensure the chuck is firmly attached before using the drill.
Testing The New Chuck Installation
Learn how to change a chuck on a Makita drill with our step-by-step guide. Testing the new chuck installation is crucial to ensure smooth and efficient operation of your power tool. Follow our instructions for a hassle-free process.
Testing the New Chuck Installation: After successfully installing the new chuck on your Makita drill, it’s time to test it out. This will ensure that the chuck is properly installed and functioning as it should be. In this section, we will cover how to perform a function test and check for wobble and misalignment.
Performing a Function Test: To perform a function test, you will need to turn on your Makita drill and test out the new chuck. Insert a drill bit into the chuck and tighten it as you normally would.
Then, turn on the drill and run it at a low speed. If the chuck is properly installed, the drill bit should remain securely in place without any wobbling or misalignment.
Checking for Wobble and Misalignment: If you notice any wobbling or misalignment during the function test, it’s important to address it right away. This could be an indication that the chuck is not properly installed. To check for wobble, hold the drill bit steady while the drill is running.
If the bit wobbles, there may be an issue with the chuck. To check for misalignment, inspect the drill bit and chuck to see if they are perfectly straight.
If you do notice any issues during the function test or inspection, it may be necessary to reinstall the chuck to ensure that it is properly aligned and secured. By following these steps, you can ensure that your Makita drill is functioning properly with the new chuck installed.
Maintenance Tips For Your New Chuck
To maintain your new chuck on a Makita drill, regularly clean and lubricate the chuck threads and jaws. When changing the chuck, use the chuck key to loosen the chuck, then twist it off by hand. Install the new chuck by twisting it on and tightening it with the chuck key.
Routine Cleaning And Lubrication
To keep your Makita drill chuck in top condition, regularly clean it with a soft cloth and mild detergent.
Apply a few drops of lubricating oil to the chuck jaws to ensure smooth operation.
Avoiding Common Mistakes
Avoid using excessive force when tightening the chuck, as this can damage the mechanism.
When changing the chuck, make sure the drill is switched off and unplugged for safety.
Troubleshooting Common Issues Post-installation
After installing a Makita Drill, changing the chuck might be necessary. Follow simple steps to troubleshoot common chuck replacement issues efficiently. Ensure a smooth transition by carefully adjusting the chuck on your Makita Drill for optimal performance.
What to Do if the Chuck Slips If the chuck slips, ensure it is securely tightened using the chuck key provided. Inspect the chuck key for any signs of wear and replace if necessary. Avoid over-tightening, as this can cause the chuck to slip during use.
Addressing Noise or Vibration Problems If you experience noise or vibration issues post-installation, check for any debris or obstructions within the chuck. Clean the chuck thoroughly to remove any dirt or residue.
Ensure the chuck is aligned properly with the drill to minimize vibrations. In case of persistent issues, consider replacing the chuck with a new one to resolve any underlying problems. Consult the manufacturer’s manual for specific troubleshooting steps related to your Makita drill model.

Frequently Asked Questions
How Do You Remove A Makita Drill Chuck?
To remove a Makita drill chuck, first, loosen the chuck by turning it counterclockwise. Then, insert a hex key into the chuck and tighten it. Finally, strike the hex key with a mallet to release the chuck from the spindle.
How To Unlock Makita Drill Chuck?
To unlock a Makita drill chuck, hold the drill securely and rotate the chuck counterclockwise. If it’s stuck, use a pair of pliers to grip the chuck and turn it. The chuck will release and open up, allowing you to change the drill bit.
How To Remove Makita Impact Driver Chuck?
To remove a Makita impact driver chuck, first, loosen the chuck by rotating it counterclockwise. Then, use a chuck removal tool to unscrew it completely from the driver.
How To Change Bit On Makita Drill?
To change the bit on a Makita drill, follow these steps: 1. Unplug the drill for safety. 2. Press the chuck lock to loosen the current bit. 3. Insert the new bit and tighten the chuck. 4. Plug in the drill and test the new bit.
Conclusion
Knowing how to change a chuck on a Makita drill can save you time and money. By following the simple steps outlined in this guide, you can easily maintain and repair your drill without any hassle. With the right tools and knowledge, you can keep your equipment in top working condition.