To put a battery on a Ryobi leaf blower, locate the battery compartment, align the battery, and slide it in until it clicks securely in place. Make sure the battery is fully charged before use.
Now, let’s explore the simple steps to effortlessly attach the battery to your Ryobi leaf blower for optimal performance and convenience. When it comes to powering up your Ryobi leaf blower, ensuring the battery is correctly installed is essential for efficient operation.
By following a few straightforward steps, you can easily attach the battery and get your leaf blower ready for action. Whether you are a seasoned user or a beginner, understanding how to properly put the battery on your Ryobi leaf blower is crucial for a seamless and hassle-free experience.

Contents
- Introduction To Ryobi Leaf Blowers
- Identifying Your Ryobi Model
- Types Of Ryobi Batteries
- Safety First: Preparing To Install The Battery
- Step-by-step Battery Installation
- Troubleshooting Common Issues
- Maximizing Battery Life And Performance
- Enhancing Your Ryobi Experience
- Frequently Asked Questions
- Conclusion
Introduction To Ryobi Leaf Blowers
Ryobi leaf blowers are versatile tools designed to make yard maintenance easier. They come in various models, each offering unique features and benefits.
Understanding the popular models and their power sources, as well as the advantages of using a Ryobi leaf blower, can help you choose the right tool for your outdoor needs.
Popular Models And Their Power Sources
When it comes to Ryobi leaf blowers, you can choose from a range of popular models powered by different sources:
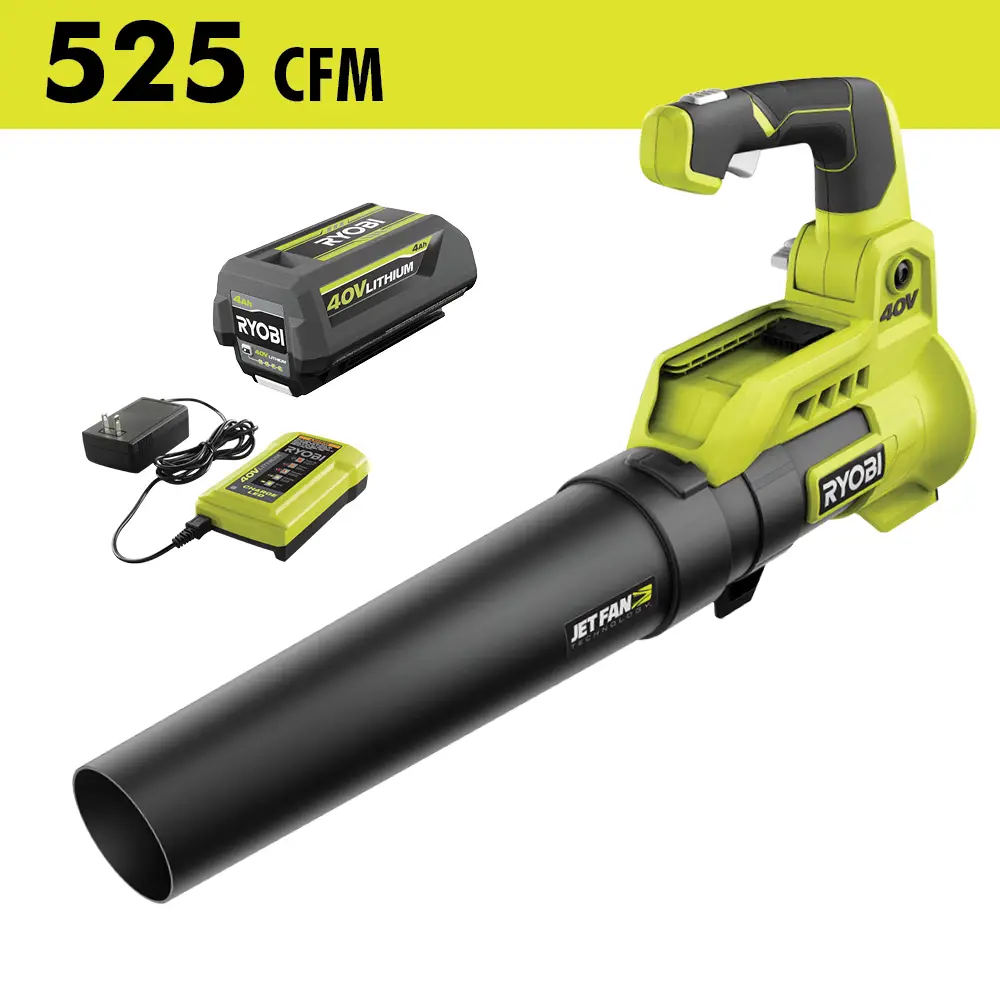
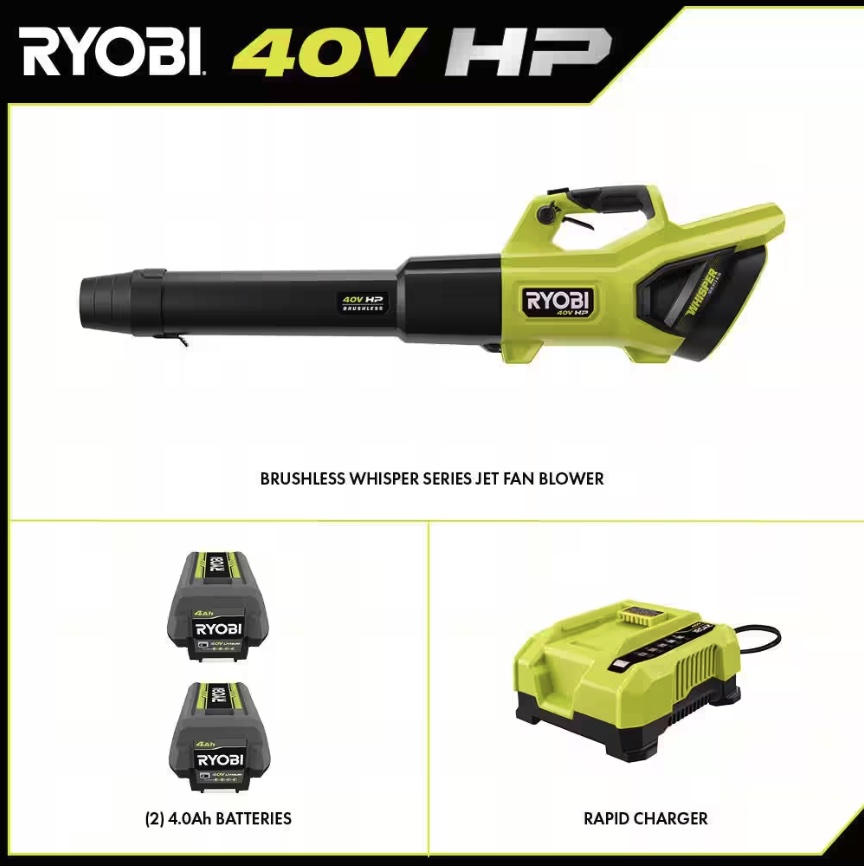
- Ryobi RY40440 40V Cordless Jet Fan Blower
- Ryobi RY38BP Backpack Leaf Blower with a 2-cycle gas engine
- Ryobi RY25AXB Handheld Leaf Blower powered by a 2-cycle gas engine
Benefits Of Using A Ryobi Leaf Blower
Using a Ryobi leaf blower offers several advantages:
- Versatility: Can be used for blowing, vacuuming, and mulching leaves.
- Efficiency: Helps save time and effort in yard cleanup tasks.
- Portability: Lightweight design for easy maneuverability.
- Eco-friendly options: Battery-powered models reduce emissions.
Identifying Your Ryobi Model
Locating The Model Number
When identifying your Ryobi model, the model number is a crucial piece of information. The model number is typically located on the body of the leaf blower. Look for a sticker or a metal plate that displays the model number. It is usually a combination of letters and numbers.
Understanding Battery Compatibility
When it comes to battery compatibility, each Ryobi leaf blower model is designed to work with specific types of batteries.
It’s essential to ensure that the battery you select is compatible with your specific Ryobi model to avoid any operational issues. Refer to the user manual or the manufacturer’s website for a list of compatible batteries for your model.
Types Of Ryobi Batteries
When it comes to the Ryobi leaf blower, the type of battery you use can have a significant impact on its performance and longevity. Ryobi offers different types of batteries for their leaf blowers, each with its own set of features and benefits.
Understanding the types of Ryobi batteries available can help you make an informed decision when it comes to powering your leaf blower.
Lithium-ion Vs Nicad
When considering a battery for your Ryobi leaf blower, it’s important to weigh the differences between lithium-ion and NiCad batteries. Lithium-ion batteries are known for their lightweight design, longer lifespan, and quick charging capabilities.
On the other hand, NiCad batteries are generally more affordable but are heavier and have a shorter lifespan compared to lithium-ion batteries.
Battery Maintenance Tips
Proper maintenance is crucial for maximizing the performance and lifespan of your Ryobi leaf blower battery. Here are some essential maintenance tips to keep your battery in top condition:
- Store the battery in a cool, dry place away from direct sunlight and extreme temperatures.
- Regularly clean the battery contacts and terminals to prevent corrosion.
- Avoid overcharging or completely discharging the battery, as it can impact its overall performance.
- Use the battery regularly to prevent it from losing its charge-holding capacity.
Safety First: Preparing To Install The Battery
When it comes to installing the battery on your Ryobi leaf blower, safety should always be the top priority.
Before you begin, it’s essential to take the necessary precautions to ensure a safe and smooth installation process.
This includes wearing the appropriate personal protective equipment and making sure that the leaf blower is turned off.
Personal Protective Equipment
Before you start handling the battery and the leaf blower, ensure that you are wearing the necessary personal protective equipment (PPE). This includes safety goggles to protect your eyes from any potential debris, work gloves to safeguard your hands, and hearing protection to minimize the noise impact. Wearing the right PPE will help prevent any accidents or injuries during the installation process.
Ensuring The Leaf Blower Is Turned Off
Prior to installing the battery, it is crucial to make sure that the leaf blower is completely turned off. Press the On/Off switch to power down the leaf blower and ensure that it is in the off position.
Verifying that the equipment is not operational will minimize the risk of any unexpected starts or accidents while handling the battery.
Step-by-step Battery Installation
When it comes to using your Ryobi leaf blower, knowing how to properly install the battery is essential. This step-by-step guide will walk you through the process, ensuring you can power up your leaf blower quickly and easily.
Opening The Battery Compartment
To begin, locate the battery compartment on your Ryobi leaf blower. Typically, this can be found on the rear of the blower. Look for the release button or latch that secures the compartment.
Press the release button or move the latch to open the battery compartment. Ensure that the compartment is fully open and ready to receive the battery.
Inserting The Battery Correctly
With the battery compartment open, take your Ryobi battery and align it with the compartment. Ensure that the contacts on the battery align with the corresponding contacts in the compartment.
Slide the battery into place, making sure it fits snugly and securely. You may hear a click when the battery is fully inserted, indicating it is properly seated.
Close the battery compartment securely, ensuring the latch or release button locks the compartment in place. Once closed, the battery should be ready to power your Ryobi leaf blower.
Troubleshooting Common Issues
When using a Ryobi leaf blower, it’s essential to be familiar with troubleshooting common issues that may arise. By understanding how to address these issues, you can ensure that your leaf blower operates smoothly and efficiently.
What To Do If The Battery Won’t Fit?
If you encounter difficulty fitting the battery into your Ryobi leaf blower, it’s important to first ensure that you have the correct battery model for your specific blower. Check the battery specifications to verify compatibility.
If the battery is indeed the correct model and still won’t fit, carefully inspect the battery compartment and the battery itself for any obstructions or damage.
Clean the contacts and terminals to ensure a secure connection. If the issue persists, consider contacting Ryobi customer support for further assistance.
Handling A Battery That Won’t Charge
If your Ryobi leaf blower battery is not charging, begin by checking the charger to ensure that it is properly plugged in and functioning. Inspect the battery for any visible damage or debris that could be inhibiting the charging process.
Try using a different charger to determine if the issue lies with the charger itself. If the battery still won’t charge, it may be necessary to replace the battery. Contact Ryobi customer support for guidance on acquiring a new battery.
Maximizing Battery Life And Performance
When it comes to maximizing the battery life and performance of your Ryobi leaf blower, understanding optimal charging practices and storage guidelines is essential. By following these best practices, you can ensure that your battery maintains its longevity and delivers consistent performance.
Optimal Charging Practices
When charging your Ryobi leaf blower’s battery, it’s crucial to follow the manufacturer’s guidelines for optimal charging practices. Use the specific charger recommended for your battery to prevent overcharging and overheating.
Avoid leaving the battery on the charger for extended periods after it reaches full capacity, as this can degrade its overall lifespan. Additionally, always charge the battery in a cool and well-ventilated area to prevent overheating.
Storage Guidelines For Longevity
Proper storage is crucial for maximizing the longevity of your Ryobi leaf blower’s battery. Ensure that the battery is stored in a cool, dry place away from direct sunlight and extreme temperatures.
Moreover, if the battery will not be used for an extended period, it is recommended to store it at approximately 50% charge. This helps prevent the battery from losing its capacity over time.
Furthermore, always remove the battery from the leaf blower before storing it to avoid any potential damage from remaining power.
Enhancing Your Ryobi Experience
Enhance your Ryobi experience by mastering how to effortlessly attach the battery to your Ryobi leaf blower. Streamlining this process ensures optimal performance and hassle-free operation, making yard work a breeze.
Recap Of Key Steps
1. Insert the battery into the designated slot until you hear a click.
2. Secure the battery by pressing down firmly on the latch.
3. Ensure the battery is properly aligned and fully inserted.
4. Confirm the battery is securely in place before operating the leaf blower.
Additional Resources For Support
- Check the Ryobi leaf blower user manual for detailed instructions.
- Watch tutorial videos on Ryobi’s official website or YouTube channel.
- Contact Ryobi customer support for personalized assistance.
Frequently Asked Questions
How Do You Put A Ryobi Battery In A Blower?
To put a Ryobi battery in a blower, locate the battery compartment on the blower and slide the battery into it until it clicks into place. Make sure the battery is fully charged before use.
How To Change A Ryobi Battery?
To change a Ryobi battery, first, ensure the tool is turned off. Press the battery release button and slide out the old battery. Insert the new battery until it clicks into place. Turn on the tool to confirm proper installation.
How To Remove The Battery From A Ryobi Trimmer?
To remove the battery from a Ryobi trimmer, locate the battery release button, press and hold it, then slide the battery out.
How To Put Battery In Ryobi Hedge Trimmer?
To put a battery in a Ryobi hedge trimmer, locate the battery compartment on the tool. Slide the battery into the compartment until it clicks into place. Make sure the battery is fully charged before use.
Conclusion
Putting a battery on your Ryobi leaf blower is a simple task that can be done in just a few steps. By following the manufacturer’s instructions and safety precautions, you can ensure that your blower is ready to use when you need it.
Always remember to use the correct battery and charger to avoid any damage or accidents. With proper care and maintenance, your Ryobi leaf blower can last for years to come.