To make slime with glue and activator, combine white school glue with a few drops of activator. Mix well until slime forms.
Looking to create a fun and gooey DIY project? Making slime with glue and activator is a simple and entertaining activity for both kids and adults. By following a few easy steps, you can whip up your own batch of colorful slime that provides hours of squishy fun.
In this guide, we will walk you through the process of creating slime using common household ingredients. Get ready to unleash your creativity and enjoy the satisfying sensation of playing with homemade slime!
Contents
Introduction To Slime Creation
Learn how to create your own slime using glue and activator. This step-by-step guide will show you the easiest way to make slime at home without any hassle. Get ready for some gooey fun!
The Fascination With Slime
Slime has been a fascination for kids for many years. The gooey, stretchy, and squishy texture of slime provides a sensory experience that is both entertaining and calming.
Children love to play with slime, and it has become a popular DIY activity at home and in classrooms. Making slime is a simple and fun activity that can be enjoyed by children and adults alike. In this blog post, we will guide you through the process of making slime with glue and activator.
Safety First: Preparing Your Workspace
Before you start making slime, it is essential to prepare your workspace. You should choose an area that is well-ventilated, and make sure that you have all the necessary supplies. It is also important to wear protective gear, such as gloves and goggles, to protect your hands and eyes from any potential irritants.
Additionally, you should always wash your hands thoroughly before and after making slime. By taking these safety precautions, you can ensure that your slime-making experience is safe and enjoyable.
To make slime with glue and activator, you will need the following supplies:
- Elmer’s glue
- Baking soda
- Contact lens solution
- Food coloring (optional)
- Bowl and spoon for mixing
Once you have gathered all your supplies, you can start making your slime. Follow the steps below:
- Add 1/2 cup of Elmer’s glue to a bowl.
- Add 1/4 teaspoon of baking soda to the glue and mix well.
- Add a few drops of food coloring to the mixture (optional).
- Add 1 tablespoon of contact lens solution to the mixture and stir well. Note: You may need to add more contact lens solution depending on the consistency of your slime.
- Knead the slime with your hands until it is no longer sticky.
Making slime with glue and activator is a fun and simple activity that can provide hours of entertainment.
By following these easy steps and taking the necessary safety precautions, you can enjoy the process of creating your own slime. So, gather your supplies and get ready to make some slimy fun!
Choosing Your Slime Ingredients
When it comes to making slime, choosing the right ingredients is crucial for achieving the perfect consistency. The key components for making slime are glue and activator. In this section, we will explore how to select the ideal glue and activator for your slime-making endeavors.
Selecting The Right Glue
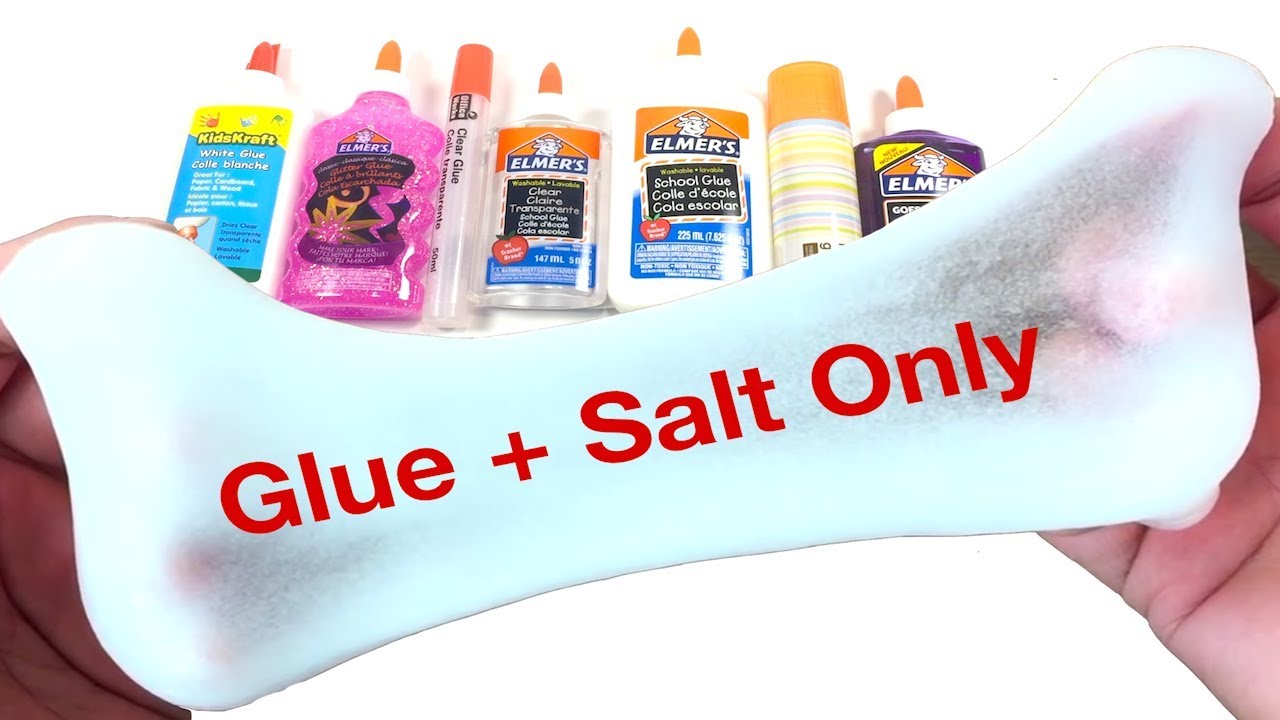
Choosing the right glue is essential for creating the ideal slime. Elmer’s Glue-All is a popular choice due to its strong bonding properties and smooth texture. It’s important to ensure that the glue you select is non-toxic and washable, making it safe for kids to handle.
Picking The Perfect Activator
When it comes to activators, borax solution or liquid starch are commonly used to achieve the desired slime consistency. Borax can be mixed with water to create a solution, while liquid starch can be used directly. It’s crucial to add the activator gradually to the glue, as too much can result in a rubbery texture.
The Basic Slime Recipe
Making slime with glue and activator is a fun and simple DIY project that kids love. The basic slime recipe involves mixing glue and activator to achieve the perfect consistency for a satisfying stretchy and squishy slime.
Mixing Your Glue And Activator
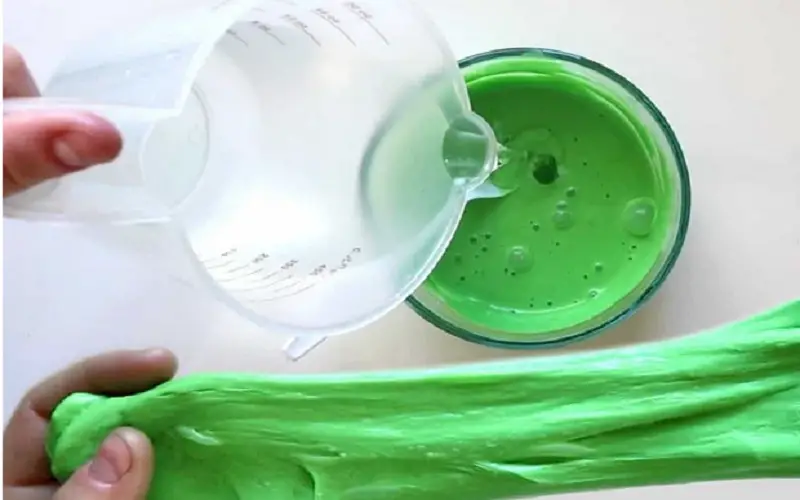
To start making slime, pour white school glue into a bowl. Add a few drops of food coloring for a pop of color. Mix well until the color is evenly distributed.
Achieving The Perfect Consistency
Gradually add the activator, such as borax solution or contact lens solution, to the glue. Stir continuously until the slime starts to form. Knead the slime with your hands to get the desired stretchy texture.
Customizing Your Slime
Making slime with glue and activator is a fun and easy DIY project that provides endless possibilities for creativity.
Once you have mastered the basic slime recipe, it’s time to take it to the next level by customizing your slime. In this section, we will explore different ways to add color, texture, and scents to make your slime truly unique.
Coloring Your Slime
Adding color to your slime is a great way to make it visually appealing and vibrant. There are several options to choose from when it comes to coloring your slime:
- Food coloring: Add a few drops of your favorite food coloring to the slime mixture. Mix it well until the color is evenly distributed. Be cautious with the amount of food coloring you use, as it can stain your hands and surfaces.
- Gel-based coloring: Gel-based coloring is another popular option for coloring slime. It provides more intense and vibrant colors compared to regular food coloring. Simply add a small amount of gel-based coloring to your slime mixture and mix it thoroughly.
- Glitter: If you want to add some sparkle to your slime, glitter is the way to go. You can find various types and colors of glitter at craft stores. Sprinkle some glitter into your slime and knead it until the glitter is evenly distributed.
Adding Textures And Scents
Customizing the texture and scent of your slime can enhance the sensory experience and make it even more enjoyable to play with.
Here are a few ways to add textures and scents to your slime:
- Texture additives: You can add various texture additives to your slime to give it a unique feel. Some popular options include foam beads, plastic beads, or even small toys. Simply mix these additives into your slime mixture until they are evenly distributed.
- Essential oils: Adding a few drops of essential oils to your slime can give it a pleasant scent. Choose your favorite scent, such as lavender, lemon, or peppermint, and add a few drops to the slime mixture. Make sure to mix it well to distribute the scent evenly.
- Fragrance oils: Similar to essential oils, fragrance oils can add a delightful scent to your slime. They come in a wide variety of scents, from fruity to floral. Add a few drops of fragrance oil to your slime mixture and mix it thoroughly.
By customizing your slime with colors, textures, and scents, you can create a truly unique and personalized slime experience. Let your creativity run wild and experiment with different combinations to find your perfect slime creation!
Troubleshooting Common Slime Problems
To prevent common slime problems when making slime with glue and activator, troubleshoot any issues by adjusting the slime’s consistency. If the slime is too sticky, add more activator. If it’s too hard, add more glue. Experiment with different ratios until you find the perfect slime texture.
Making slime is a fun and engaging activity that kids of all ages can enjoy. However, sometimes the slime doesn’t turn out as expected and can lead to frustration. In this section, we’ll discuss some common slime problems and how to troubleshoot them.
Too Sticky
If your slime is too sticky, it’s likely that you didn’t add enough activator. Activator is what helps the glue solidify and turn into slime. You can fix this problem by adding more activator, a little bit at a time, until the slime reaches the desired consistency.
Another reason for sticky slime could be that the glue you used was too runny. In that case, try using a thicker glue or adding less water to your glue mixture.
Too Brittle
If your slime is too brittle, it means that you added too much activator. This can happen if you add too much activator at once or if you keep adding activator even after the slime has already formed.
To fix this problem, add a little bit of water to the slime and knead it until it becomes more pliable. You can also try adding a small amount of glue to the slime and kneading it until it becomes more stretchy.
Other Common Problems
Here are some other common problems you might encounter when making slime and how to fix them:
- The slime is too hard: Add a small amount of lotion or oil to the slime and knead it until it becomes softer.
- The slime is too runny: Add a small amount of activator to the slime and knead it until it thickens.
- The slime is lumpy: Strain the slime through a fine mesh strainer to remove any lumps.
By troubleshooting these common slime problems, you’ll be able to create the perfect slime every time. Remember to be patient and add ingredients slowly until you reach the desired consistency. Happy slime making!

Creative Slime Ideas
Slime has become a popular sensory activity for kids and adults alike. Not only is it a fun and squishy substance to play with, but it also provides endless opportunities for creativity.
In this section, we will explore two exciting variations of slime that will take your slime-making experience to the next level: Glow-in-the-Dark Slime and Magnetic Slime.
Glow-in-the-dark Slime
If you want to add an extra element of excitement to your slime, why not try making glow-in-the-dark slime?
This variation will amaze both children and adults as they watch the slime come to life in the dark.
To create this mesmerizing slime, follow these simple steps:
- Mix together 1/2 cup of clear or white school glue and 1/2 cup of water in a bowl.
- Add a few drops of glow-in-the-dark paint or pigment to the mixture and stir well.
- In a separate bowl, combine 1/2 cup of warm water with 1 teaspoon of borax powder until the powder dissolves.
- Slowly pour the borax mixture into the glue mixture, stirring as you go. Keep adding until the slime forms and becomes less sticky.
- Knead the slime with your hands until it reaches the desired consistency.
Now, turn off the lights and watch as your slime glows in the dark, creating an enchanting and magical experience.
Magnetic Slime
If you’re looking for a slime that can defy gravity and interact with magnets, magnetic slime is the perfect choice. It’s not only entertaining but also a great way to introduce kids to the fascinating world of science.
Follow these steps to create your very own magnetic slime:
- In a mixing bowl, combine 1/2 cup of white school glue and 1/2 cup of water.
- Add a few drops of food coloring if desired, and mix well.
- In a separate container, dissolve 1 teaspoon of iron oxide powder in 1/2 cup of warm water.
- Slowly pour the iron oxide mixture into the glue mixture, stirring continuously.
- In another bowl, mix 1/4 cup of liquid starch with 1/4 cup of water.
- Gradually add the starch mixture to the glue mixture, stirring until the slime forms.
- Once the slime has formed, take a small magnet and hold it close to the slime. Watch as the slime is attracted to the magnet.
Explore the fascinating world of magnets and enjoy the unique properties of this extraordinary slime.
Storing Your Slime
Storing your slime properly is crucial to maintain its texture and prevent it from drying out or becoming too sticky. Whether you’ve made fluffy slime, clear slime, or any other type, following the best practices for slime storage can help extend its longevity and keep it ready for playtime.
Best Practices For Slime Storage
Proper storage is essential to preserve the consistency and stretchiness of your slime. Here are some best practices for storing your slime:
- Store slime in airtight containers to prevent it from drying out.
- Avoid exposing slime to direct sunlight or extreme temperatures, as this can alter its texture.
- Keep slime away from dust and dirt by sealing the container when not in use.
- Label the containers with the date of creation to keep track of freshness.
Extending Slime Longevity
To extend the life of your slime, consider the following tips:
- Clean your hands before handling slime to prevent introducing dirt or oils that can affect its consistency.
- Use slime activator sparingly to avoid over-activating the slime, which can lead to it becoming stiff and less stretchy over time.
- Consider adding a small amount of baby oil or lotion to your slime to maintain its elasticity and prevent it from drying out.
Slime Safety And Cleanup
When it comes to making slime with glue and activator, it’s important to consider slime safety and cleanup. While creating and playing with slime can be a fun and creative activity, it’s essential to ensure that it is done in a safe and responsible manner.
Additionally, efficient slime cleanup is crucial in maintaining a tidy and organized play area. In this section, we will explore the importance of safe slime play and efficient slime cleanup, providing valuable tips to make the experience enjoyable for everyone.
Safe Slime Play
Making and playing with slime can be a delightful experience, but it’s important to prioritize safety. Here are some essential tips for safe slime play:
- Always supervise children when making and playing with slime.
- Use non-toxic and washable ingredients to ensure safety.
- Avoid contact with eyes and mouth while handling slime.
- Regularly wash hands after playing with or handling slime.
Efficient Slime Cleanup
After an enjoyable slime play session, efficient cleanup is necessary to maintain a clean and organized space. Here are some tips for efficient slime cleanup:
- Immediately store leftover slime in airtight containers to prevent drying out.
- Use warm water and soap to clean hands and surfaces after slime play.
- Employ the use of washable playmats or table covers to contain any mess.
- Teach children the importance of cleaning up after slime play to instill responsibility.
Frequently Asked Questions
How To Make Slime With Glue And Slime Activator?
To make slime with glue and slime activator, first, pour glue into a bowl. Then, add a small amount of slime activator and stir until the mixture thickens. Keep adding activator until the slime reaches the desired consistency. Enjoy your homemade slime!
What Is The Ratio Of Glue To Activator For Slime?
For slime, the typical ratio of glue to activator is 2 parts glue to 1 part activator.
How Do You Make Elmer’s Slime?
To make Elmer’s slime, mix 1/2 cup of Elmer’s white school glue with 1/2 cup of water. Add a few drops of food coloring and glitter. In a separate bowl, mix 1/2 teaspoon of borax with 1 cup of warm water.
Slowly add the borax mixture to the glue mixture, stirring until it forms slime.
How To Make Simple Slime?
To make simple slime, you will need glue, borax, water, and food coloring. Mix 1/2 cup of glue with 1/2 cup of water and a few drops of food coloring.
In a separate bowl, mix 1 teaspoon of borax with 1 cup of warm water until dissolved. Slowly add the borax mixture to the glue mixture while stirring continuously until slime forms. Enjoy!
Conclusion
Incorporating glue and activator to make slime is a simple and enjoyable activity. The versatility of ingredients and the endless possibilities for customization make it a fun project for both kids and adults.
The process is straightforward and the result is a squishy, stretchy, and satisfying slime that provides hours of entertainment. Whether it’s for sensory play, stress relief, or just for fun, making slime with glue and activator is a creative and rewarding experience.