To cut door hinges with a Dremel, secure the hinge in a clamp and use a rotary cutting bit to carefully trim the excess metal. This precise method ensures a clean and accurate cut, allowing the hinge to fit seamlessly into the door frame.
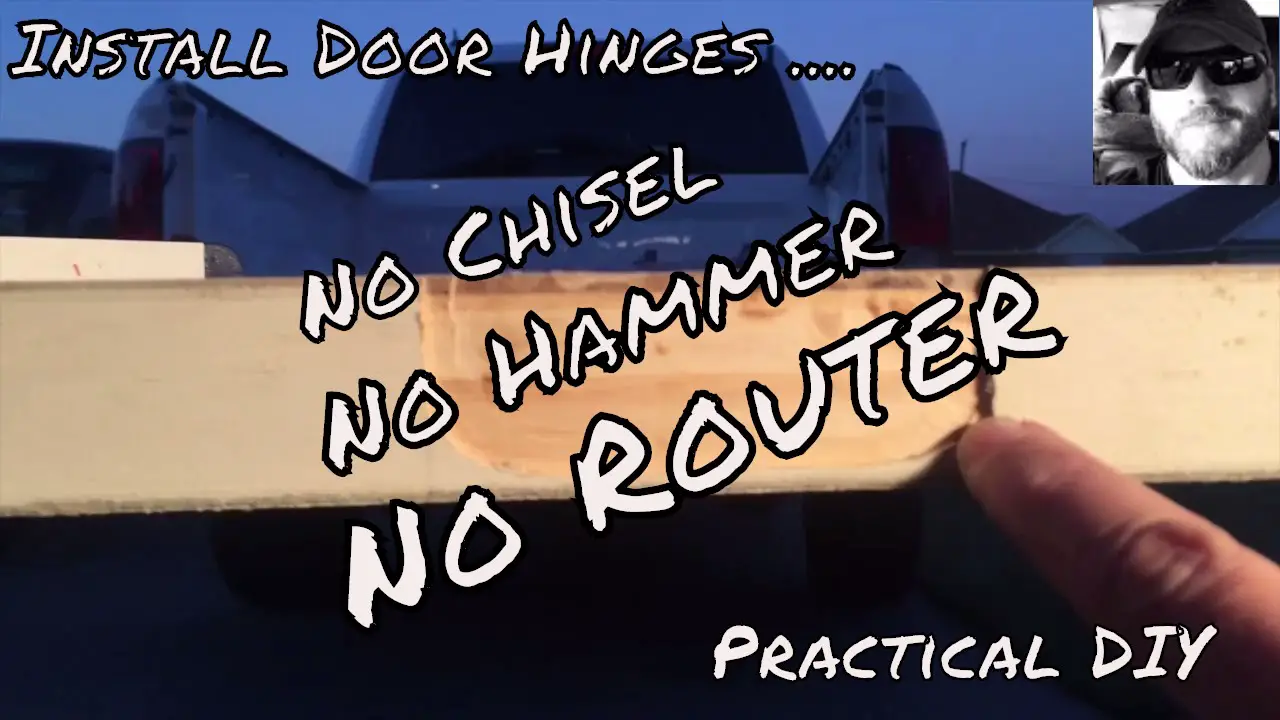
Cutting door hinges with a Dremel can be a straightforward task when approached with the right tools and techniques. Whether you are a DIY enthusiast or a professional carpenter, mastering this skill can save time and effort on home improvement projects.
In this guide, we will explore the step-by-step process of cutting door hinges with a Dremel, providing you with the knowledge and confidence to achieve precise results. Let’s delve into the details of this practical and useful technique for woodworking and home renovation projects.
Contents
Introduction To Dremel Tools
Discover the versatility of Dremel tools for cutting door hinges efficiently. With a Dremel, you can achieve precise cuts with ease, making your DIY projects a breeze. Explore the possibilities of using a Dremel for accurate and clean hinge cuts.
The Versatility Of Dremel Rotary Tools
Dremel rotary tools are incredibly versatile and can be used for a wide range of DIY projects, including cutting door hinges. These tools are designed to be lightweight, compact, and easy to use, making them perfect for both beginners and experienced DIY enthusiasts.
One of the main advantages of Dremel rotary tools is their ability to accept a wide range of accessories, including cutting wheels, sanding discs, and grinding bits. This means that you can use a single tool for a variety of tasks, rather than having to switch between different tools for different jobs.
Safety First: Preparing To Use Your Dremel
Before you begin cutting door hinges with your Dremel, it is important to take the necessary safety precautions. First, make sure you are wearing appropriate eye and ear protection, as the tool can generate a lot of dust and noise.
Next, secure the door hinge in place using a clamp or vice, and mark the area where you want to make the cut. It is also a good idea to practice using the Dremel on a scrap piece of wood or metal before you start working on the actual hinge.
When you are ready to begin cutting, make sure the cutting wheel is properly attached to the Dremel and set the speed to the appropriate level for the material you are cutting. Slowly and steadily guide the tool along the marked line, taking care not to apply too much pressure or force.
Overall, cutting door hinges with a Dremel can be a quick and easy process, provided you take the necessary safety precautions and follow the proper techniques. With a little practice, you can become a pro at using this versatile tool for all your DIY needs.

Selecting The Right Dremel Attachment
When cutting door hinges with a Dremel, the right attachment is crucial. Exploring Dremel Bits for Cutting will help you understand the options available.
Exploring Dremel Bits For Cutting
Various Dremel bits can be used for cutting tasks, each serving a different purpose.
- High-Speed Cutter Bit: Ideal for fast and precise cutting
- Cut-off Wheel: Perfect for cutting through metal hinges
- Multi-Purpose Cutting Bit: Offers versatility for various materials
Choosing The Best Attachment For Hinges
For cutting door hinges specifically, the Cut-off Wheel attachment is most effective.
| Attachment | Best for |
|---|---|
| Cut-off Wheel | Metal door hinges |
| High-Speed Cutter Bit | Precision cutting |
When selecting the right Dremel attachment, consider the material of the hinges for optimal results.
Preparing The Door And Hinge
When it comes to installing a new door or replacing an old one, ensuring that the hinges are properly cut is essential for a smooth and secure fit. Preparing the door and hinge is a crucial first step in the process. Here’s how to get started:
Marking The Hinge Outline
To begin, mark the outline of the hinge on the door using a pencil and a suitable template. Ensure precise measurements to avoid any misalignment during the cutting process.
Securing The Door For Cutting
Before cutting the hinge slots, it’s important to secure the door in place. Use clamps or a sturdy workbench to hold the door firmly, preventing any unnecessary movement during the cutting process.
Setting Up Your Dremel
When it comes to cutting door hinges with a Dremel, proper setup is crucial for achieving precise results. Setting up your Dremel involves adjusting the speed and attaching the cutting bit. This process ensures that your tool is ready to effectively trim the door hinges to the desired size.
Adjusting The Dremel Speed
Before starting the cutting process, it’s essential to adjust the speed of your Dremel. Ensure that the tool is set to a medium to high speed, as this will provide the necessary power for cutting through the metal of the hinges. Slow speeds may cause the tool to catch or skip, leading to uneven cuts.
Attaching The Cutting Bit
Next, carefully attach the appropriate cutting bit to the Dremel. Secure it tightly to ensure that it remains in place during the cutting process.
It’s important to use a cutting bit specifically designed for metal to ensure clean and precise cuts. Always follow the manufacturer’s instructions for attaching and securing the cutting bit.
The Cutting Process
When it comes to cutting door hinges with a Dremel, the cutting process is a crucial step that requires precision and attention to detail. The following sections will guide you through the cutting process, from outlining the hinge to refining the edges.
Cutting The Hinge Outline
To begin the cutting process, mark the outline of the hinge on the door using a pencil and a hinge template. Secure the door in place to prevent any movement during the cutting process.
Next, attach a cutting wheel to the Dremel and adjust the speed to a moderate setting. Carefully follow the marked outline, ensuring a steady and controlled movement to create a precise cut.
Refining The Edges
After cutting the hinge outline, it’s essential to refine the edges for a clean finish. Switch to a sanding drum attachment on the Dremel to smooth out any rough edges and fine-tune the cut hinge area.
Gently maneuver the Dremel along the edges, applying light pressure to achieve a professional-looking finish. Take your time during this step to ensure the edges are smooth and free from any imperfections.
Finishing Touches
Finishing touches are crucial when cutting door hinges with a Dremel. This final phase ensures that the hinges fit perfectly and the door swings smoothly. Let’s delve into the essential finishing touches to complete the process seamlessly.
Smoothing The Hinge Recess
After cutting the door hinges with a Dremel, it’s vital to smooth the hinge recess for a professional finish.
Utilize a fine-grit sanding attachment on the Dremel to carefully sand down any rough edges or uneven surfaces within the hinge recess. This step guarantees that the hinge fits snugly and the door opens and closes effortlessly.
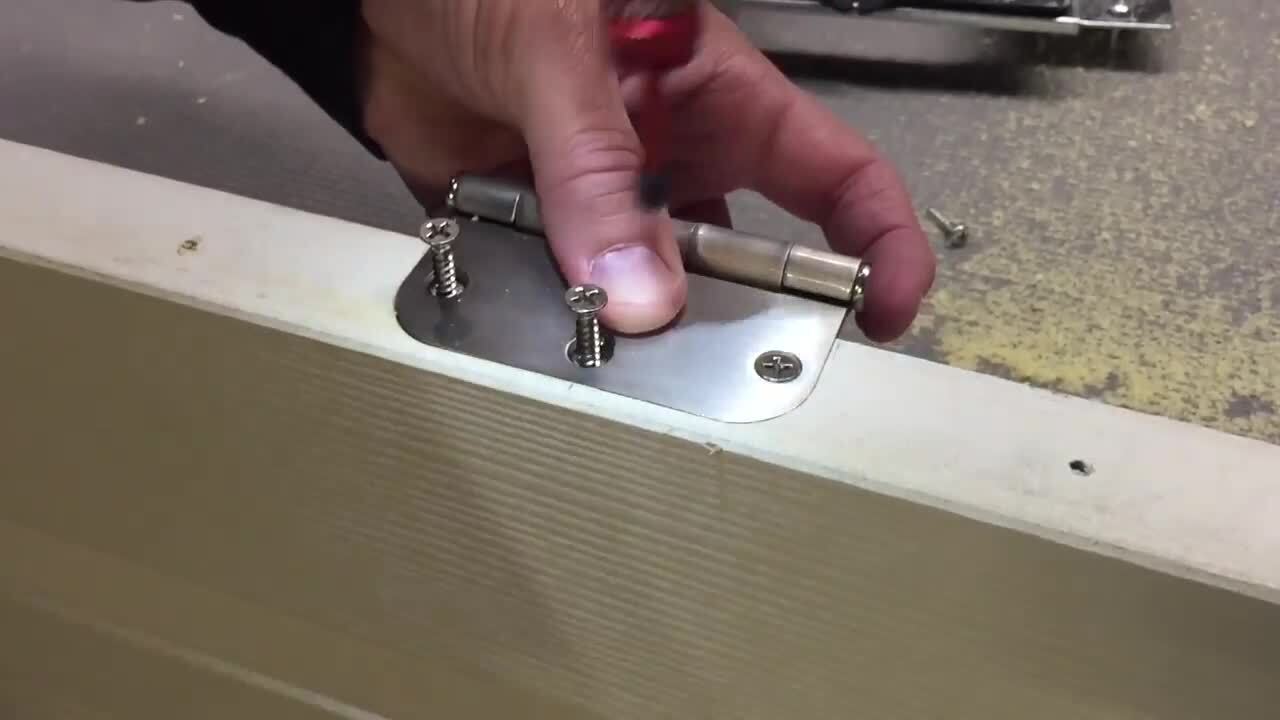
Checking The Hinge Fit
Once the hinge recess is smoothed, it’s time to check the hinge fit. Place the hinge in the recess and test the door’s movement. Ensure that the hinge sits flush with the door and the frame.
If any adjustments are necessary, use the Dremel to precisely trim the recess until the fit is perfect. This meticulous process guarantees a flawless result.
Cleaning And Maintenance
When it comes to using a Dremel tool for cutting door hinges, proper cleaning and maintenance are essential to ensure its longevity and optimal performance.
Cleaning The Dremel Tool Post-use
- Unplug the Dremel tool after use.
- Wipe down the tool with a clean, dry cloth to remove dust and debris.
- Use a small brush to clean hard-to-reach areas.
- Avoid using water or liquid cleaners on the tool.
Maintaining Your Dremel For Longevity
- Regularly inspect the tool for wear and tear.
- Replace worn-out parts promptly to prevent damage.
- Keep the tool in a dry, cool place when not in use.
- Store attachments and accessories in a secure container.

Safety And Troubleshooting
When it comes to cutting door hinges with a Dremel, safety should be your top priority. Using power tools can be dangerous, and it’s essential to take the necessary precautions to avoid accidents.
Common Issues And Solutions
One of the most common issues when cutting door hinges with a Dremel is overheating. This can cause the tool to malfunction and potentially cause harm to you or damage to the hinge.
To prevent overheating, make sure to use the right speed setting for the job. A slower speed is better for precision cutting, while a higher speed is ideal for faster cuts. Additionally, using a lubricant can help prevent overheating and extend the life of your tool.
Another common issue is the Dremel bit breaking or becoming dull too quickly. This can be frustrating and slow down your progress. To prevent this, make sure to use a high-quality bit that is designed for cutting metal. Also, avoid putting too much pressure on the tool, as this can cause the bit to break or become dull.
Final Safety Checks
Before you start cutting your door hinges with a Dremel, it’s important to perform some final safety checks. Make sure to wear eye and ear protection, as well as a dust mask to protect your lungs from metal shavings.
Check that the tool is properly plugged in, and inspect the cord for any damage. Finally, make sure the hinge is securely clamped down to prevent it from moving during the cutting process.
By following these safety tips and troubleshooting solutions, you can effectively cut your door hinges with a Dremel while minimizing the risk of accidents or damage to your tool.
Advanced Tips And Techniques
When cutting door hinges with a Dremel, consider the intricate shapes required for a perfect fit. The Dremel’s precision allows for detailed work on various hinge designs.
To tackle complex hinge shapes, start by outlining the cut area with a pencil. Utilize a small cutting wheel attachment to carefully follow the marked lines.
Take your time to ensure accuracy, making incremental cuts if needed. Practice on a scrap piece of wood before cutting the actual hinge for a flawless result.
Apart from cutting door hinges, a Dremel is versatile in woodworking projects. Explore creative uses such as carving intricate designs, sanding edges, or engraving patterns.
For precision tasks like inlay work, use a Dremel with a routing attachment. Experiment with different bit sizes and speeds for varying effects.
Consider using the Dremel to create custom hinge designs for a unique touch to your woodworking projects. Let your imagination run wild with the endless possibilities it offers.
Frequently Asked Questions
Can You Use A Dremel To Cut Out Door Hinges?
Yes, a Dremel can be used to cut out door hinges. It’s important to use the appropriate cutting wheel and work carefully.
What Tool To Use To Cut Door Hinges?
You can use a chisel or a handsaw to cut door hinges. Be sure to measure carefully and work slowly for best results.
Can You Mortise With A Dremel?
Yes, you can mortise with a Dremel tool. Use the appropriate attachment for precision and control.
How To Cut Mortise For Door Hinge?
To cut a mortise for a door hinge, mark the hinge placement, score the outline, and chisel out the recess carefully.
Use a sharp chisel and hammer for precise results. Remember to test the fit before securing the hinge in place.
Conclusion
Mastering the art of cutting door hinges with a Dremel can enhance your DIY projects. The precision and efficiency offered by this tool can elevate your woodworking skills.
With the step-by-step guide provided, you can confidently tackle hinge-cutting tasks with ease and finesse. Elevate your craft today!