To change the blade on a Dewalt Jigsaw, first, unplug the saw for safety. Then, use the Allen wrench to loosen the screw, remove the old blade, and replace it with a new one.
If you own a Dewalt Jigsaw, you may need to change the blade at some point. This tool is commonly used for making intricate cuts in various materials. Learning how to change the blade will ensure that your jigsaw remains efficient and functional.
This guide will walk you through the process of changing the blade on your Dewalt Jigsaw, enabling you to tackle your projects with ease and confidence. With the right tools and steps, you can master this important skill in no time.
Contents
Getting Started
Changing the blade on your Dewalt jigsaw is a simple task that can significantly improve the cutting performance of your tool.
Gathering The Necessary Tools
- New jigsaw blade: Ensure it is compatible with your Dewalt jigsaw model.
- Allen wrench: Used to loosen the blade screw.
- Protective gloves: To keep your hands safe during the blade replacement.
Preparing Your Work Area
- Unplug the jigsaw: Safety first, always unplug the tool before changing the blade.
- Clean work surface: Remove any debris to avoid interference during the process.
- Secure the jigsaw: Use clamps or a vise to stabilize the tool for a safer blade replacement.

Removing The Old Blade
Removing the old blade from your Dewalt jigsaw is a simple but crucial task to ensure the proper functioning of your tool.
You need to ensure safety first and then proceed to release the blade clamp screw to safely remove the old blade.
Here’s how you can do it step by step.
Ensuring Safety First
Before you start removing the old blade, make sure that your jigsaw is unplugged from the power source to avoid any accidental starts.
If your jigsaw is cordless, ensure the battery is removed. It’s also good to wear protective gloves to safeguard your hands from the sharp edges of the blade.
Releasing The Blade Clamp Screw
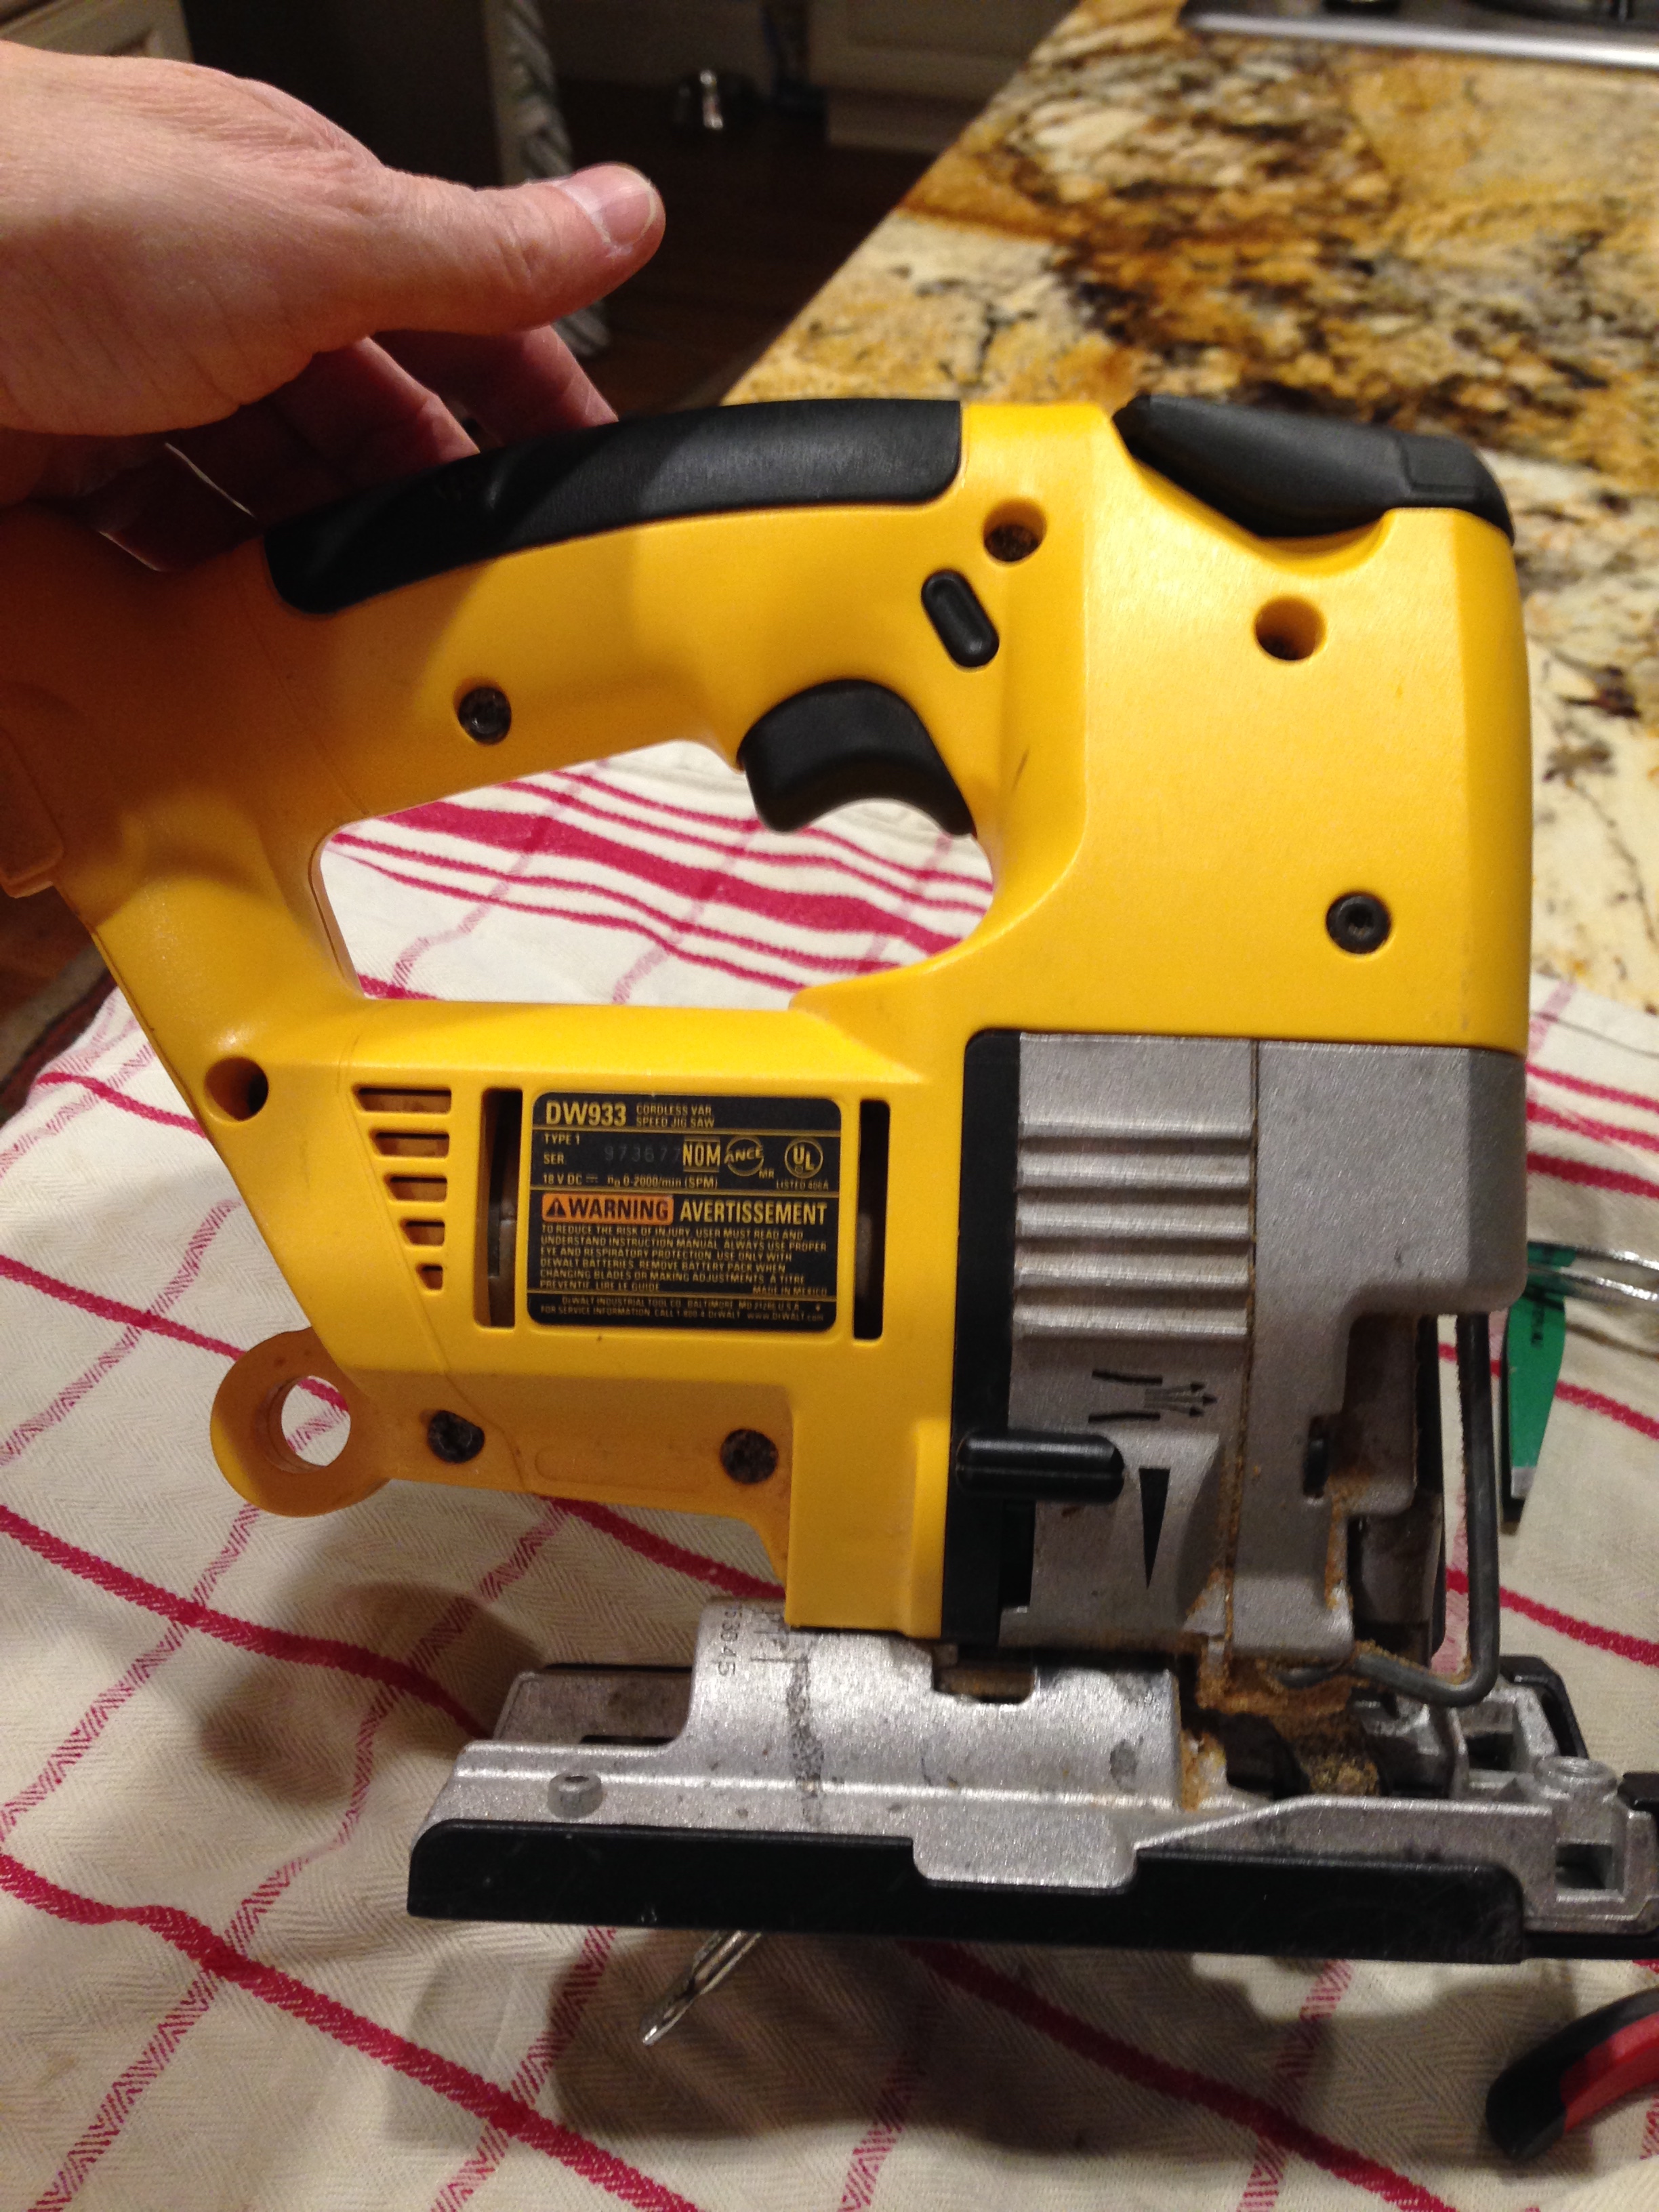
- Locate the blade clamp screw on your Dewalt jigsaw. It is typically located near the blade and can be identified by its prominent size and position.
- Using the appropriate hex key or screwdriver, carefully loosen the blade clamp screw by turning it counterclockwise. Make sure to keep the screw in a safe place to avoid misplacing it.
- Once the blade clamp screw is loosened, the old blade will be free to remove.
- Hold the jigsaw firmly and slide the old blade out of its slot carefully.
- Dispose of the old blade safely, ensuring it cannot cause harm to anyone.
Installing The New Blade
Learn how to effortlessly change the blade on your Dewalt jigsaw with these simple steps. Enhance your woodworking experience by installing the new blade in no time.
Installing the New Blade Selecting the Right Blade Before you can begin installing a new blade on your Dewalt jigsaw, it’s crucial to ensure that you have the right blade for the job. Choosing the correct blade type will ultimately determine the performance and quality of your cuts.
Consider factors such as the material you will be cutting, the depth of the cut, and the desired finish. Dewalt offers a wide range of jigsaw blades suitable for various materials, including wood, metal, and plastics. Refer to the instruction manual or consult the Dewalt website for specific recommendations.
Inserting the New Blade Once you have selected the appropriate blade, it’s time to insert it into your Dewalt jigsaw.
Follow these simple steps to ensure a secure and hassle-free installation:
1. Turn off and unplug the jigsaw: Safety should always be a priority when handling power tools. Make sure the jigsaw is switched off and unplugged before proceeding.
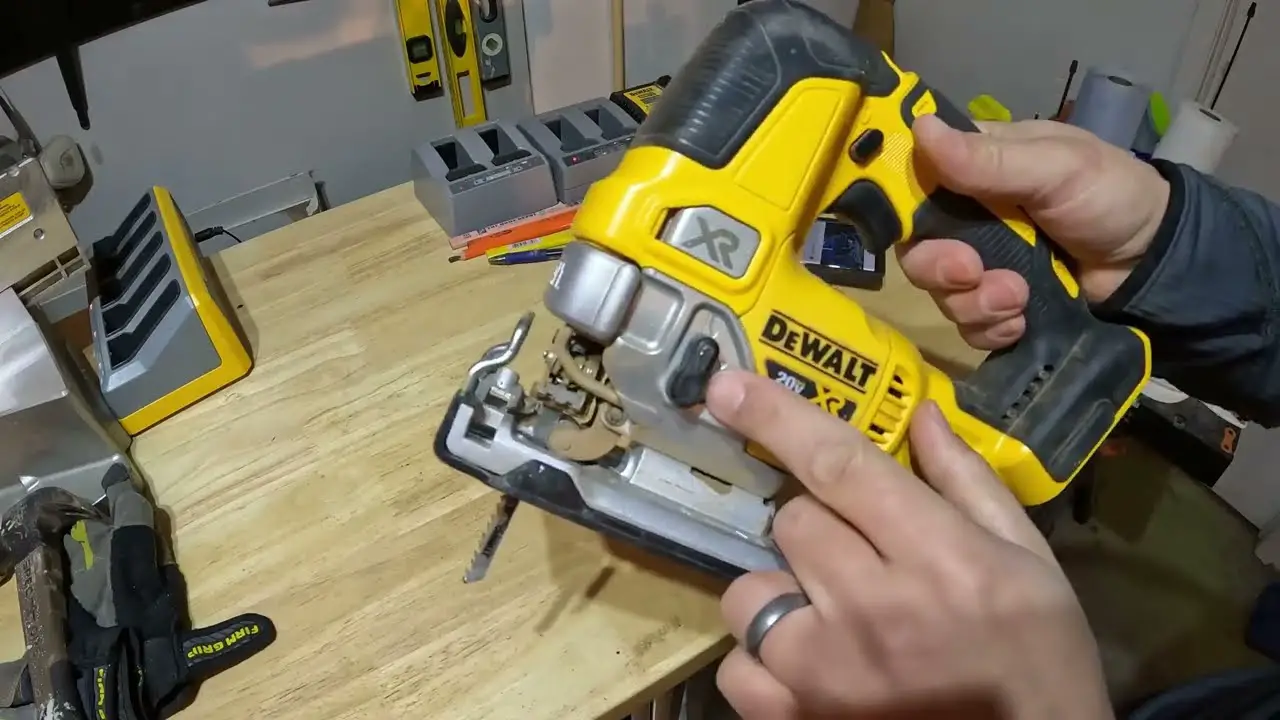
2. Locate the blade release lever: The blade release lever is typically located near the front of the jigsaw, close to where the blade is inserted. It is designed to hold the current blade in place and facilitate easy removal.
3. Depress the blade release lever: Press the blade release lever and hold it down firmly. This action will release the current blade from its locked position, allowing you to remove it.
4. Remove the old blade: With the blade release lever depressed, gently pull the old blade out of its slot. Be cautious as the blade may still be sharp.
5. Orientate the new blade: Before inserting the new blade, ensure the teeth are facing forward or towards the front of the jigsaw. This will ensure proper cutting performance.
6. Insert the new blade: With the teeth of the blade facing forward, align the shank of the new blade with the slot in the jigsaw. Slide the blade into the slot until it is fully seated.
Securing the Blade in Place To ensure the blade remains secured during operation, follow these final steps:
1. Release the blade release lever: Once the new blade is inserted, release the blade release lever. It should snap back into position, locking the blade in place.
2. Pull the blade gently: To confirm that the blade is securely installed, give it a gentle tug. It should not move or come loose.
3. Plug in and test the jigsaw: Once you are confident that the blade is securely installed, plug in the jigsaw and test it before commencing any cutting tasks.
Verify that the blade is running smoothly and that there are no abnormal vibrations or noises. Remember, always refer to the Dewalt instruction manual for specific guidance tailored to your jigsaw model.
By following these steps, you’ll be able to quickly and confidently install a new blade on your Dewalt jigsaw, allowing you to tackle your projects with precision and ease.
Experience smoother and more accurate cuts by ensuring the correct blade is selected and properly installed.
Testing The New Blade
After replacing the blade on your Dewalt jigsaw, it’s important to perform a test cut to ensure the blade is secure and properly installed. This step is crucial for ensuring the safety and effectiveness of your jigsaw.
Performing A Test Cut
To perform a test cut, select a scrap piece of wood and mark a straight line. Place the wood securely on a work surface and firmly grip the jigsaw. Turn on the jigsaw and carefully guide it along the marked line, observing the cut quality and the jigsaw’s stability.
Adjusting Blade Tension If Necessary
If the test cut reveals any issues such as blade deflection or vibration, adjusting the blade tension may be necessary. Refer to the jigsaw’s user manual for specific instructions on adjusting the blade tension, ensuring the blade is properly tensioned for smooth and accurate cuts.
Maintenance Tips
Learn how to change the blade on a Dewalt jigsaw with these helpful maintenance tips. Follow the step-by-step instructions for a smooth and easy blade replacement process.
Cleaning Your Dewalt Jigsaw Regularly
Keeping your Dewalt jigsaw clean is essential for optimal performance. Regular cleaning prevents dust buildup, which can affect the blade’s efficiency. Here’s how you can clean your Dewalt jigsaw effectively:
- Unplug the jigsaw before cleaning to avoid accidents.
- Use a soft brush or cloth to gently remove any sawdust or debris.
- For stubborn buildup, you can use a mild cleaning solution and a cloth to wipe down the jigsaw.
- Ensure the jigsaw is completely dry before use to prevent any damage.
Checking Blade Alignment
Blade alignment is crucial for accurate cuts and overall safety. Regularly checking the blade alignment on your Dewalt jigsaw is a smart maintenance practice. Follow these steps to check the blade alignment:
- Turn off and unplug the jigsaw for safety.
- Inspect the blade visually to ensure it is straight and not warped.
- Use a square tool to check the perpendicularity of the blade to the base.
- Adjust the blade if needed to maintain proper alignment.
Troubleshooting
If you are having trouble changing the blade on your Dewalt Jigsaw, there are a few simple steps you can follow.
Start by unplugging the tool, then use the blade release lever to remove the old blade. Position the new blade properly and secure it in place, making sure it is tightened correctly.
Blade Not Secured Properly
Ensure the blade is properly inserted and secured in the tool.
Blade Misaligned
Check if the blade is aligned correctly with the guide to prevent issues.
Frequently Asked Questions
How To Change A Blade On A Dewalt Jigsaw Dw321?
To change a blade on a DeWalt jigsaw DW321, first, unplug the tool. Then, loosen the blade clamp screw.
Insert the new blade facing forward. Tighten the clamp screw securely. Plug the jigsaw back in and test the new blade.
How Do You Change A Jigsaw Blade?
To change a jigsaw blade, turn off the jigsaw, release the blade clamp, remove the old blade, insert the new blade, and tighten the blade clamp securely.
How Do You Change The Blade On A Dewalt 20v?
To change the blade on a DeWalt 20v, follow these steps:
1. Unplug the tool.
2. Locate the blade release button.
3. Press and hold the button while removing the old blade.
4. Insert the new blade and release the button.
5. Ensure the blade is securely in place before using the tool.
Why Does My Jigsaw Blade Keep Falling Out?
Your jigsaw blade may fall out due to improper installation or a worn-out blade clamp. Tightening the blade properly and replacing a damaged blade clamp can help prevent this issue.
Regular maintenance and attention to the blade and clamp can also extend their lifespan.
Conclusion
To sum up, changing the blade on a Dewalt Jigsaw is a simple yet essential task. With the right tools and a little practice, anyone can master this process.
Remember to prioritize safety and follow the manufacturer’s guidelines. Keeping the tool in good condition ensures smooth and efficient cutting for your woodworking projects.