Struggling with worn-out sander pads on your Ryobi tool can be frustrating, especially when you’re in the middle of a project. You know the importance of having your tools in top shape for smooth and efficient work.
But the good news is, changing Ryobi sander pads is easier than you might think. Imagine the satisfaction of getting back to your project with a tool that works like new, gliding effortlessly across surfaces. In this guide, you’ll discover straightforward steps to replace those pads, saving you time and stress.
Stick around, and you’ll soon have the confidence to tackle this task with ease, ensuring your sander is always ready for action.
Contents
Tools Needed
Essential tools for changing Ryobi sander pads include a screwdriver, replacement pads, and a clean cloth. These tools ensure a smooth and efficient pad change, enhancing your sander’s performance.
Changing the pads on your Ryobi sander can feel like a daunting task if you’re not sure where to start. But with the right tools at hand, you’ll find the process much smoother and more efficient. Whether you’re a seasoned DIY enthusiast or a novice looking to tackle your first project, knowing what tools you need will set you on the right path. Let’s dive into the essential tools required for swapping out those old sander pads and get your Ryobi sander back in action. ###Basic Tools For Ryobi Sander Pad Replacement
To begin with, you’ll need a few basic tools. A screwdriver is your best friend here. Most Ryobi sanders have screws that hold the pads in place, so a suitable screwdriver is crucial. You might already have one in your toolbox, but make sure it fits snugly into the screws to avoid damaging them. ###Specific Screwdriver Types
Flathead or Phillips? Ryobi sanders typically use Phillips screws. It’s best to check your model beforehand. Choosing the right screwdriver saves time and prevents unnecessary frustration. Have you ever tried using the wrong tool for the job? It’s not just inefficient; it can damage your equipment too. ###Additional Handy Tools
While a screwdriver is essential, a few other tools can make the job easier. Consider having a pair of pliers on hand. They’re great for gripping and turning stubborn screws. Have you ever had a screw that just wouldn’t budge? Pliers can offer the extra leverage needed to get it moving. ###Cleaning Supplies For Maintenance
Once you have the pads off, it’s a good idea to clean the sander before attaching new ones. A small brush or cloth can help remove dust and debris. This not only extends the life of your new pads but also ensures optimal performance. Keeping your tools clean might be a small step, but it can make a big difference in the long run. ###Organizing Your Workspace
Before you start, ensure your workspace is tidy and organized. Lay out your tools so you can reach them easily. Have you ever misplaced a tool halfway through a project? It’s frustrating and slows you down. A clear workspace helps you focus and complete the task efficiently. ###Why Preparation Matters
Having the right tools isn’t just about efficiency; it’s about doing the job safely and correctly. When you’re prepared, you reduce the risk of errors and injuries. Would you rather rush into a project or take a few moments to ensure everything’s in place? Preparation makes all the difference. So, what tools do you find indispensable for your DIY projects? Do you have any tips for keeping your workspace organized? Share your thoughts in the comments below!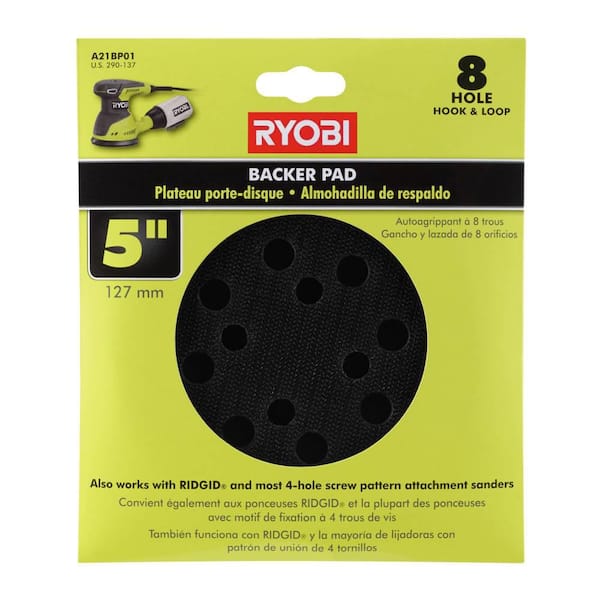
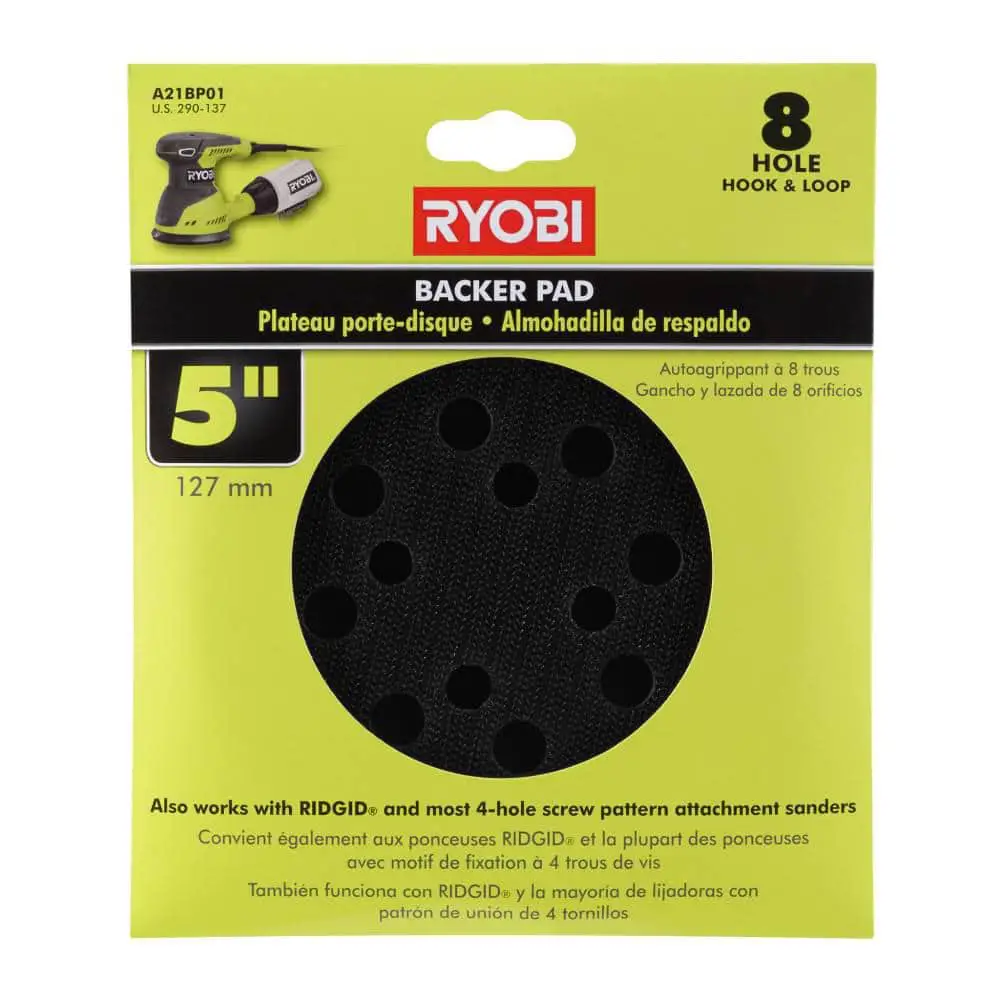
Credit: www.homedepot.com
Safety Precautions
Ensure the sander is unplugged before changing pads to avoid accidents. Wear protective gloves and goggles for safety. Use the correct tools to remove and attach new pads securely.
Changing the pads on your Ryobi sander requires attention to safety. This ensures you avoid accidents and extends the life of your tool. Simple precautions can make your task smoother and safer. Below are essential safety tips to follow.Read The Manual
Always start by reading the Ryobi sander’s manual. It provides specific instructions and safety guidelines. Familiarity with the tool’s functions is crucial. It minimizes the risk of mishandling.Disconnect The Power
Before replacing sander pads, unplug the tool. This prevents accidental starts, reducing the risk of injury. If your sander is battery-operated, remove the battery.Wear Safety Gear
Protective gear is essential. Wear safety goggles to shield your eyes from dust. Gloves protect your hands from abrasions and cuts.Work In A Ventilated Area
Ensure your workspace is well-ventilated. Sanding generates dust, which can be harmful. Good airflow protects your lungs and improves visibility.Use Proper Tools
Ensure you have the right tools for the job. Using incorrect tools can damage your sander. It may also cause injury if the pad is not securely attached.Inspect For Damage
Check your sander for any visible damage. Cracks or worn-out parts need attention. This step ensures your tool operates safely and efficiently.Removing The Old Pad
Start by gently removing the old pad from your Ryobi sander. Ensure the sander is unplugged to avoid accidents. Use a screwdriver to detach any screws holding the pad in place.
Changing Ryobi sander pads is a simple task. The first step is removing the old pad. This step is crucial for a smooth sanding experience. Follow these easy instructions to ensure your sander works perfectly.Disconnect Power Supply
Safety is the priority. Unplug the sander from the power source. This prevents accidental starts. It also protects you from electric shock. Always handle power tools with care.Loosen And Remove Screws
Locate the screws holding the pad. Use a screwdriver to loosen them. Turn each screw counterclockwise. Remove them completely. Keep the screws safe. You’ll need them later.Detach Old Pad
Gently pull the old pad away. Check for any residue or debris. Clean the surface if needed. Ensure the area is smooth and ready for the new pad. Proper cleaning ensures better adhesion and performance.
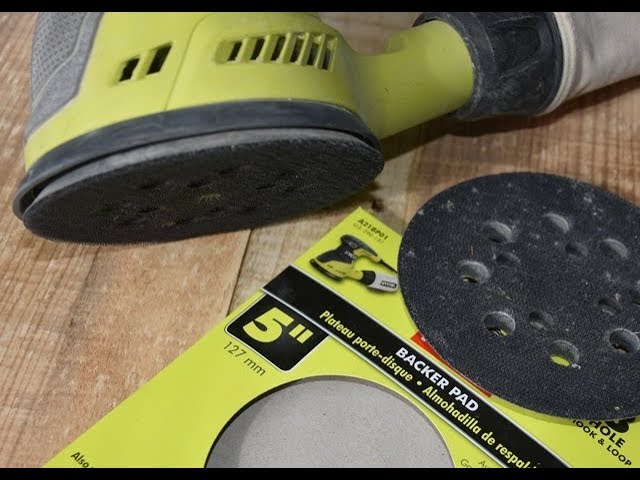
Credit: www.youtube.com
Preparing For New Pad Installation
Preparing for the new pad installation on your Ryobi sander ensures smooth operation. A clean surface and undamaged sander are essential for optimal performance. Follow these steps to get your sander ready for its new pad.
Clean Surface
Begin by removing any dust or debris from the sander’s base. Use a soft cloth or brush to clean the area. Ensure no residue is left behind. This helps the new pad adhere properly. A clean surface prevents unnecessary wear and tear. It also enhances the effectiveness of the sanding process.
Inspect For Damage
Check the sander’s base for any cracks or damage. Look closely at the pad holder. Damaged parts may affect the sander’s performance. Replace any broken components before installing the new pad. Ensuring the sander is in good condition prolongs its lifespan.
Installing The New Pad
Changing the sander pad on your Ryobi tool is crucial for maintaining its efficiency. A new pad ensures smooth operation and optimal results. Follow these steps to install the new pad correctly. Your sander will work like new.
Align New Pad
First, place the new pad on the sander base. Ensure it aligns with the holes on the base. Proper alignment is key. Misalignment can cause uneven sanding. Take your time with this step. It’s worth it.
Secure With Screws
Once aligned, insert screws through the pad and into the base. Use a screwdriver to tighten them. Ensure all screws are secure. Loose screws affect performance. Double-check each screw. Tighten as needed.
Testing The Sander
Changing Ryobi sander pads is simple. First, unplug the sander. Then, remove the old pad by loosening screws. Attach the new pad securely and tighten screws. Ensure it fits well before use.
Testing the sander is an essential step to ensure that your newly replaced Ryobi sander pads are functioning correctly. After the effort you’ve put into changing the pads, you want to make sure your sander is ready to tackle your next project efficiently. Testing allows you to catch any issues early, preventing potential mishaps during use. It’s a simple process that ensures your sander is in top shape.Reconnect Power
First, reconnect the power source. If you’re using a corded sander, plug it back into the wall. For battery-operated models, insert the battery securely. Make sure everything clicks into place. You don’t want loose connections. A firm connection is crucial for optimal performance. Have you ever had a sander stop mid-task? It’s frustrating. Avoid that by ensuring a solid connection now.Check Functionality
Next, turn on the sander. Listen closely to its operation. Is it running smoothly? You should hear a steady hum, not sputtering noises. Test it by sanding a scrap piece of wood. This gives you real-time feedback on how well the pads are gripping. Make sure the sander glides evenly without leaving unwanted marks. If you notice any irregularities, double-check the pad installation. Sometimes, a small adjustment makes a big difference. Testing the sander is not just about technical checks; it’s about building confidence. With a reliable sander, you can focus on creativity, not on equipment troubles. Are you ready for your next sanding project? With these checks, you can be sure your sander is too.Maintenance Tips
Maintaining your Ryobi sander is crucial for its longevity and performance. Regular care not only ensures smooth operation but also saves you from unexpected breakdowns. Let’s dive into some essential maintenance tips that will keep your sander pads in top shape.
Regular Inspection
Regularly checking your sander pads can prevent wear and tear. Look for any signs of damage or excessive wear. If you notice the surface is uneven or frayed, it’s time to replace them. A quick inspection before each use can make a big difference.
Ask yourself: Are the pads still gripping the sandpaper effectively? If not, consider swapping them out. Regular inspection helps catch issues early, saving you from costly repairs down the road.
Proper Storage
Storing your sander properly can extend its life significantly. Keep it in a dry place away from extreme temperatures. Moisture can damage the pads and affect the sander’s performance.
Consider using a dedicated case or toolbox. This protects the sander from dust and debris that can clog the motor. Proper storage ensures your sander is ready to go whenever you need it.
What’s your current storage solution? If it’s not ideal, make adjustments to improve it. A small change in storage habits can make a big impact on your sander’s health.
Incorporating these maintenance tips can make your Ryobi sander more efficient and reliable. Regular inspection and proper storage are simple steps that you can easily integrate into your routine. What other tools do you think could benefit from similar care? Start implementing these practices today, and notice the difference in your tool’s performance and longevity.
Credit: m.youtube.com
Frequently Asked Questions
How Do I Remove Ryobi Sander Pads?
To remove Ryobi sander pads, first, unplug the sander for safety. Next, release the hook-and-loop fasteners by gently pulling the pad away. Inspect the sanding pad holder for any debris. Clean it if necessary before attaching a new pad. Ensure the new pad is securely fastened before use.
What Tools Are Needed To Change Sander Pads?
To change Ryobi sander pads, you typically don’t need any tools. The hook-and-loop system allows for easy removal and attachment. However, having a clean cloth on hand helps wipe away dust and debris before applying the new pad. This ensures a smooth and secure fit.
How Often Should I Change Sander Pads?
Change Ryobi sander pads when they become worn or less effective. This varies based on usage and material. Regular inspection helps maintain optimal performance. If sanding results are uneven, it’s time to replace the pad. Frequent users might change pads more often than occasional users.
Can I Use Any Brand Of Sander Pads?
While Ryobi recommends using their pads, many compatible brands work. Ensure the pad size matches your sander’s specifications. The hook-and-loop system should align properly. Using high-quality pads ensures longevity and efficiency. Always check the manufacturer’s guidelines for compatibility to avoid performance issues.
Conclusion
Changing Ryobi sander pads becomes easy with practice. Follow each step carefully. Use the right tools for the job. This ensures your sander works effectively. Regular maintenance extends its lifespan. Keep your workspace clean. This prevents any accidental damage. Always check the sander before use.
It helps in spotting issues early. Remember, safety comes first. Wear protective gear when working. With these tips, you’re ready to tackle sanding tasks. Feel confident in keeping your Ryobi sander in top shape. Happy sanding!