Views: 11
Are you ready to turn your DIY dreams into reality? Imagine crafting your own furniture, tackling home improvement projects, or even adding those finishing touches that make a house a home—all with precision and ease.
If you’ve been eyeing your Ryobi table saw, wondering how to unlock its full potential, you’re in the right place. Understanding how to use this powerful tool not only enhances your craftsmanship but also boosts your confidence in handling any project.
This guide will walk you through every step, ensuring you make the most of your Ryobi table saw. Let’s dive in and discover how you can transform your ideas into amazing creations.
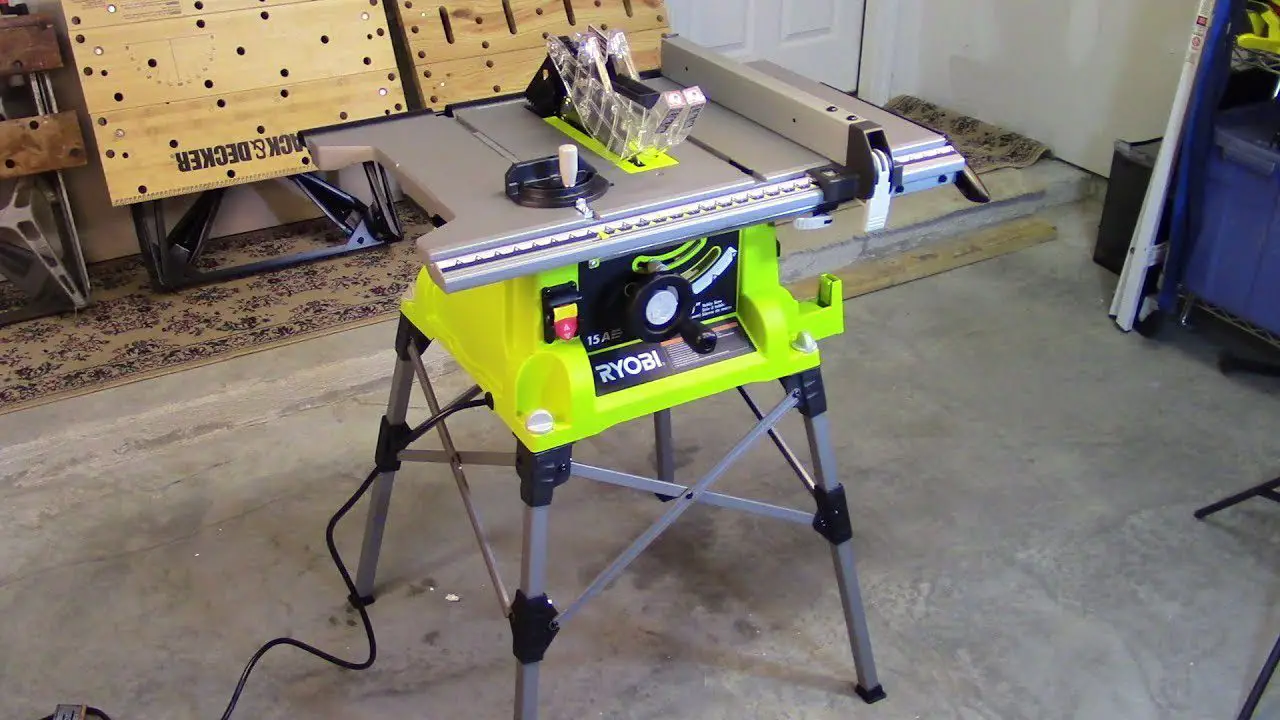
Credit: www.homedepot.com
Contents
Choosing The Right Ryobi Table Saw
Choosing the right Ryobi table saw can make all the difference in your woodworking projects. Whether you’re a seasoned professional or a DIY enthusiast, selecting the ideal model involves understanding your needs and evaluating the available options. This section will guide you through the process, ensuring you make an informed decision.
Evaluating Different Models
Ryobi offers a range of table saws, each designed to cater to specific user requirements. Are you looking for portability or power? The Ryobi RTS12 offers a compact design perfect for those with limited space. On the other hand, the Ryobi BT3000 boasts more advanced features suitable for complex projects.
Consider your workspace and the types of materials you’ll be cutting. A model with a larger rip capacity might be necessary for bigger sheets of wood. List your priorities and match them with the model specifications. This ensures that you’re investing in a tool that meets your needs without overspending.
Understanding Key Features
Grasping the key features of a Ryobi table saw is crucial for optimal performance. Look for features like adjustable miter gauges and easy-to-use rip fences. These components enhance accuracy and make your work efficient.
Safety features should also be a top consideration. Models equipped with blade guards and emergency stop buttons can prevent accidents. Is the saw easy to maintain? Check if parts are readily available and if the model has a user-friendly design for cleaning and adjustments.
Consider the power of the motor. A higher horsepower might be necessary for cutting thicker materials. Evaluate what you’ll mostly be working on and choose accordingly. Are you ready to select a Ryobi table saw that suits your needs perfectly?
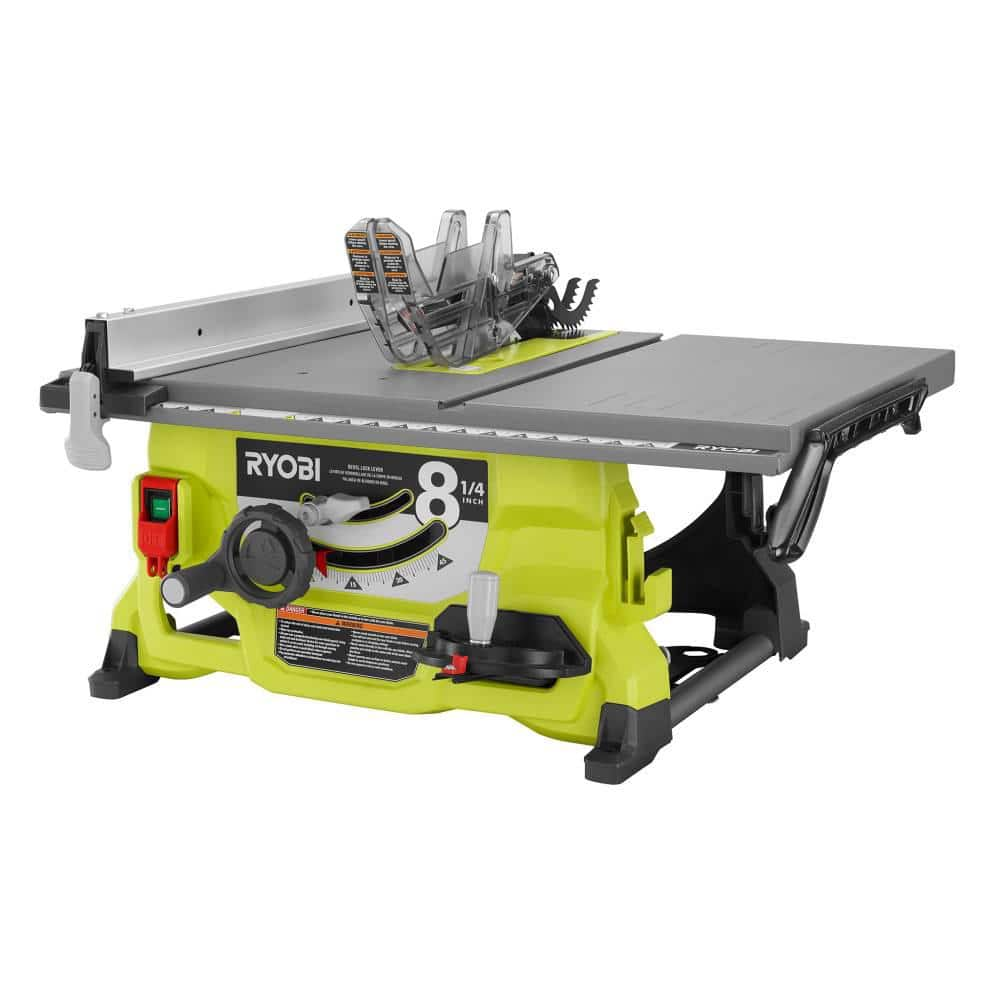
Credit: espanol.ryobitools.com
Setting Up Your Ryobi Table Saw
Setting up your Ryobi table saw ensures safe and efficient cutting. Start by assembling the stand securely. Adjust the blade height and angle for precise cuts.
Setting up your Ryobi Table Saw is an essential step to ensure precision and safety in your woodworking projects. Whether you’re a seasoned woodworker or a DIY enthusiast, getting your table saw ready for action requires careful attention to detail. Let’s explore how to assemble, adjust, and stabilize your Ryobi Table Saw for optimal performance.Assembling The Saw
Begin by unpacking all the components from the box. Place them in a neat arrangement to avoid confusion later. Follow the manufacturer’s instructions, as they provide a straightforward guide to assembling the saw’s stand and attaching the table surface. When I first set up my Ryobi Table Saw, I found that having a friend to assist made the process quicker and more enjoyable. Have someone hold parts in place while you secure them to ensure stability.Adjusting The Blade Height And Angle
Your Ryobi Table Saw allows you to adjust the blade height and angle for various cuts. Use the adjustment wheel to set the blade height according to the material thickness. A quick tip: When cutting thicker wood, ensure the blade rises slightly above the surface to minimize kickback. To adjust the angle, locate the tilt mechanism and set the blade to your desired angle. Remember, precise adjustments lead to cleaner cuts.Ensuring A Stable Work Surface
A stable work surface is crucial for accuracy. Check that the table is level and securely attached to its stand. Consider using clamps or bolts for added stability. Even a slight wobble can affect your cut precision. What about the floor beneath your table saw? Ensure it’s even to prevent any movement during operation. Have you ever had a project go awry due to an unstable surface? You can avoid that by double-checking your setup. By focusing on these essential aspects, you set the stage for a seamless woodworking experience. Are you ready to start your project with confidence and precision?Safety Precautions
Using a Ryobi table saw requires attention to safety. It’s vital to follow safety precautions to prevent accidents. Proper safety measures ensure smooth operation and protect from injuries.
Using Safety Gear
Always wear proper safety gear. Safety goggles protect your eyes from flying debris. Ear protection helps prevent hearing damage. Use a dust mask to avoid inhaling sawdust. Gloves provide grip but ensure they are not loose. Loose gloves can catch in moving parts.
Maintaining A Clean Workspace
Keep your workspace tidy. A cluttered area can lead to accidents. Clear away any tools not in use. Ensure the floor is free of sawdust. Sawdust can cause slipping. A clean workspace helps maintain focus. It reduces the risk of tripping or falling.
Basic Cutting Techniques
When diving into the world of woodworking, mastering basic cutting techniques with your Ryobi table saw is essential. Whether you’re crafting a new project or tackling a DIY home improvement, understanding how to make precise rip cuts and execute clean crosscuts can make all the difference in your craftsmanship. With each cut, you’re not just shaping wood; you’re refining your skill. Let’s explore these fundamental techniques that will elevate your woodworking game.
Making Rip Cuts
Rip cuts are all about cutting along the grain of the wood. This technique is crucial when you want to adjust the width of a piece of lumber. Before you start, ensure your table saw is stable and the blade is sharp. You don’t want your wood to wobble or your cuts to be jagged.
Place your wood against the fence for guidance. The fence ensures your cut is straight and precise. Adjust it to the width you need, and double-check your measurements. Accuracy at this stage saves you from the frustration of redoing your work.
Push the wood slowly and steadily through the blade. Keep your hands clear of the blade, using push sticks if necessary. You might feel nervous at first, but with practice, you’ll gain confidence and precision. Have you ever thought about how satisfying it is to see a perfectly straight cut?
Executing Crosscuts
Crosscuts are used to cut across the grain, making them ideal for shortening the length of a board. Unlike rip cuts, these require a miter gauge for guidance. Make sure it’s set to 90 degrees for straight cuts, or adjust as needed for angles.
Position your wood securely against the miter gauge, ensuring it’s snug but not forced. It’s essential to maintain control without applying excessive pressure. Have you ever noticed how a slight shift can alter the outcome?
Slowly slide the wood through the blade, maintaining a firm grip. The smoother your motion, the cleaner the cut. Each slice is an opportunity to hone your technique. With each crosscut, you’re not just cutting wood; you’re shaping your ability to handle the saw with precision.
Mastering rip cuts and crosscuts with a Ryobi table saw opens up a world of possibilities for your woodworking projects. As you practice, consider the satisfaction of creating pieces that are not only functional but also well-crafted. Are you ready to take your woodworking skills to the next level?
Advanced Cutting Techniques
Discover effective cutting techniques with the Ryobi Table Saw. Learn to handle the saw with ease, ensuring precise cuts every time. Perfect for both beginners and DIY enthusiasts aiming for accurate woodworking results.
Mastering advanced cutting techniques with your Ryobi table saw can elevate your woodworking projects to a professional level. Whether you’re crafting furniture or tackling DIY home improvements, understanding these techniques will broaden your capabilities. Imagine the satisfaction of creating precise, intricate cuts that make your projects stand out. ###Crafting Bevel Cuts
Bevel cuts involve cutting the wood at an angle other than 90 degrees. This technique is essential for projects like picture frames or joining pieces at angles. Start by adjusting the blade tilt to the desired angle. Most Ryobi table saws have an easy-to-use adjustment lever. Ensure your wood is securely clamped to prevent movement during the cut. This not only improves accuracy but also ensures safety. Test your setup with a scrap piece of wood. This helps you confirm the angle and adjust if necessary before making the actual cut. Have you ever experienced the frustration of an imperfect bevel cut? Taking these steps can transform your results. ###Creating Dado Cuts
Dado cuts are grooves made into wood to fit another piece snugly. They’re perfect for shelving or cabinetry. Use a dado blade set to achieve these cuts. Ryobi table saws are compatible with many dado blade sets available on the market. Measure and mark the width and depth of the dado on your wood. Precision is key here; a miscalculation can lead to loose joints. Adjust the blade height to the required depth. Take it slow, and make multiple passes if needed, to achieve the perfect depth. Have you considered how a well-fitted dado can enhance the strength of your joints? Always remember to unplug the saw when changing blades. Safety first, even when you’re eager to see the results. By mastering these advanced techniques, you can significantly expand the range of projects you undertake. Enjoy the process and the satisfaction of creating something truly unique.Maintenance And Care
Proper maintenance ensures your Ryobi table saw runs smoothly. Regularly clean dust and debris from the blade and table. Check and tighten all screws and nuts to prevent accidents.
Maintaining and caring for your Ryobi table saw not only ensures its longevity but also keeps it performing at its best. Regular upkeep can prevent accidents and save you money on repairs. Think of it as a small investment of time for a significant return in efficiency and safety. Let’s dive into some practical steps you can take to keep your saw in tip-top shape.Regular Cleaning
Keeping your Ryobi table saw clean is crucial. Dust and debris can accumulate, affecting performance and safety. After each use, take a few minutes to brush off sawdust from the tabletop and motor housing. Use a damp cloth to wipe down surfaces, ensuring no moisture enters the electrical components. You might be surprised at how a small buildup can cause issues over time. Consider investing in a vacuum with a hose attachment to remove dust from hard-to-reach places.Checking And Replacing The Blade
The blade is the heart of your saw, and keeping it sharp is essential. Dull blades can lead to inaccurate cuts and even pose safety hazards. Check the blade regularly for any signs of wear or damage. A simple test is to run your finger lightly along the blade edge. If it feels smooth, it’s time to replace it. Changing the blade is straightforward, and your manual will provide step-by-step instructions. Ensure you have the correct replacement blade that matches your saw’s specifications. Regular maintenance might seem tedious, but the payoff is rewarding. Have you ever skipped a step and regretted it later? By following these tips, you can ensure your Ryobi table saw remains a reliable tool in your workshop.Troubleshooting Common Issues
Using a Ryobi table saw can boost your woodworking efficiency. But like all tools, issues can arise. Knowing how to troubleshoot common problems can save you time and stress. Let’s explore how to address some typical issues.
Addressing Blade Misalignment
Blade misalignment can cause uneven cuts. First, ensure the saw is off and unplugged. Check the blade using a square tool. Align it with the miter slot. If misaligned, adjust the blade angle. Consult your manual for precise instructions. Make small adjustments and recheck alignment.
Dealing With Motor Problems
If the motor doesn’t start, check the power source. Ensure the cord is plugged in securely. Inspect the cord for damage. If the motor stalls, it might be overheating. Allow it to cool before restarting. Regularly clean dust from the motor vents. This helps maintain airflow and prevent overheating.
Enhancing Your Skills
Learning to use a Ryobi table saw can boost your woodworking skills. Begin by understanding its safety features and basic operations. Practice cutting different materials to enhance precision and confidence.
Enhancing your skills with a Ryobi Table Saw can open up new possibilities in your woodworking projects. Whether you’re a beginner or have some experience, there’s always room to grow and refine your techniques. By focusing on practice and learning, you can transform your capabilities and tackle more complex projects with confidence. ###Practicing With Scrap Wood
Start your skill enhancement journey with scrap wood. It’s a cost-effective way to experiment without the fear of wasting valuable materials. Try different cuts and angles to understand how the saw blade behaves. Observe how the wood reacts and adjust your approach accordingly. This hands-on experience will build your confidence and precision. Remember the first time you used a table saw? It might have seemed daunting. But with scrap wood, you can make mistakes, learn from them, and improve. It’s like having a no-pressure playground to test your ideas. ###Exploring Online Tutorials
Online tutorials are a treasure trove of knowledge. They offer insights from experts and enthusiasts who share their tricks and tips. Find tutorials that match your skill level. Are you just starting, or looking to master advanced techniques? There’s something for everyone. Interactive content can make a big difference. Videos, in particular, let you see techniques in action. You can pause, rewind, and practice along. Have you ever watched a tutorial and discovered a trick you never thought of? That one tip could save you hours of trial and error. What skills do you want to enhance next? Use these resources to chart your path forward.
Credit: www.youtube.com
Frequently Asked Questions
How Do I Set Up A Ryobi Table Saw?
Begin by placing the saw on a stable surface. Attach the blade according to the manual. Connect the power source and ensure all safety features are in place. Adjust the blade height and angle as needed for your project.
What Safety Gear Should I Wear?
Always wear safety goggles to protect your eyes from debris. Use ear protection to shield against loud noise. Gloves can help prevent cuts, but ensure they don’t interfere with the saw operation. Avoid loose clothing and tie back long hair.
How Do I Make Precise Cuts?
Use the built-in rip fence for straight cuts. Adjust the miter gauge for angled cuts. Measure and mark your material carefully before cutting. Double-check blade alignment and settings to ensure accuracy. Practice makes perfect, so start with scrap pieces.
How Do I Maintain My Ryobi Table Saw?
Regularly clean the sawdust from the table and blades. Lubricate moving parts to ensure smooth operation. Check for loose screws and tighten them. Inspect electrical components for wear and tear. Follow the manufacturer’s maintenance schedule for optimal performance.
Conclusion
Using a Ryobi table saw can be straightforward and safe. Follow the steps outlined for best results. Ensure your workspace is clean and organized. Safety gear is essential; don’t skip it. Familiarize yourself with the saw’s features. Practice makes perfect, so take your time.
Accurate cuts come with patience and precision. Remember, it’s all about steady hands and focus. Keep your tools in top shape for lasting performance. With these tips, you’ll handle your projects confidently. Enjoy your woodworking journey with the Ryobi table saw!