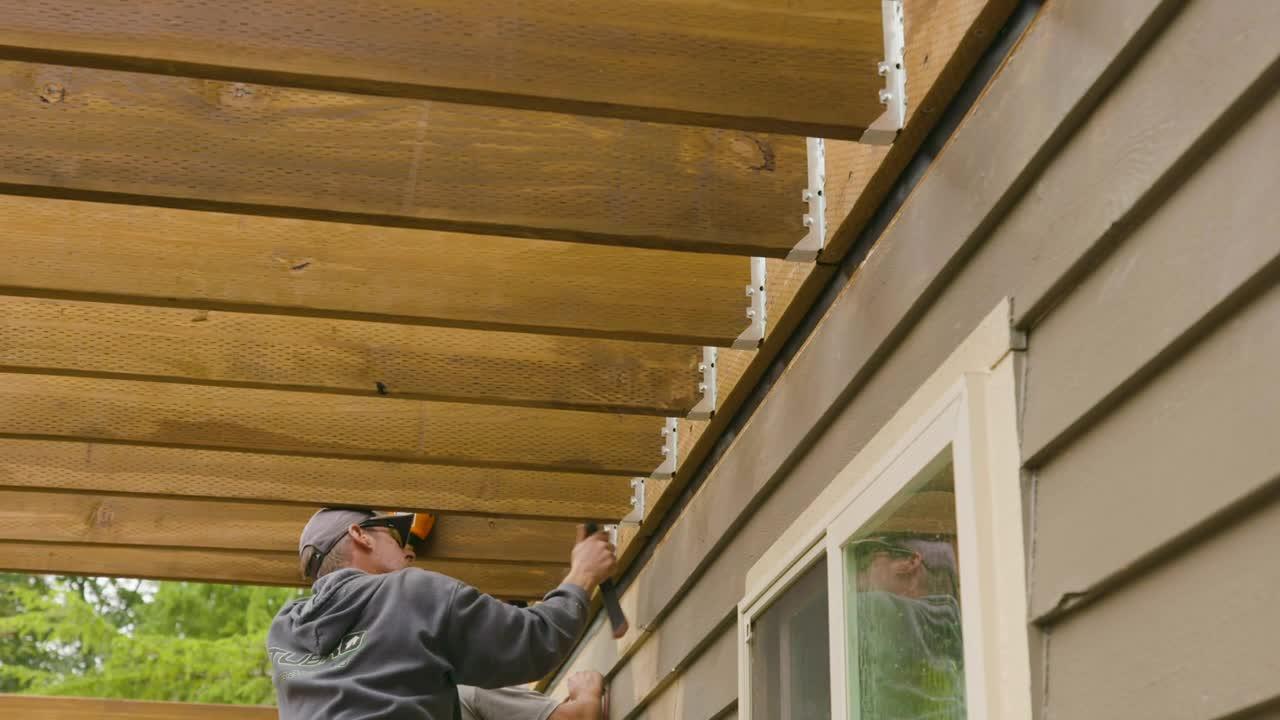
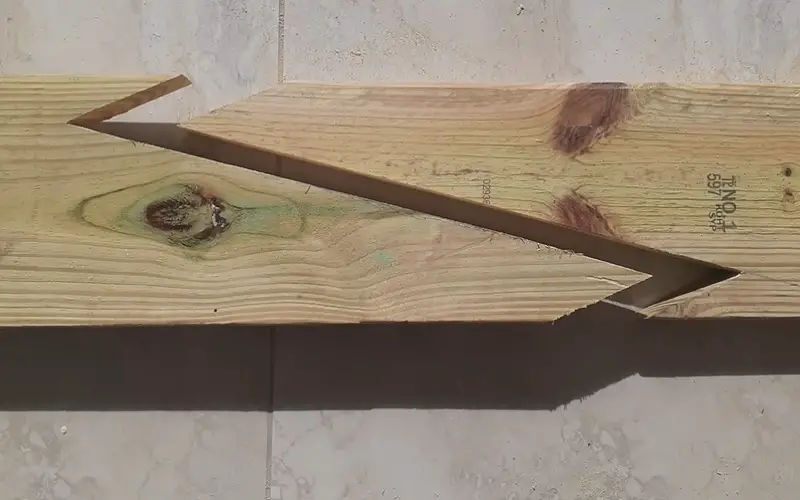
Splicing 2×4 together requires measuring and cutting two boards to the desired length, placing them side by side, and securing them with fasteners such as screws or nails. This method provides a strong joint for structural applications or extending the length of a board.
When joining two 2×4 boards, it is important to ensure a secure and durable connection. Splicing allows for the creation of longer boards or the repair of damaged ones. We will explore step-by-step instructions on how to splice 2×4 together effectively.
Whether you are working on a DIY project or professional construction, mastering this technique will prove useful. By following these guidelines, you can achieve reliable joints that will withstand the test of time.
Contents
Preparing The 2x4s
Prepare the 2X4s by measuring and cutting to desired lengths. Align them for a snug fit before securing with wood glue and screws. Sand any rough edges for a seamless splice.
Measuring And Marking
To create a seamless and sturdy joint, accurate measuring and marking of the 2X4s is essential. Begin by measuring the length of the 2X4s you need to splice together.
Take your time to ensure precise measurements, using a tape measure or ruler with clear markings. Once you have the measurements, mark the designated spots for cutting on both 2X4s.
You can use a pencil or a marker to make small, visible marks. Remember to mark on the surface of the board that will not be used in the final joint. This will help you avoid any confusion during the cutting process.
Cutting The 2x4s
With the measurements and markings in place, it’s time to cut the 2X4s. Use a saw suitable for cutting wood, such as a circular saw or a handsaw. Be sure to follow safety precautions, wearing protective eyewear and gloves.
Place the first 2X4 on a stable work surface, securing it to prevent any unwanted movement. Align the saw blade with the marked spot and make a straight and steady cut along the length of the board.
Repeat the process for the second 2X4, ensuring that the cuts are identical. Remember, the quality of the cut will directly impact the strength and stability of the joint. Take your time and maintain a steady hand throughout the cutting process.
By accurately measuring and marking the 2X4s and making clean cuts, you are setting yourself up for a successful splicing process. Now that the preparation stage is complete, you can move on to the next step of joining the 2X4s together.

Selecting The Splicing Method
Selecting the Splicing Method is crucial when joining two 2×4 together for a sturdy construction project. There are several options available, including:
Butt Joint
Butt joints are the simplest method of splicing 2x4s where the ends of two boards are simply butted together. This method is quick and easy but may not be as strong as other methods.
Half-lap Joint
Half-lap joints involve cutting away half the thickness of each board at the joint area, then joining them together. This method provides a stronger bond compared to a butt joint, ideal for heavy-duty projects.
Mortise And Tenon Joint
Mortise and tenon joints require cutting a mortise hole in one board and a tenon on the other to interlock them. This technique yields a very strong connection suitable for load-bearing structures.
Ensuring A Strong Connection
When splicing 2x4s together, it’s crucial to ensure a strong connection to guarantee the structural integrity of your project. Here are some methods to achieve a robust joint:
Using Glue
Applying wood glue to the mating surfaces of the 2x4s before joining them together can significantly enhance the bond. Be sure to spread the glue evenly and clamp the pieces tightly for at least 24 hours to allow for proper drying.
Adding Support
Incorporating additional support in the form of wooden splines or biscuits between the 2x4s can reinforce the joint, preventing separation over time. This method is particularly effective for load-bearing structures.
Using Screws Or Bolts
Utilizing screws or bolts to secure the 2x4s together is a reliable way to achieve a strong connection. Pre-drill pilot holes to prevent splitting and ensure the fasteners are long enough to penetrate both pieces adequately.
Implementing The Splicing Technique
Butt Joint Technique
1. Align the two 2×4 boards:
- Cut the 2×4 boards to the desired length using a saw.
- Place the boards on a flat surface to ensure proper alignment.
2. Apply wood glue:
- Spread a thin layer of wood glue on the jointing surfaces of the boards.
3. Secure the joint:
- Use clamps to hold the boards together firmly.
- Allow the glue to dry thoroughly before removing the clamps.
Half-lap Joint Technique
1. Mark and cut the half-lap joint:
- Measure and mark the area where the two boards will overlap.
- Cut out half the thickness of each board at the marked area.
2. Assemble the joint:
- Apply wood glue to the jointing surfaces and assemble the boards.
- Secure the joint using clamps until the glue sets.
Mortise And Tenon Joint Technique
1. Create the mortise:
- Mark and carve out a rectangular slot at the end of one board (mortise).
2. Cut the tenon:
- Measure and cut a protruding piece (tenon) on the end of the other board to fit the mortise.
3. Assemble the joint:
- Apply wood glue to the tenon and insert it into the mortise.
- Secure the joint with clamps until the glue dries.
Securing And Testing The Joint
To secure and test the joint when splicing 2×4 together, it is essential to align the boards precisely and use a strong adhesive or fasteners to ensure a tight bond. Additionally, testing the joint for stability and durability is crucial to prevent any future issues with the splice.
Securing and Testing the Joint Applying Clamps: To secure the joint between the two 2×4 boards, you’ll need to apply clamps. This will help hold the boards firmly in place, allowing the glue to bond properly. First, position the clamps over the joint, ensuring they are evenly spaced along the length.
Tighten the clamps just enough to apply pressure, but be careful not to overtighten and damage the wood. Adjust the clamps as needed to ensure a snug fit. Allowing the Glue to Dry: Once the clamps are in place, it’s important to allow the glue to dry thoroughly.
This typically takes around 24 hours, but always check the glue manufacturer’s instructions for specific drying times. During this period, it’s crucial to avoid disturbing or moving the joint. You may want to place a piece of scrap wood underneath the joint to support it while it dries.
This will ensure that the 2×4 boards maintain their alignment and the joint remains stable. Conducting a Weight Test: After the glue has fully dried, it’s time to test the strength of the joint. This can be done by conducting a weight test.
Gradually increase the amount of weight applied to the joint, starting with lighter objects and moving up to heavier ones. Observe the joint as the weight is added, checking for any signs of instability or shifting.
If the joint holds firm and the boards remain aligned, it’s a good indication that the splice was successful. By following these simple steps for securing and testing the joint, you can ensure a strong and durable connection between two 2×4 boards.
Remember to apply clamps evenly, allow the glue to dry completely, and conduct a weight test to assess the joint’s strength. With proper execution, your splice should be able to withstand the demands of various projects and applications.
| Key Points: |
|---|
| – Apply clamps to hold the boards together during the gluing process |
| – Allow the glue to dry for at least 24 hours |
| – Use a weight test to assess the joint’s strength |

Finishing Touches And Considerations
When splicing 2×4 boards together, the process doesn’t end after making the joint. It’s important to pay attention to the finishing touches and considerations for a professional and durable result.
Sanding the spliced area, staining or painting the joint, and considering safety precautions are all vital steps that should not be overlooked.
Sanding The Spliced Area
Sanding the spliced area is crucial to achieve a smooth and seamless joint. Start by selecting a fine-grit sandpaper, such as 120 or 150 grit.
Lightly sand the joint in the direction of the grain, taking care to remove any rough edges or imperfections. Make sure to sand both sides of the splice evenly for a consistent finish.
Staining Or Painting The Joint
To give the spliced joint a finished look and protect it from the elements, consider staining or painting it to match the surrounding wood. Before applying any stain or paint, ensure the spliced area is clean and dry.
Use a high-quality primer if you plan to paint the joint. Apply the stain or paint evenly, following the manufacturer’s instructions. Once dry, apply a clear coat or sealer to enhance the longevity of the finish.
Considering Safety Precautions
Safety should always be a top priority when working with power tools and construction materials. When splicing 2×4 boards, consider the following safety precautions:
- Wear protective goggles to shield your eyes from wood dust and debris.
- Use a clamp or vise to secure the boards in place during the cutting and splicing process.
- Keep your hands clear of the cutting area to avoid accidental injuries.
- Follow proper electrical safety measures when using power tools.
- Disconnect power tools when not in use to prevent accidental start-up.
By taking these safety precautions, you can ensure a safe and successful splicing process.
Frequently Asked Questions Of How To Splice 2×4 Together
How Do You Join Two Pieces Of 2×4?
To join two pieces of 2×4, use wood glue and screws for a strong hold. Apply the glue evenly, then secure the pieces together with screws.
Ensure they are aligned properly for a sturdy connection. This method is effective for various woodworking projects.
How Do You Join Two Pieces Of Wood To Make It Longer?
You join two pieces of wood by using wood glue and clamps for a strong bond, creating a longer piece.
How Do You Join Two Boards Together Lengthwise?
To join two boards together lengthwise, use wood glue and clamps for a strong bond. Align the edges, apply glue, clamp securely, then let dry.
Alternatively, use pocket screws or dowels for added reinforcement. Sand the joint for a smooth finish.
How Do You Connect Two Pieces Of Wood End To End?
Connect two pieces of wood end to end by using a strong adhesive, such as wood glue, and clamping them together tightly. You can also use dowel joints or screws to secure the pieces.
Conclusion
When joining 2x4s, follow proper techniques for sturdy results. Remember to measure accurately and use quality materials.
Practice patience and precision for a successful splice. Combine this knowledge with skillful execution to achieve your desired outcome.

