Views: 172
You’ve been working tirelessly on your lawn, aiming for that perfect, pristine look. But then, your Ryobi 18V trimmer head gets tangled, or worse, stops functioning altogether.
You might feel frustrated, even a bit overwhelmed. But here’s the good news: removing the trimmer head isn’t as daunting as it seems. In fact, with a few simple steps, you can have your Ryobi 18V trimmer back in action, ready to tackle your garden tasks with ease.
Imagine the satisfaction of effortlessly maintaining your lawn, without the hiccup of a malfunctioning tool. This guide is crafted to empower you with the knowledge to remove the trimmer head swiftly and efficiently. You’ll not only save time but also extend the life of your equipment. So, if you’re ready to get back to that satisfying hum of a perfectly functioning trimmer, keep reading. This could be the key to transforming your lawn care routine, making it as smooth as a freshly cut lawn.
Contents
Tools And Materials Needed
You’ll need a Phillips screwdriver, a pair of pliers, and a clean cloth to remove the Ryobi 18V trimmer head. Keep these tools handy for an easy and smooth removal process.
Removing the trimmer head from your Ryobi 18V can seem daunting at first, but with the right tools and materials, it becomes a straightforward task. Gathering your essentials beforehand not only saves time but also ensures a seamless process. You might find yourself surprised at how simple it really is once you’re prepared. So, let’s dive into what you’ll need to make this job a breeze.Tools You’ll Need
First, you’ll want to have a Phillips screwdriver on hand. This tool is crucial for removing screws that secure the trimmer head. If you’ve ever fumbled with a screwdriver that didn’t quite fit, you know the frustration. Opt for a screwdriver with a comfortable grip; it makes a world of difference. A wrench is another essential tool. Whether it’s a standard wrench or an adjustable one, this tool helps loosen tight bolts. Ensure your wrench fits the size of the bolts to avoid slipping or damaging them. Lastly, consider having pliers available. They come in handy for gripping and pulling out any stubborn parts that refuse to budge. Pliers are like a trusty sidekick in your toolkit.Materials Needed
Make sure you have replacement trimmer head parts ready if you’re planning to swap out the old for new. This includes the new trimmer head itself, which you’ll likely purchase beforehand. Always check compatibility to avoid unnecessary trips back to the store. Keep a small container or tray nearby to hold screws and small parts. It’s easy to lose these tiny components, especially when you’re focused on the task at hand. A simple tray can save you from hunting for missing pieces later. Lastly, have a clean cloth or rag handy to wipe off any dirt or grass residue from the trimmer parts. Keeping things clean not only makes your task easier but also prolongs the life of your tools. Are you feeling ready to tackle the removal now? Having these tools and materials at your fingertips will empower you to get the job done efficiently. What’s the one tool you wish you had more often when tackling DIY tasks?Safety Precautions
Ensure the trimmer is turned off and disconnected from power before removing the Ryobi 18V trimmer head. Wear protective gloves to safeguard your hands while loosening the head. Utilize the proper tools to avoid damaging the trimmer or injuring yourself during the process.
When you’re preparing to remove the trimmer head from your Ryobi 18V, safety should be your top priority. Ensuring your safety not only protects you from potential injuries but also makes the process smoother and more efficient. Many overlook these precautions, but taking a moment to prepare can save you time and trouble in the long run.1. Turn Off And Remove The Battery
Always start by turning off your trimmer and removing the battery. This prevents accidental starts which can lead to serious injuries. Imagine working on your trimmer, only to have it spring to life unexpectedly—it’s a risk you can easily avoid.2. Wear Protective Gear
Don protective gear like gloves and safety goggles. Gloves protect your hands from sharp edges, while goggles shield your eyes from debris. Even if you feel confident, a slip can happen, and it’s better to be safe than sorry.3. Work In A Well-lit Area
Ensure you have plenty of light where you’re working. A well-lit area helps you see what you’re doing and avoid mistakes. Wouldn’t you rather spot a potential hazard in advance than deal with the consequences later?4. Keep The Workspace Clean
Clear your workspace of any unnecessary items. A tidy environment reduces the risk of tripping or knocking something over. Think of it as setting the stage for a smooth performance; clutter only gets in the way.5. Check The Trimmer For Damage
Inspect your trimmer for any visible damage before starting. Cracks or wear can make the disassembly process more dangerous. Spotting issues early can prevent them from becoming bigger problems.6. Use The Right Tools
Ensure you have the correct tools for the job. Using the wrong tools can damage your equipment or cause injury. It’s like trying to cook a meal without the right utensils—frustrating and ineffective. Each of these steps plays a crucial role in maintaining your safety. Which precautions do you often overlook? Reflect on these insights next time you’re working with your Ryobi 18V trimmer, and you’ll likely find the process much safer and more enjoyable.Identifying The Trimmer Head Type
Understanding the trimmer head type is crucial for safely removing the Ryobi 18V trimmer head. Identify the head type by checking the model number and design features. This ensures you follow the correct removal process.
Identifying the trimmer head type on your Ryobi 18V trimmer is the first step toward a smooth and successful maintenance process. The trimmer head is where the magic happens, responsible for cutting grass and weeds with precision. Understanding its type helps you handle it with care and ensures you use the correct removal methods. Whether you’re a seasoned gardener or just a weekend warrior, knowing the ins and outs of your trimmer head can save you both time and frustration. ###Check The User Manual
The user manual is your best friend when it comes to identifying the trimmer head type. It provides detailed information about the model, including diagrams and part numbers. Keep it handy; it’s a treasure trove of insights. ###Visual Inspection
Take a close look at your trimmer head. Is it a bump-feed, automatic-feed, or fixed-line head? Each type has distinct features. A bump-feed head typically has a button you press to release more line, while a fixed-line head requires manual line replacement. ###Consult Online Resources
If the manual is lost to the abyss, fear not! Many manufacturers, including Ryobi, offer online resources. A quick search with your trimmer model can yield diagrams and instructions. User forums and videos can also offer real-world advice. ###Ask The Community
Have you ever solved a problem just by asking a friend? The gardening community is vast and welcoming. Online forums or local gardening clubs are great places to seek advice. Someone may have faced the same issue and can offer practical insights. ###Consider Trimmer Attachments
Sometimes, your trimmer head type depends on the attachments you use. Ryobi’s Expand-It attachments can change the game. Knowing if your trimmer has interchangeable heads can broaden your understanding of its capabilities. Understanding your trimmer head type not only helps in removal but also in optimizing your trimmer’s performance. What other tools do you rely on for garden maintenance?
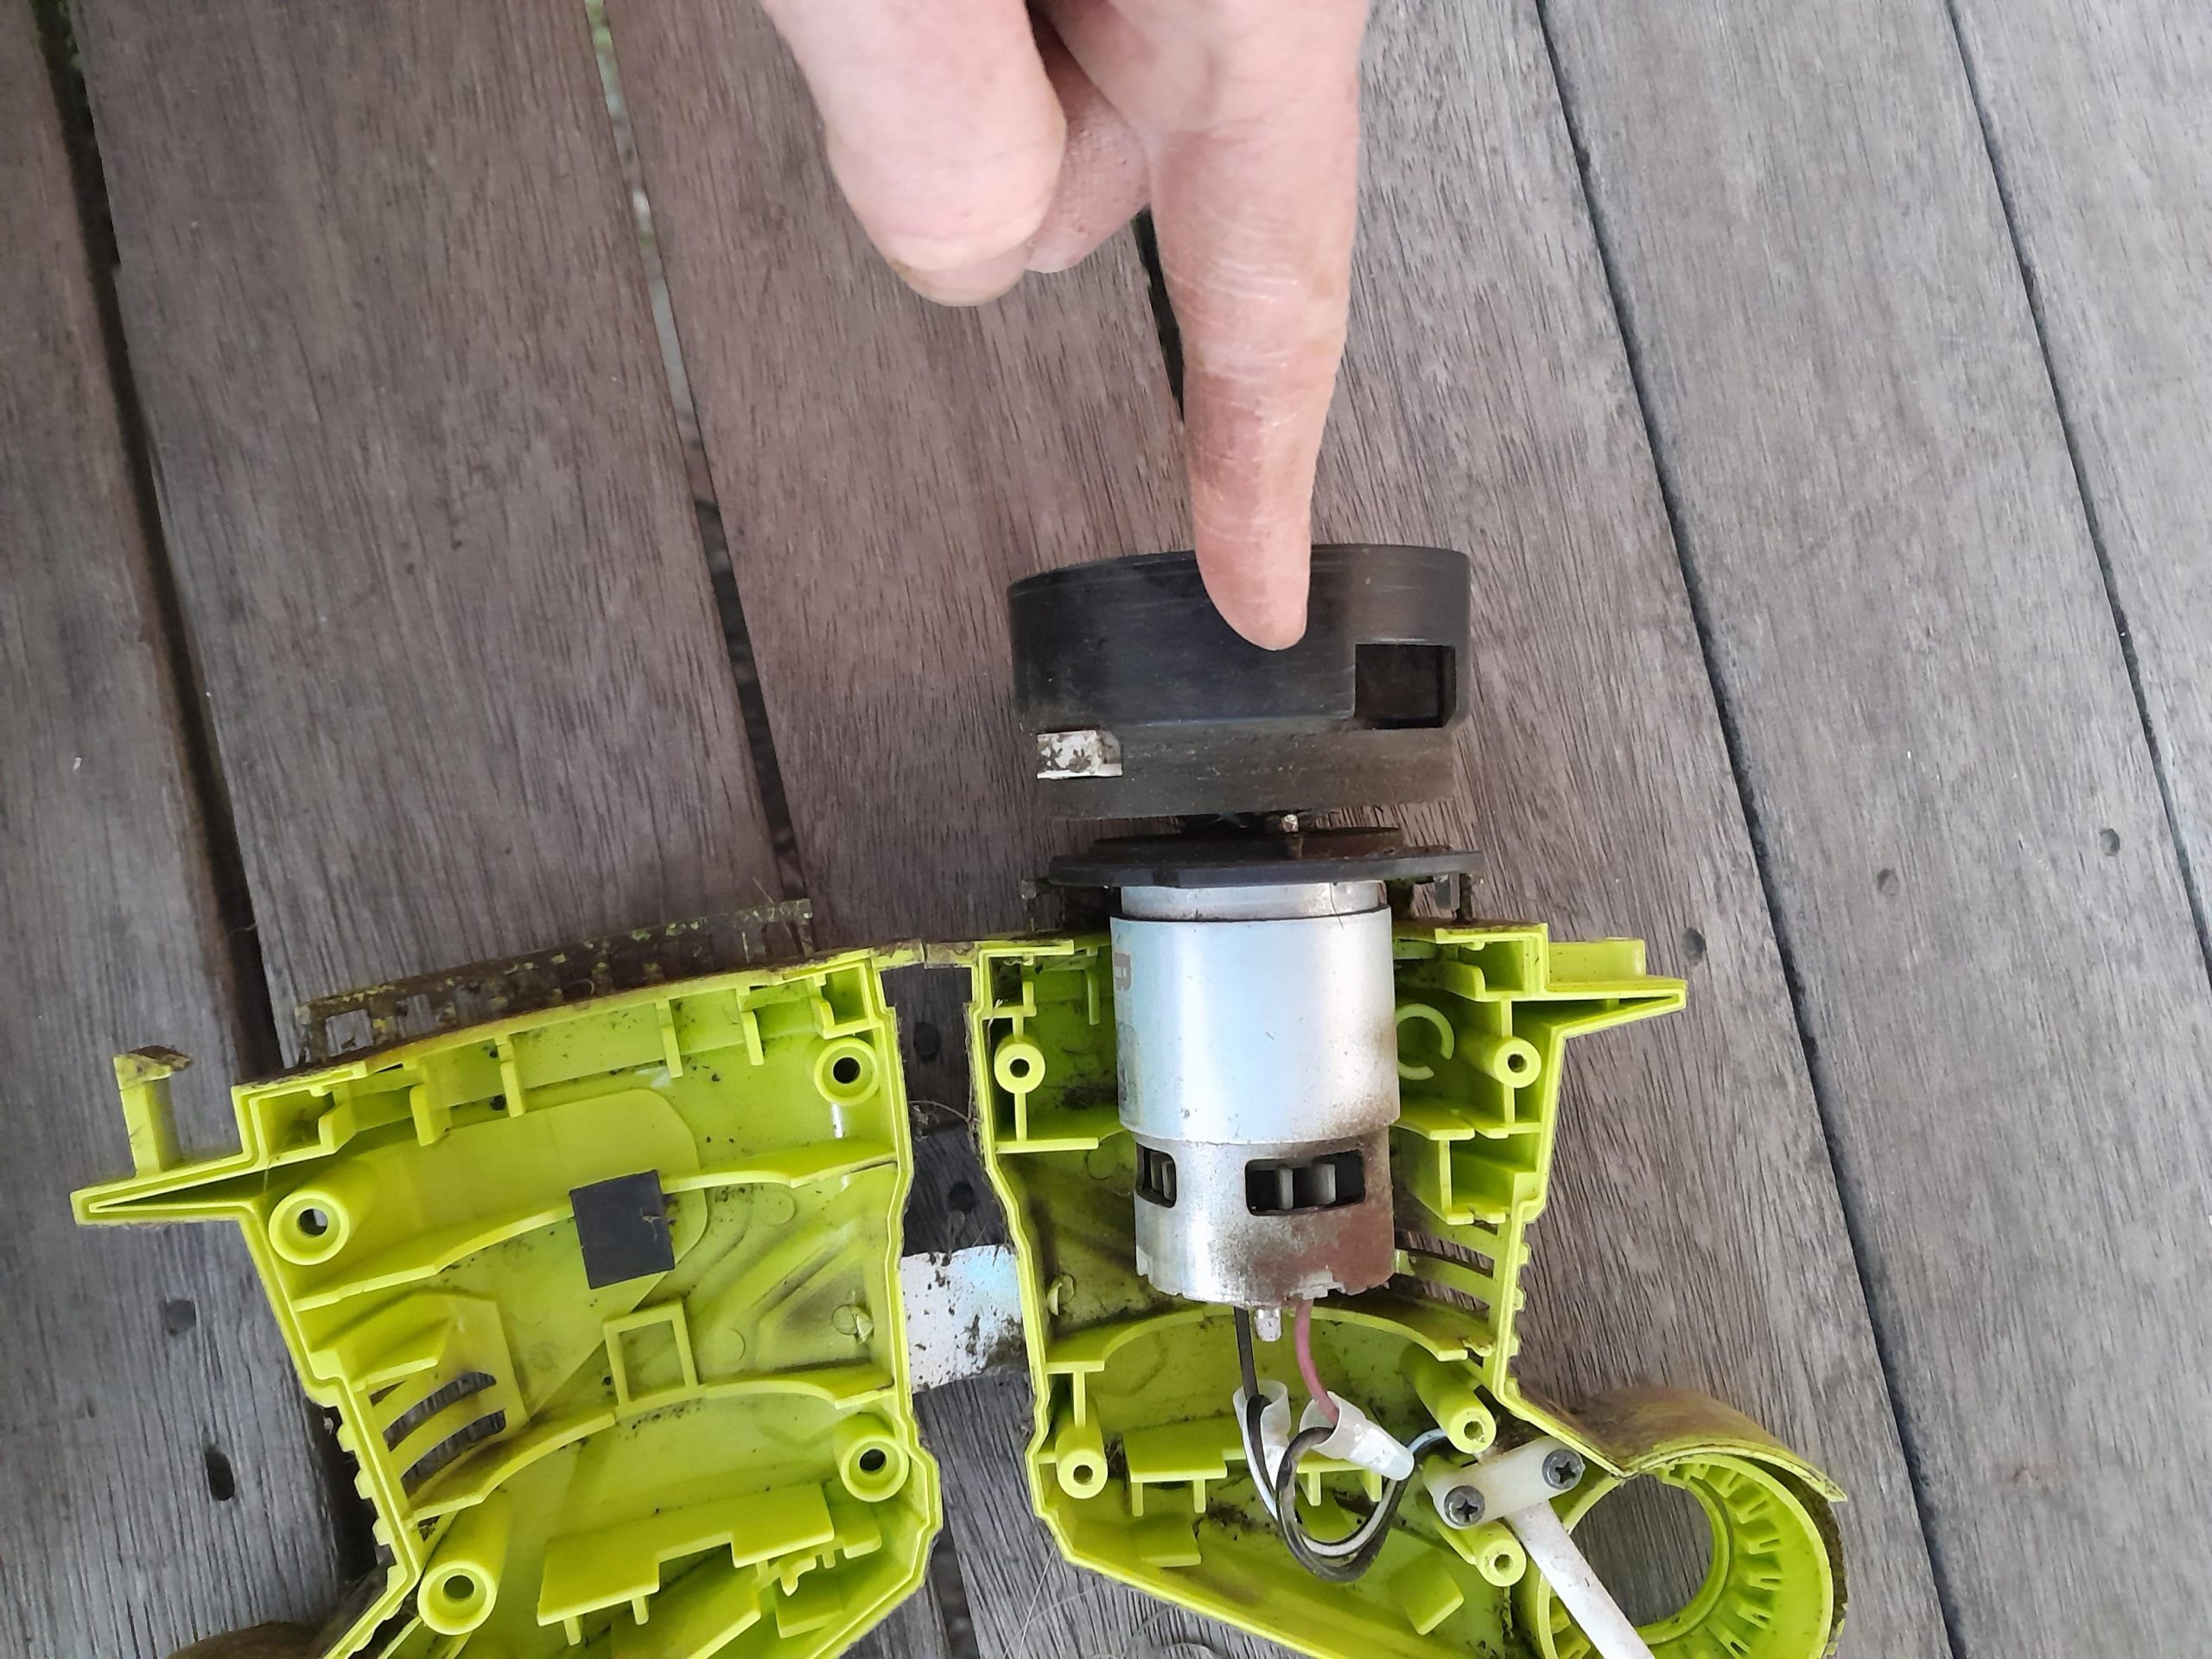
Credit: www.ifixit.com
Removing The Battery
First, ensure the trimmer is off and remove the battery for safety. Then, carefully detach the Ryobi 18V trimmer head by twisting it counterclockwise.
When it’s time to remove the trimmer head on your Ryobi 18V, the first crucial step is to remove the battery. This ensures your safety and prevents any accidental start-ups. As simple as it sounds, removing the battery is a step many might overlook in the excitement of getting the job done. Think of it as the essential pause button in your DIY journey. ###Ensure The Trimmer Is Turned Off
Before you even touch the battery, make sure your trimmer is switched off. This might sound obvious, but in the rush to get things done, you might forget. Double-check the switch; it’s a tiny action that can prevent big mishaps. ###Locate The Battery Compartment
The battery compartment is typically found on the back of the trimmer. If you are unsure, refer to the user manual for exact placement. Knowing where to find the battery will save you time and frustration. ###Release The Battery Lock
To remove the battery, you need to unlock it first. Most Ryobi trimmers have a latch or button that secures the battery in place. Press it firmly. Have you ever tried removing something only to realize it was locked? Avoid that mistake by ensuring the lock is released. ###Slide Out The Battery
Once the lock is released, slide the battery out smoothly. It should come out without much resistance. If it feels stuck, don’t force it. Check if the lock is fully disengaged. A gentle hand ensures you don’t damage the connections. ###Inspect The Battery
After removing the battery, take a moment to inspect it. Look for any signs of wear or damage. Is it dirty? A clean battery connection ensures optimal performance. This step can save you from future power issues. ###Store The Battery Safely
Place the battery in a cool, dry place. Avoid areas with direct sunlight or moisture. You don’t want your battery to become a victim of poor storage habits. Proper storage prolongs the life of your battery and keeps it ready for your next project. Removing the battery is not just a step; it’s a practice in caution and care. Do you have any personal tips for safely handling batteries? Share them and contribute to our collective wisdom!Loosening The Trimmer Head
Easily remove the Ryobi 18V trimmer head by loosening the retaining nut with a wrench. Once loose, twist the head counterclockwise to detach it from the shaft. This simple process ensures smooth maintenance and efficient trimming.
Loosening the trimmer head on your Ryobi 18V can seem daunting, but it’s a straightforward process that anyone can master. Whether you’re a seasoned DIY enthusiast or a newbie tackling garden maintenance, understanding how to remove the trimmer head will save you time and frustration. Let’s dive into the practical steps to get the job done efficiently.Using The Locking Mechanism
One of the first steps is to use the locking mechanism on your Ryobi trimmer. This feature prevents the trimmer head from spinning while you work on it. Locate the small hole on the side of the trimmer head, usually found near the base. You’ll need a small tool, like an Allen wrench or a pin, to insert into this hole. As you insert it, rotate the head gently until you feel it lock into place. This simple action secures the head, making it easier to loosen and remove. Have you ever found yourself struggling with a stubborn trimmer head? Using the locking mechanism is like having an extra set of hands, making the task much simpler.Turning The Head Counterclockwise
Once the trimmer head is locked, the next step is to turn it counterclockwise. This is the standard direction for loosening most threaded components. Grip the trimmer head firmly and start turning it to the left. If the head feels stuck, don’t panic. Sometimes debris or rust can make it difficult to turn. Apply steady pressure and consider using a cloth or gloves for better grip. Remember the moment you finally unscrewed a jar lid that wouldn’t budge? That same sense of triumph awaits when the trimmer head finally loosens. Once it starts moving, it should unscrew smoothly until completely removed. By following these steps, you’ll find removing your Ryobi 18V trimmer head both straightforward and satisfying. Have you tried these techniques, or do you have any tips to share? Your insights might just be the solution another reader is looking for.Detaching The Trimmer Head
Detaching the trimmer head on a Ryobi 18V model can be simple. Knowing the type of trimmer head is essential. Each type requires a different approach. This guide will help you handle both standard and bump feed heads. Follow these steps to ensure a smooth process.
Handling Standard Head
First, ensure the trimmer is turned off and remove the battery. Locate the locking mechanism on the trimmer head. This is usually a small button or lever. Press the button and hold it down. Twist the trimmer head gently in a counter-clockwise direction. Keep twisting until the head detaches from the shaft. Set the trimmer head aside for cleaning or replacement.
Handling Bump Feed Head
Start by removing the battery from the trimmer. Find the bump knob on the underside of the head. Hold the knob tightly and twist it counter-clockwise. This releases the spool cover. Remove the spool cover and set it aside. Pull the spool out gently. You may need to untangle the line from the spool. Once the spool is removed, you can clean or replace it as needed.
Inspecting The Trimmer Head Components
Inspecting the trimmer head components is a crucial step. It ensures your Ryobi 18V trimmer works efficiently. A well-maintained trimmer head extends the life of your tool. Regular inspection can prevent costly repairs. It also improves trimming performance.
Checking For Wear And Damage
Examine the trimmer head for visible signs of wear. Look for cracks or breaks in the plastic parts. Check the line for fraying or tangling. Inspect the spool for any deformation. A damaged spool can affect the line feed. Ensure that all components fit snugly.
Cleaning The Components
Remove grass and debris from the trimmer head. Use a soft brush or cloth for this task. Clean the spool and line thoroughly. Ensure the line moves freely through the holes. Dirt buildup can affect performance. Regular cleaning helps maintain efficiency.

Credit: www.youtube.com
Replacing Or Reattaching The Trimmer Head
Removing the trimmer head on a Ryobi 18V is straightforward. Start by pressing the tabs on the head. Twist the head counterclockwise to detach it from the shaft.
Replacing or reattaching the trimmer head on your Ryobi 18V can seem daunting, but with the right approach, it’s a straightforward task. Whether you’re replacing a worn-out head or reattaching a dislodged one, knowing the right steps ensures your tool performs at its best. Let’s dive into the essential details to get your trimmer back in action.Selecting The Right Replacement
Choosing the correct trimmer head is crucial. Check your Ryobi model number and match it with compatible parts. This ensures a perfect fit and optimal performance. Retailers often provide guides to help you identify the right head. Don’t hesitate to ask for assistance if needed. A well-fitted trimmer head can make all the difference in efficiency and longevity. Consider the type of trimming you do most often. Some heads are designed for heavier work, while others are more suited for light maintenance. This choice can impact how smoothly your tasks go.Securing The Trimmer Head
Once you have the right head, it’s time to secure it. Ensure the trimmer is off and the battery is removed. Safety first! Align the head with the shaft and twist it clockwise until it locks into place. You should feel it click when it’s secure. If it feels loose, double-check the alignment and try again. Think about the last time you secured a loose part. You probably realized that taking a moment to double-check saved you from future hassle. The same principle applies here. — Have you ever found yourself halfway through a job only to realize you didn’t secure something properly? Avoid those frustrations by taking the extra moment to ensure everything is tight. Your future self will thank you.Testing The Trimmer
Testing the trimmer is crucial before starting any task. It ensures your Ryobi 18V trimmer functions properly. A well-tested trimmer delivers optimal performance. Testing helps identify issues early, saving time and effort.
Inspect The Battery
Check if the battery is fully charged. A low battery affects performance. Ensure it fits securely in its compartment. A loose battery may cause interruptions.
Assess The Trimmer Head
Examine the trimmer head for wear and tear. Look for cracks or damage. Replace the head if necessary for safety. A damaged head may not cut efficiently.
Check The Trimmer Line
Inspect the trimmer line for tangles. Ensure it is the correct length. A tangled line can cause uneven cuts. Keep it free from debris for smooth operation.
Test Power And Functionality
Turn on the trimmer to test its power. Listen for unusual sounds. Check if the trimmer vibrates excessively. Ensure it operates smoothly without hiccups.
Perform A Trial Run
Use the trimmer on a small patch of grass. Observe its cutting ability. Check if it cuts evenly and quickly. Adjust settings if necessary for better results.
Maintenance Tips
Easily remove the Ryobi 18V trimmer head by locating the release button. Gently press it while turning the head clockwise. This helps in cleaning and maintaining your trimmer efficiently. Regular maintenance ensures optimal performance and extends the life of your tool.
Keeping your Ryobi 18V trimmer in top shape goes beyond just knowing how to remove the trimmer head. Regular maintenance ensures that your tool runs efficiently and extends its lifespan. It’s essential to integrate some simple yet effective maintenance practices into your routine. Let’s dive into some actionable tips that can make a significant difference.Regular Cleaning
After each use, give your trimmer a quick check for any debris or grass clippings. These can easily get stuck and affect performance. Use a soft brush or cloth to clean around the trimmer head and other parts. Think of cleaning as a way to reset your tool after each use. It’s like a mini spa treatment for your trimmer, ensuring it feels fresh and ready for the next task. Have you ever noticed your trimmer working sluggishly? A simple cleaning session could be the quick fix it needs.Proper Storage
Storing your trimmer properly can prevent unwanted damage. Always keep it in a dry place, away from moisture that could lead to rust or electrical issues. Consider hanging it on a tool rack to avoid it getting knocked around. Imagine finding your trimmer tangled in a heap of other tools. Not only is it frustrating, but it can also lead to wear and tear. Have you tried dedicating a specific spot for your trimmer? It’s a small step that ensures your tool remains in pristine condition for longer. Maintenance doesn’t have to be a chore. By incorporating these simple steps, you can ensure that your Ryobi 18V trimmer remains reliable and efficient. Which of these tips will you try first?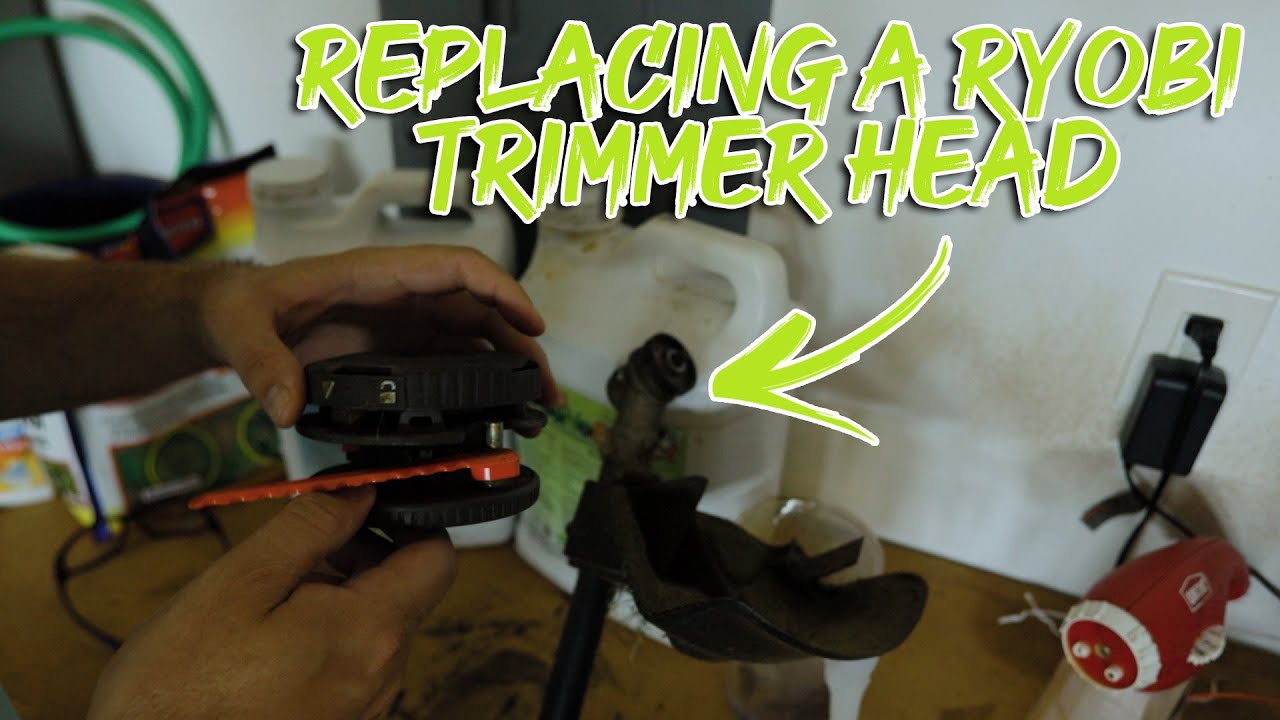
Credit: www.youtube.com
Frequently Asked Questions
How Do I Remove The Ryobi Trimmer Head?
To remove the Ryobi trimmer head, first ensure the tool is off. Press the release tabs on the trimmer head while pulling it gently. Twist counterclockwise if it’s stuck. Follow the user manual for specific instructions tailored to your model.
Safety gear is recommended during the process.
What Tools Are Needed For Trimmer Head Removal?
You typically don’t need specialized tools to remove the Ryobi trimmer head. Hands and possibly a screwdriver should suffice. For stubborn heads, use a wrench or pliers. Always check the user manual for guidance. Safety gloves are advised to protect your hands during removal.
Can I Replace Ryobi Trimmer Head With Any Brand?
Ryobi trimmer heads are designed for specific models. Using a different brand may affect performance. Always opt for compatible Ryobi replacements to ensure efficiency and safety. Check your manual for recommended parts. Using non-compatible heads might void warranties or cause damage.
Why Is My Ryobi Trimmer Head Stuck?
A stuck trimmer head can result from debris or corrosion. Clean the head thoroughly and apply lubricant. Check for any obstructions or damage. Ensure you’re following removal instructions correctly. If problems persist, consult the user manual or contact Ryobi customer support for assistance.
Conclusion
Removing the Ryobi 18V trimmer head is simple with the right steps. Follow the guide closely to avoid mistakes. Regular maintenance keeps your trimmer efficient and long-lasting. Always use the correct tools for safety and ease. Proper handling prevents damage and ensures smooth operation.
Share this knowledge with fellow gardeners for better yard upkeep. Keep your trimmer in top shape for neat and tidy lawns. Enjoy hassle-free gardening with a well-maintained trimmer. Feel confident tackling this task with the tips provided. Happy trimming!