
Struggling to get your Ryobi Leaf Blower up and running? You’re not alone.
Many people find themselves puzzled when it comes to inserting the battery correctly. But worry not, because you’re about to discover how simple it really is. Imagine being able to power up your blower effortlessly, transforming your yard into a leaf-free paradise in no time.
This guide will walk you through each step, eliminating any guesswork and ensuring your blower is ready to go whenever you need it. Stay with us, and you’ll have your Ryobi Leaf Blower running smoothly in just minutes. Ready to take on those leaves with confidence? Let’s get started!
Contents
Tools And Materials
Setting up your Ryobi leaf blower is a straightforward task. It requires minimal tools and materials. Understanding what you need will make the process seamless. Let’s delve into the essentials for a smooth battery installation.
Tools Needed
No specialized tools are required for this task. Ensure your hands are clean and dry. This helps prevent any issues during installation. A clean rag can be useful. Use it to wipe off any dust or dirt from the blower.
Materials Required
The primary material you need is the battery itself. Ensure you have a compatible Ryobi battery. Check your blower’s model for compatibility. A fully charged battery is recommended. A charger may also be handy. Use it to recharge the battery if needed.
Safety Gear
Safety should always be a priority. Wear gloves to protect your hands. This prevents any accidental scratches or dirt. Safety glasses can be useful. They protect your eyes from dust or debris.
Having these tools and materials ready ensures a smooth installation. It also enhances your overall experience with the Ryobi leaf blower.
Safety Precautions
Handling a Ryobi leaf blower requires attention to safety. Following proper precautions ensures your well-being. Understanding these steps helps prevent accidents and injuries.
Protective Gear
Always wear protective gear when using power tools. Eye protection shields against flying debris. Gloves provide grip and protect your hands. Ear protection reduces noise exposure. Comfortable, sturdy shoes offer stability.
Safe Handling
Ensure the blower is turned off before inserting the battery. Hold the blower firmly to avoid drops. Keep fingers away from the blower’s air intake. Store the battery separately when not in use. This prevents accidental starting.
Identifying Battery Type
When you first get your hands on a Ryobi leaf blower, understanding the battery type is crucial. Not all batteries fit the model you have, and using the wrong one can lead to poor performance or even damage. Knowing which battery is compatible with your leaf blower ensures optimal functionality and longevity. Let’s dive into the specifics of identifying the right battery type for your Ryobi leaf blower.
Compatible Batteries
Ryobi leaf blowers are designed to work with specific battery models. Most Ryobi tools, including leaf blowers, use the One+ system. This means that if you have a Ryobi One+ battery, you’re already set. Check the model number on your leaf blower, usually found near the motor or handle. Match this number with the compatible battery list provided by Ryobi.
Have you ever tried to use a mismatched battery and wondered why your leaf blower wouldn’t start? It’s a common mistake. Always cross-reference your leaf blower’s model number with the battery compatibility chart available online or in the user manual.
Battery Specifications
Once you’ve identified the compatible battery, it’s time to look at the specifications. Ryobi batteries come in various voltages, typically ranging from 18V to 40V. Higher voltage batteries offer more power and longer runtime, ideal for extensive yard work.
Consider the amp-hour (Ah) rating as well. A higher Ah rating means the battery can store more energy, resulting in longer usage between charges. If you’re tackling a large area or have dense foliage, opting for a battery with higher Ah can make your life easier.
Have you ever found yourself halfway through a job with a dead battery? It’s frustrating but avoidable. Understanding voltage and amp-hour ratings can save you from such inconvenient interruptions.
Do you often wonder if investing in a higher voltage battery is worth it? Think about how much yard work you do and the amount of power needed. A little research can guide you in making a decision that best fits your needs.
Removing The Old Battery
Gently slide the old battery out of the Ryobi leaf blower. Ensure the device is turned off first. Grasp the battery firmly and pull it straight out to remove it safely.
Removing the old battery from your Ryobi leaf blower might sound like a mundane task, but it’s the first step towards ensuring your equipment runs efficiently. Whether you’re a seasoned gardener or a weekend warrior, knowing how to swiftly and safely remove the battery can make your yard work smoother. The process is straightforward, and with a few simple steps, you’ll be ready to pop in a fresh power pack and continue with your yard duties. Let’s dive into the nitty-gritty of removing the old battery. ###Power Off The Blower
First things first—make sure your leaf blower is powered off. It might seem obvious, but it’s easy to overlook in the rush to get things done. Switch off the blower completely to avoid any unexpected starts. This ensures your safety and prevents accidental damage to the blower. Take a moment to double-check that it’s off before proceeding. It’s a simple step, yet crucial for a safe battery removal. ###Detach The Battery
Once you’ve confirmed the blower is off, it’s time to detach the battery. Locate the battery pack on your Ryobi blower, usually found at the back or bottom of the unit. Press the release button or lever—this will unlock the battery from its compartment. If you’re unsure of its location, consult the user manual for clarity. Gently slide the battery out. If it feels stuck, don’t force it. A gentle wiggle often does the trick without causing damage. Have you ever been in a rush and skipped a step? Maybe you tried to yank out a stubborn battery without checking the release mechanism. It’s a common mistake and a good reminder of the importance of patience. Removing the old battery is about more than just swapping a power source. It’s a chance to inspect the compartment for any debris or dirt. A clean compartment can improve the connection, ensuring your new battery works efficiently. Have you found unexpected debris in your blower? Clearing it can prevent future issues. Remember, a quick battery check before replacement can save you from troubleshooting later. Are you ready to power your blower with renewed energy?Installing The New Battery
Installing the new battery on your Ryobi leaf blower is simple. Follow these steps to ensure a smooth process. Proper installation guarantees your blower runs efficiently. Taking care of your equipment helps prolong its lifespan. Let’s dive into the steps for battery installation.
Align The Battery
First, inspect the battery and the blower’s slot. Ensure both are clean. Dirt or debris can block a proper connection. Now, hold the battery with the terminals facing the blower. Align the battery’s grooves with the blower’s slot. This ensures a snug fit.
Secure The Battery
Once aligned, gently slide the battery into the slot. Push until you hear a click. The click means it’s securely in place. Check if the battery wiggles. If it does, remove and try again. A secure battery ensures uninterrupted power supply. Always double-check before operation.

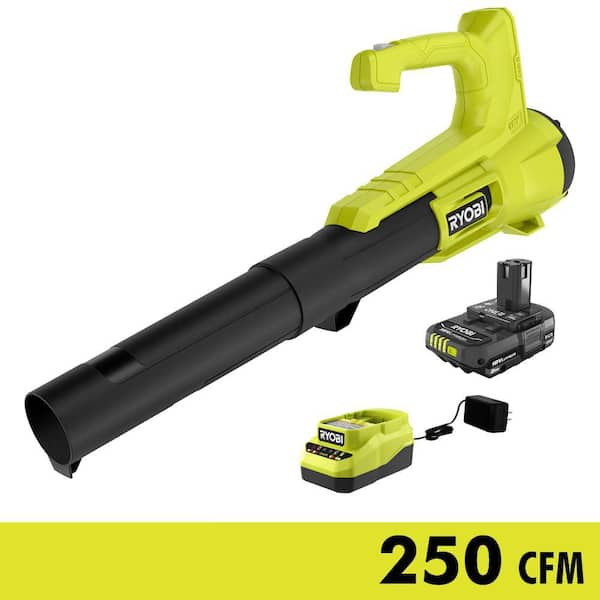
Credit: www.amazon.com
Testing The Leaf Blower
Testing your Ryobi leaf blower ensures it operates smoothly. Once the battery is installed, it’s important to verify functionality. This process guarantees your equipment is ready for use. Follow these steps to effectively test your leaf blower.
Power On
Start by switching the power button to the ‘on’ position. Listen for the motor sound. If you hear it, the blower is powered. Ensure the battery is secure. A loose battery might affect performance.
Check For Proper Operation
Observe the airflow from the nozzle. It should be steady and strong. Hold the blower with both hands for stability. Test different speed settings if available. The leaf blower should respond promptly to adjustments.
Move the blower around to check its weight balance. It should be comfortable to handle. If you notice any unusual noises, inspect the blower. This might indicate a problem needing attention.
Maintenance Tips
Keeping your Ryobi leaf blower in top shape is essential. Proper maintenance ensures its longevity and optimal performance. Regular upkeep can prevent costly repairs. Follow these tips to maximize your blower’s efficiency.
Battery Care
Maintaining your battery is crucial. Store it in a cool, dry place. Avoid extreme temperatures. Charge the battery fully before use. This prolongs its life. Clean battery contacts regularly. Dirt can affect performance. Use a dry cloth to wipe them.
Regular Inspections
Check your leaf blower often. Inspect for wear and tear. Look at hoses and connections. Tighten any loose parts. Replace worn-out components immediately. Examine the battery for damage. Ensure it fits securely in the compartment.
Credit: www.homedepot.com
Troubleshooting
Easily insert the battery into your Ryobi leaf blower by aligning the battery terminals with the blower’s slots. Slide it in until it clicks securely in place. Ensure the battery is fully charged for optimal performance.
Troubleshooting your Ryobi Leaf Blower can be both an art and a science. You might find yourself puzzled when the blower refuses to start after you’ve carefully inserted the battery. Don’t worry—you’re not alone. Many users face similar hiccups, and the good news is, most issues are minor and easily fixable.Common Issues
One common issue is the blower not powering on even with a fully charged battery. You might also notice intermittent power loss, which can be frustrating when you have a yard full of leaves. Another typical problem is the battery not fitting snugly into the slot, causing a loose connection. Have you ever wondered if you’re missing something simple?Simple Fixes
Start by checking the battery charge. Make sure it’s fully charged before you insert it. Sometimes, a quick recharge is all your blower needs. If the blower still doesn’t start, inspect the battery contacts. They should be clean and free of debris. A gentle wipe with a dry cloth can often resolve the issue. Ensure the battery clicks securely into place. A loose battery can cause power interruptions. Apply a bit of pressure until you hear a click. If it’s still loose, check for obstructions in the battery slot. Have you ever thought about checking the manual? It often contains specific troubleshooting tips. If these steps don’t solve the problem, consider reaching out to Ryobi’s customer support for further guidance. Remember, a little patience can go a long way in resolving these common issues with your Ryobi Leaf Blower. Wouldn’t it be nice to get back to a leaf-free yard without any fuss?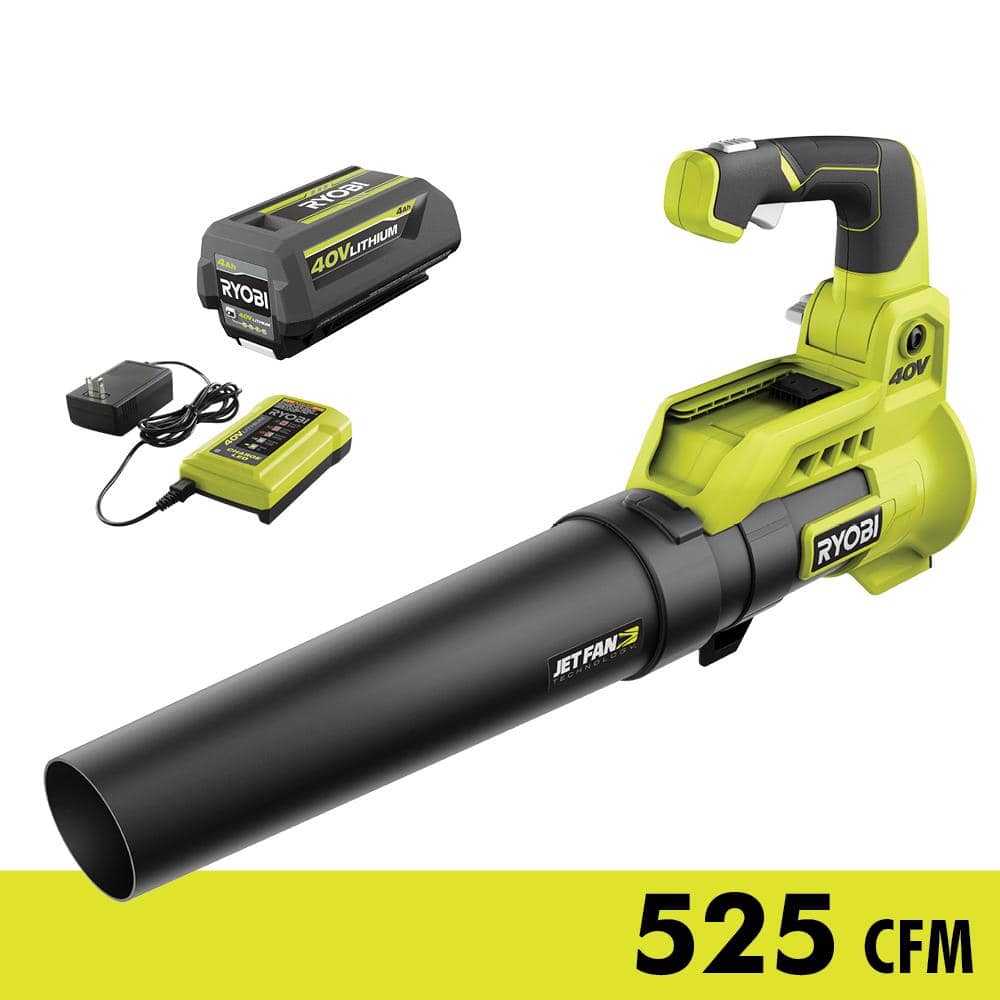
Credit: www.homedepot.com
Frequently Asked Questions
How To Insert Battery In Ryobi Leaf Blower?
To insert the battery, first ensure the blower is switched off. Align the battery with the designated slot. Slide it in until you hear a click. Ensure it’s securely locked in place before turning on the blower.
Why Won’t My Ryobi Leaf Blower Start?
Ensure the battery is fully charged and correctly inserted. Check for any obstructions or debris in the blower. If problems persist, consult the user manual or contact Ryobi support for assistance.
How Long Does Ryobi Battery Last?
Ryobi batteries typically last 30 to 60 minutes depending on the model and usage. Regular maintenance and proper charging can extend battery life. Always refer to the specific battery manual for more details.
Can I Use Other Batteries With Ryobi Blower?
Only use Ryobi-compatible batteries to ensure optimal performance and safety. Using non-Ryobi batteries may void the warranty and could potentially damage the blower. Always check compatibility before attempting to use alternative batteries.
Conclusion
Installing the battery in your Ryobi leaf blower is simple. Ensure the battery slides securely into place. Listen for a click. This means the battery is locked in. Check that the blower powers on smoothly. Always store the battery in a cool, dry area.
This helps maintain its longevity. Regularly clean the blower’s battery compartment. Dirt can affect performance. Charge the battery fully before use. This ensures optimal power. With these steps, your Ryobi blower stays ready for action. Keep leaves at bay effortlessly.
Enjoy your tidy yard!