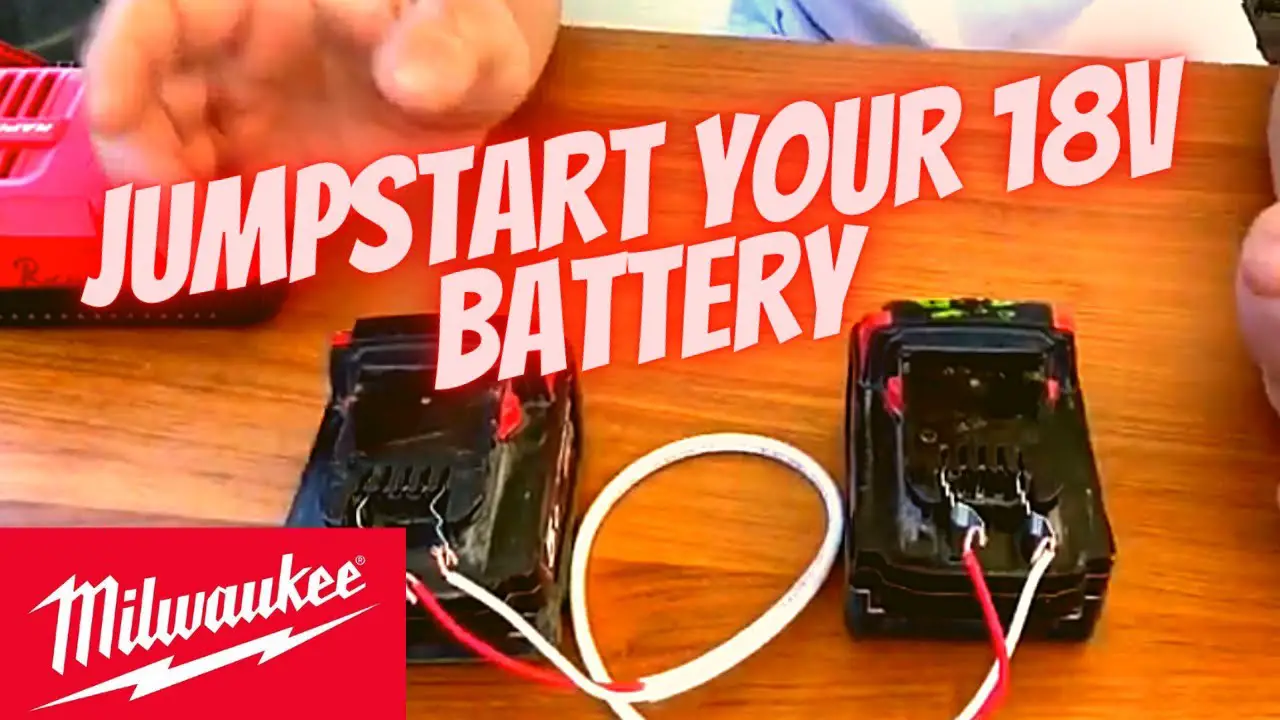
To jump a Milwaukee battery, connect the red clamp to the positive terminal and the black clamp to the negative terminal. Jumpstarting a Milwaukee battery is a simple process that can quickly get your power tool back in action.
Whether you’re on a job site or working on a project at home, knowing how to safely jump a Milwaukee battery can save you time and frustration. By following a few easy steps, you can ensure a smooth jumpstart and continue with your tasks without any interruptions.
In this guide, we’ll provide you with clear instructions on how to jump a Milwaukee battery effectively and safely, so you can get back to work in no time.
Contents
Understanding Milwaukee Battery
Learn how to efficiently jump-start a Milwaukee battery with step-by-step instructions for a quick and seamless process. Understanding Milwaukee battery is key to troubleshooting and maintaining optimal performance.
Understanding Milwaukee Battery Milwaukee batteries are a crucial part of power tools, providing the energy needed to get the job done.
Knowing how to jump a Milwaukee battery can save time and frustration when dealing with a dead or low-power battery. Before jumping into the process, it’s essential to understand the components and types of Milwaukee batteries.
Components Of Milwaukee Battery
Milwaukee batteries consist of several key components that work together to deliver power to the tool. These components include lithium-ion cells, circuitry, and an outer casing.
The lithium-ion cells are the heart of the battery, storing and releasing energy as needed. The circuitry manages the flow of power, ensuring efficiency and safety. The outer casing protects the internal components from damage.
Types Of Milwaukee Battery
There are different types of Milwaukee batteries, each designed for specific applications. The most common types include M12 and M18. The M12 batteries are compact and lightweight, suitable for smaller power tools, while the M18 batteries are larger and provide more power, making them ideal for heavier-duty tools.
Understanding the components and types of Milwaukee batteries is essential before attempting to jump-start a battery. With this knowledge, you can effectively troubleshoot and resolve power issues, keeping your tools running smoothly.
Reasons For Jumping A Milwaukee Battery
To jump a Milwaukee battery, make sure to use compatible tools and follow safety precautions. Connect the positive and negative terminals, then wait a few minutes before attempting to start the tool. Remember to refer to the manufacturer’s instructions for specific guidance.
Reasons for Jumping a Milwaukee Battery Dead Battery When a Milwaukee battery is dead, it needs a jump start to bring it back to life. A dead battery can occur due to leaving lights on, a faulty charging system, or prolonged periods of inactivity.
Jump-starting the battery is a quick and effective way to get your power tools up and running again. Battery Drain Battery drain can happen when power tools are left idle for extended periods or when they are used heavily without recharging.
This can lead to a weakened battery that needs a jump start to restore its power. Jump-starting the Milwaukee battery can provide the necessary boost to get it back to optimal performance. Extreme Weather Conditions Extreme weather conditions, such as extreme cold or heat, can affect the performance of Milwaukee batteries.
Cold weather can reduce the battery’s ability to hold a charge, while hot weather can cause the battery to overheat and lose power. Jump-starting the battery can help overcome these extreme conditions and get the power tool back in action.
In summary, dead batteries, battery drain, and extreme weather conditions are common reasons for jumping a Milwaukee battery. By understanding these factors, you can effectively address battery issues and keep your power tools running smoothly.
Essential Tools For Jumping A Milwaukee Battery
When it comes to jumping a Milwaukee battery, having the essential tools on hand is crucial for a successful and safe process.
Whether you’re dealing with a dead car battery or need to jump-start power tools, having the right equipment is essential.
In this section, we’ll cover the essential tools needed to jump a Milwaukee battery, including jumper cables and safety gear.
Jumper Cables
Jumper cables are a fundamental tool for jumping a Milwaukee battery. They allow you to connect a charged battery to a dead battery, providing the necessary power to start the device or vehicle.
When selecting jumper cables, ensure they are of sufficient length and gauge to handle the power requirements of the Milwaukee battery.
Safety Gear
When dealing with batteries, safety should always be a top priority. Essential safety gear for jumping a Milwaukee battery includes safety goggles, gloves, and a fire extinguisher. These items can protect you from potential hazards such as sparks, acid splashes, and electrical shocks.
Step By Step Guide For Jumping A Milwaukee Battery
When it comes to jumping a Milwaukee battery, it’s essential to follow a step-by-step guide to ensure safety and proper connection.
By understanding the process, you can effectively revive a dead battery and get back on the road quickly. Here’s a detailed guide on how to jump a Milwaukee battery.
Preparation
Before you begin, gather the necessary tools: a set of jumper cables and a working vehicle with a fully charged battery. Ensure both vehicles are in park or neutral with the ignitions turned off.
Connect The Jumper Cables
Open the hood of both vehicles and locate the battery terminals. Identify the positive (+) and negative (-) terminals on each battery. Then, follow these steps:
- Connect one end of the red jumper cable to the positive terminal of the dead battery.
- Connect the other end of the red jumper cable to the positive terminal of the working battery.
- Connect one end of the black jumper cable to
Tips And Tricks For Jumping A Milwaukee Battery
Jumping a Milwaukee battery is an essential skill that every Milwaukee tool user must know. A dead battery can slow down your work and cause unexpected delays.
Jumpstarting a Milwaukee battery can be tricky, but with the right tips and tricks, you can do it easily. In this article, we will discuss some do’s and don’ts and preventive measures you should know when jumping a Milwaukee battery.
Do’s And Don’ts
When jumping a Milwaukee battery, there are some do’s and don’ts that you should keep in mind. Following these guidelines can save you from potential hazards and ensure a successful jumpstart:
| Do’s | Don’ts |
|
|
Preventive Measures
Prevention is always better than cure. Here are some preventive measures you can take to avoid the need for jumpstarting your Milwaukee battery:
- Charge your battery regularly: Make sure you charge your Milwaukee battery regularly, especially if you are not using it frequently.
- Use your battery regularly: If you have a Milwaukee tool that you do not use often, make sure you run it every few weeks to keep the battery charged.
- Keep your battery clean and dry: Dirt and moisture can damage your battery, so make sure you keep it clean and dry.
- Store your battery properly: When not in use, store your battery in a cool, dry place away from direct sunlight and heat sources.
- Replace your battery when necessary: If your Milwaukee battery is old or not holding a charge, it’s time to replace it.
By following these tips and tricks, you can jumpstart your Milwaukee battery safely and quickly. Remember to always take the necessary precautions and follow the guidelines to avoid accidents and damage to your tools and battery.
Frequently Asked Questions
Can You Reset A Milwaukee Battery?
Yes, you can reset a Milwaukee battery by fully charging and discharging it three times.
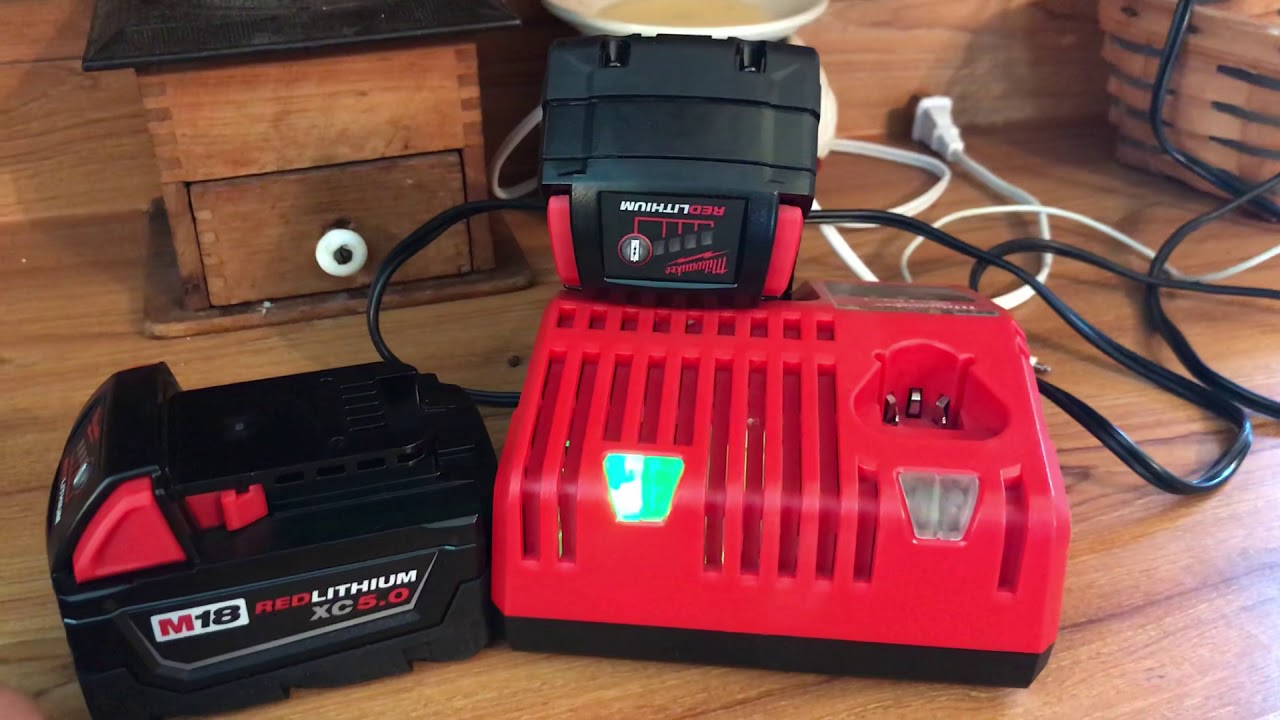
How Do You Jumpstart A Dead Power Tool Battery?
To jumpstart a dead power tool battery, connect it to a compatible charger and let it charge for the recommended time. If the battery doesn’t hold a charge, it may need to be replaced.
What Do You Do With Bad Milwaukee Batteries?
Dispose of bad Milwaukee batteries at designated recycling centers to prevent environmental harm. Recycling is crucial for proper disposal.
Can You Fix A Milwaukee Battery That Is Flashing Red And Green?
To fix a Milwaukee battery flashing red and green, try charging it fully and then resetting it.
Conclusion
In a nutshell, jumping a Milwaukee battery is a simple process that can save you time and money.
Remember to follow safety precautions and use the right tools for a successful jump start.
By mastering this skill, you can avoid unnecessary hassles and keep your Milwaukee battery running smoothly.