How to Get a Drill Bit Out of Milwaukee M18: A Simple Guide
Knowing how to get a drill bit out of your Milwaukee M18 is essential for any DIY enthusiast or professional. Fortunately, the process is quick and straightforward, ensuring that you can continue your work without unnecessary delays. To begin, use the chuck key to loosen the chuck, which holds the drill bit in place. Once it’s loose, you can easily pull the drill bit out, allowing you to switch to a new one or complete your task.
When working with power tools like the Milwaukee M18, it’s important to understand the proper way to change drill bits. Whether you’re a seasoned professional or a weekend warrior, mastering this simple skill will save you time and help you maintain the efficiency of your tool. Having the confidence to swiftly and safely remove and replace drill bits ensures that you’re ready for any project that comes your way.
In this guide, we’ll break down each step you need to follow to remove a drill bit from your Milwaukee M18 without a hassle. From loosening the chuck to pulling the bit out, these easy-to-follow instructions will help you handle drill bit changes quickly, keeping your projects on track. Let’s dive into the process and learn how to do it like a pro.
Contents
Step-by-Step Guide To Removing a Drill Bit
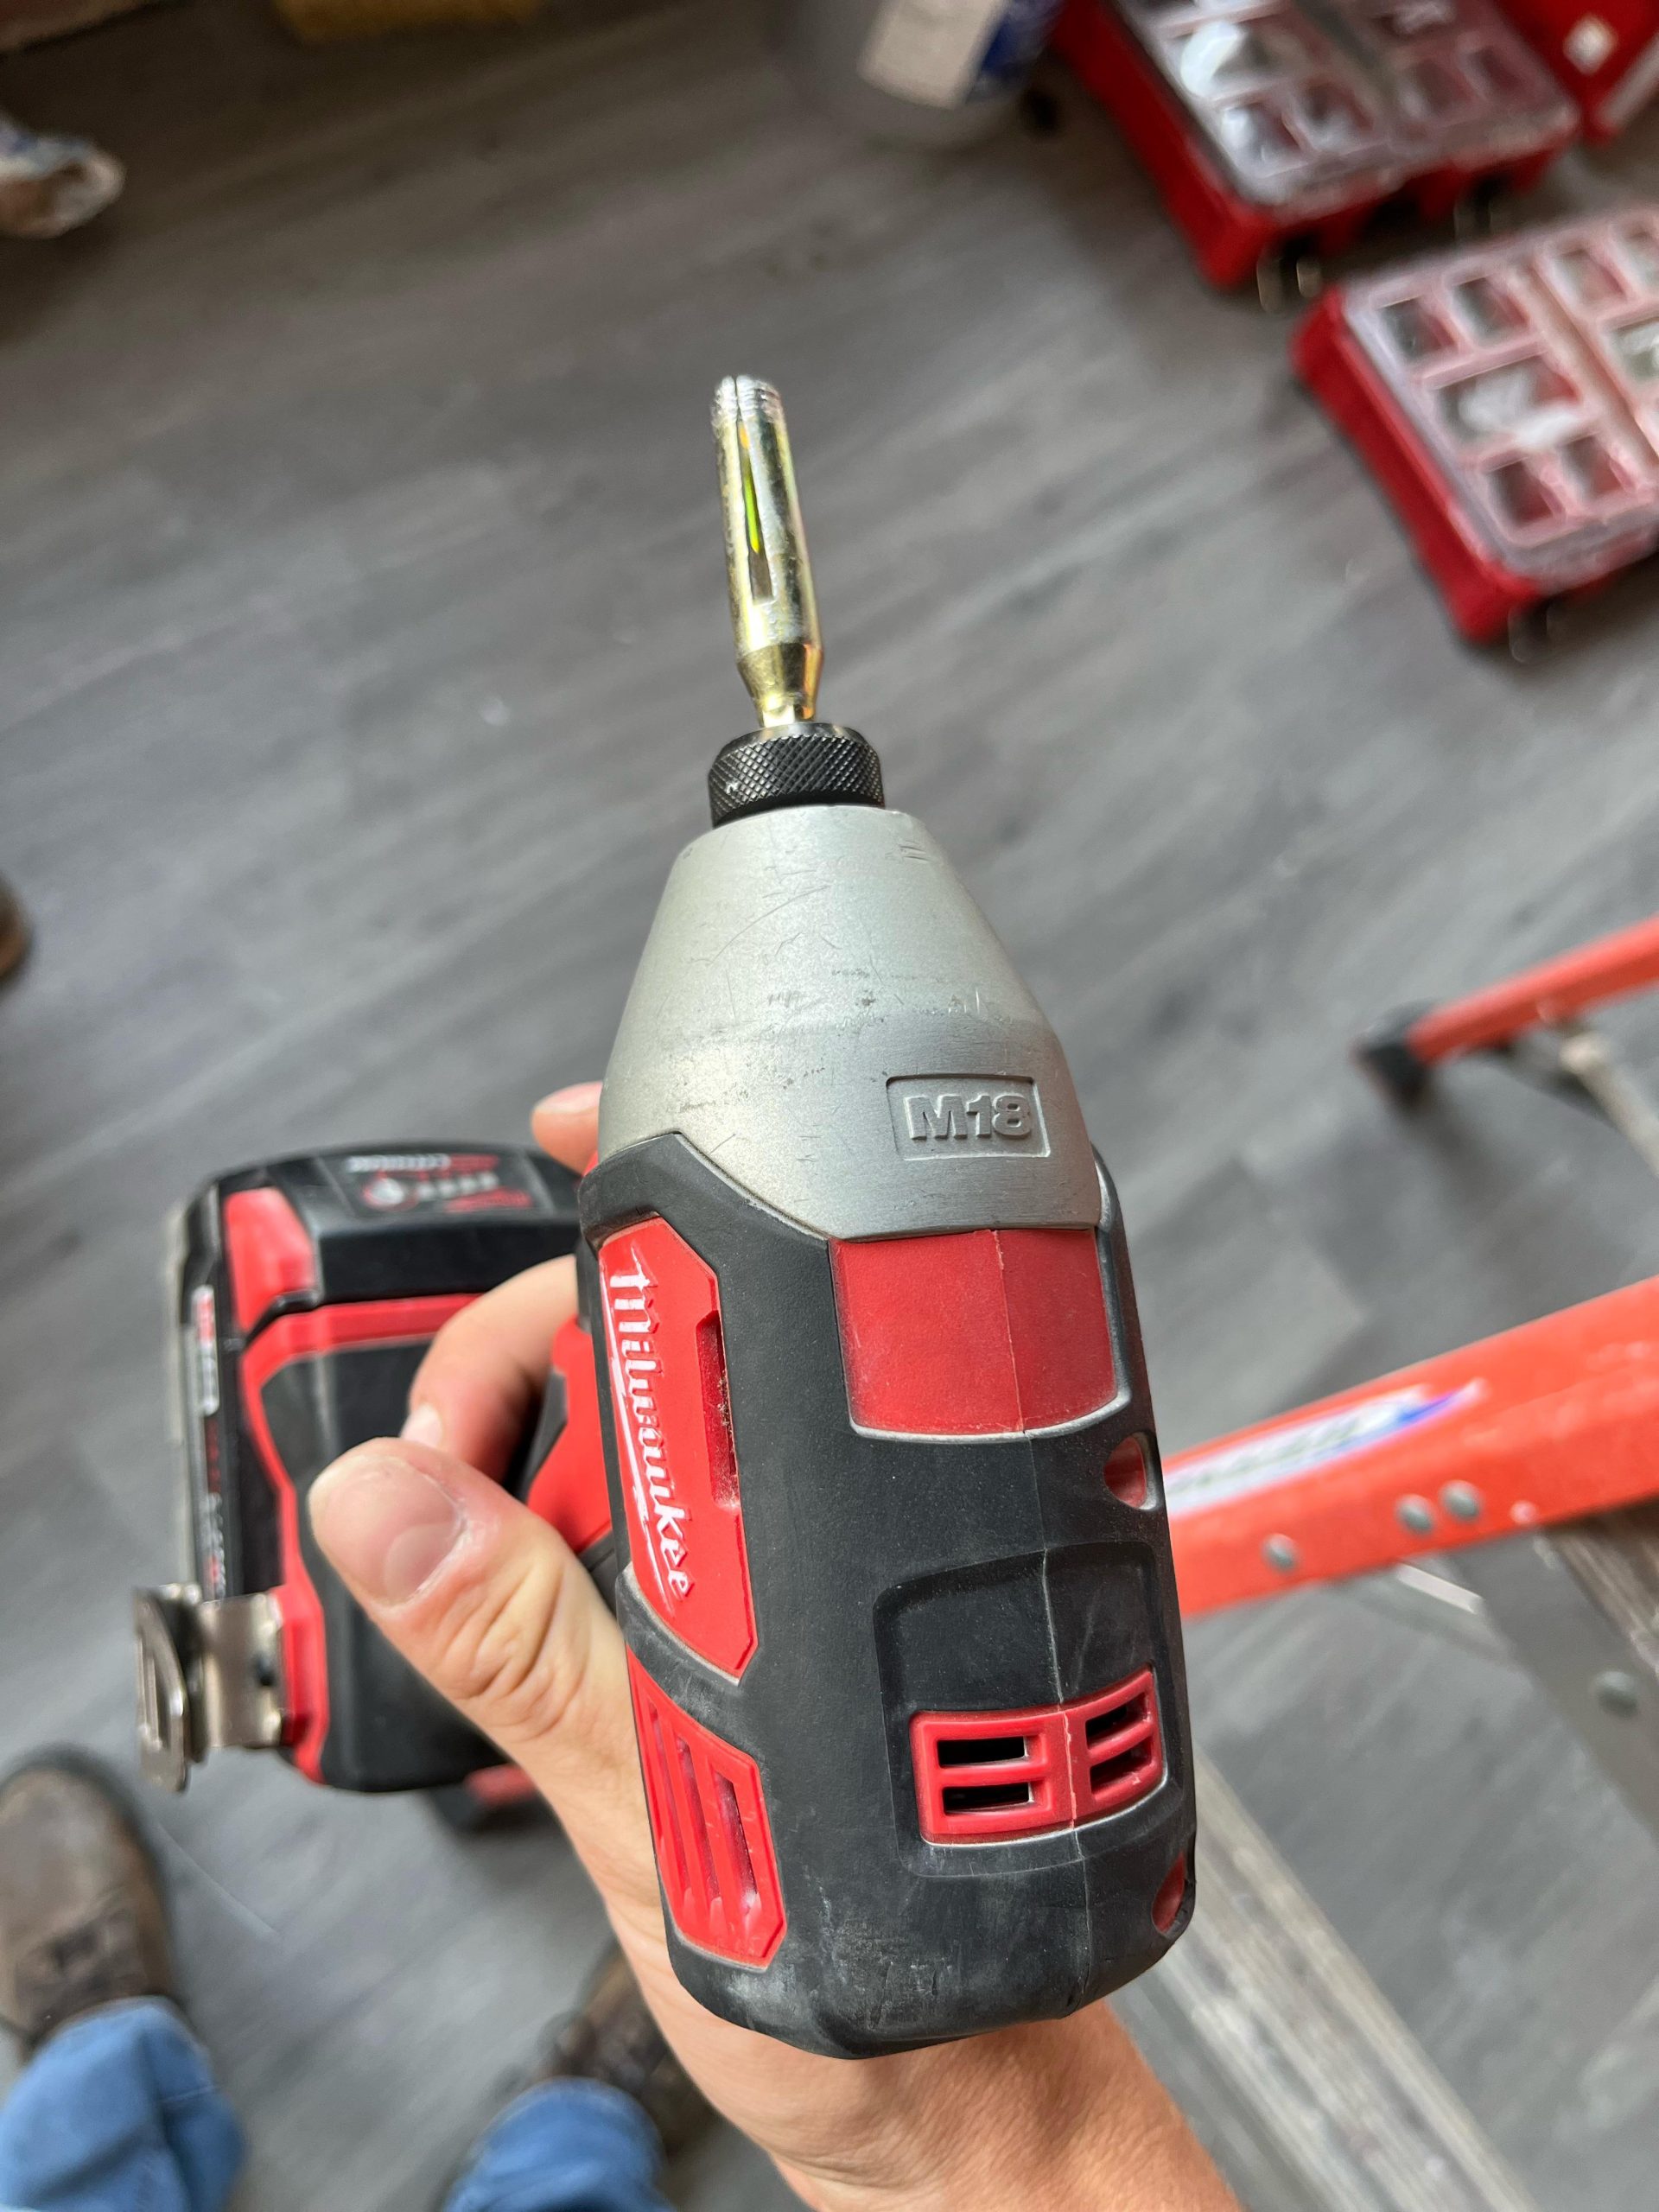
Are you struggling to remove a stuck drill bit from your Milwaukee M18? We’ve got you covered with this step-by-step guide to help you effectively remove the drill bit without any hassle. Follow these simple instructions to get your drill back in action in no time.
Step 1: Disconnect The Drill From the Power Source
Before attempting to remove the stuck drill bit, it’s crucial to ensure that the drill is completely disconnected from any power source. Unplug the drill from the electrical outlet or remove the battery to prevent any accidental startup.
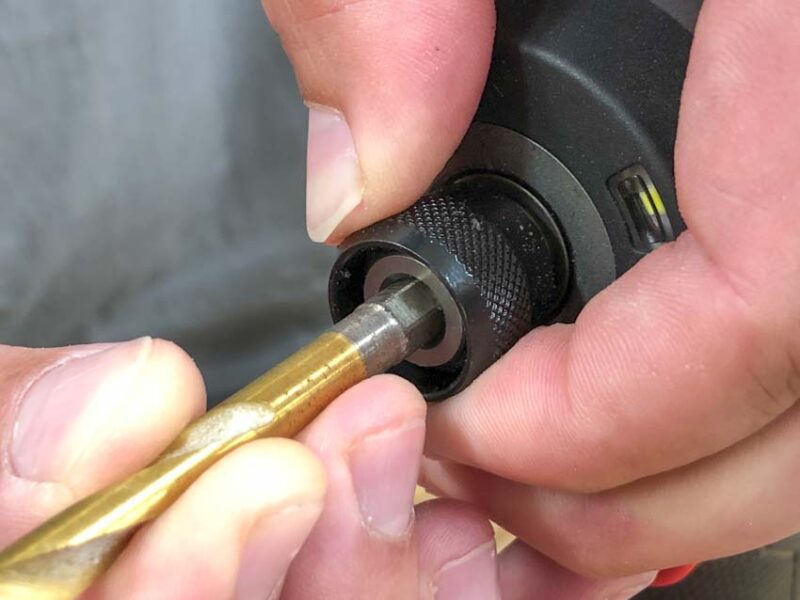
Step 2: Open The Chuck
Once the drill is safely disconnected, open the chuck by turning it counterclockwise. This will release the grip on the stuck drill bit, allowing you to proceed to the next step.
Step 3: Remove The Stuck Bit
With the chuck open, carefully pull the stuck drill bit out of the chuck using a firm and steady motion. If the bit is still firmly lodged, you can gently tap it with a rubber mallet to loosen its grip before attempting to remove it again.
Step 4: Clean The Chuck
After successfully removing the stuck drill bit, it’s essential to clean the chuck to ensure smooth operation in the future. Use a clean cloth to wipe away any debris or residue that may have accumulated, ensuring that the chuck is free from any obstructions.

Credit: m.youtube.com
Preventing Drill Bit Stuck In The Future
Tip 1: Use The Right Bit Size
Using the right bit size is crucial to prevent the drill bit from getting stuck in the Milwaukee M18. Ensure the bit matches the size specified for the chuck to avoid unnecessary friction and jamming.
Tip 2: Lubricate The Bit Before Use
Before using the drill bit, lubricate it to reduce the chances of it getting stuck in the future. Apply a small amount of lubricant to the bit to facilitate smooth drilling and prevent friction-related issues.
Tip 3: Keep The Chuck Clean
Regularly cleaning the chuck of your Milwaukee M18 is essential to prevent the drill bit from getting stuck. Remove any debris or dust that may accumulate in the chuck, as this can lead to the bit getting stuck during operation.
Tip 4: Use Sharp Bits
Using sharp bits is essential in preventing the drill bit from getting stuck in the future. Dull bits are more likely to get stuck, so ensure you replace or sharpen them regularly to maintain optimal drilling performance.
Common Mistakes To Avoid
When it comes to removing a drill bit from a Milwaukee M18, it’s important to be aware of common mistakes that can lead to frustration and potentially damage your tools. By understanding these pitfalls, you can avoid unnecessary headaches and keep your equipment in top condition. Let’s delve into the common mistakes to avoid when trying to get a drill bit out of a Milwaukee M18.
Mistake 1: Forcing The Bit Out
Forcing the bit out of the chuck can lead to damage to both the bit and the drill. It’s crucial to avoid applying excessive force as this can cause the bit to become lodged even further, making it even more challenging to remove. Instead, gently and patiently work on releasing the bit without resorting to brute force.
Mistake 2: Using The Wrong Tool
Using the wrong tool for the job can cause unnecessary complications. Attempting to remove the bit with an incompatible or inadequate tool can lead to damage to the chuck or the bit itself. Ensure that you are using the appropriate tool for the specific chuck design of the Milwaukee M18 to avoid any mishaps.
Mistake 3: Not Cleaning The Chuck
Neglecting to clean the chuck before attempting to remove the bit can result in the bit becoming stuck due to debris or residue. It’s essential to regularly clean the chuck to prevent buildup that can impede the smooth removal of the drill bit. Take the time to inspect and clean the chuck to ensure seamless bit removal.
Credit: www.protoolreviews.com

Credit: www.youtube.com
Frequently Asked Questions
How To Remove the Bit From the Milwaukee M18 Drill?
To remove a bit from a Milwaukee M18 drill, first, ensure the drill is turned off. Then, hold the chuck and rotate it counterclockwise to loosen the bit. Once loose, pull the bit out of the chuck to remove it.
How To Remove a Stuck Drill Bit In Milwaukee?
To remove a stuck drill bit in Milwaukee, follow these steps: 1. Unplug the drill and remove the battery. 2. Use a pair of pliers to grip the drill bit and gently twist it out of the chuck. 3. If the bit is still stuck, use a penetrating oil like WD-40 to lubricate the chuck and loosen the bit.
4. Use a hammer and a wooden dowel to tap the chuck and loosen the bit. 5. If all else fails, take the drill to a professional for repair.
How Do I Get My Drill To Release The Bit?
To release the bit from your drill, locate the chuck key, insert it into the chuck, and turn it counterclockwise.
How Do You Release A Milwaukee SDS Drill Bit?
To release a Milwaukee SDS drill bit, pull back on the chuck sleeve and remove the bit.
Conclusion
After following these simple steps, you can easily remove a drill bit from your Milwaukee M18. Remember to stay patient and avoid using excessive force. Regular maintenance is key to preventing future issues. Keep your tools clean and well-maintained for optimal performance.
Happy drilling!