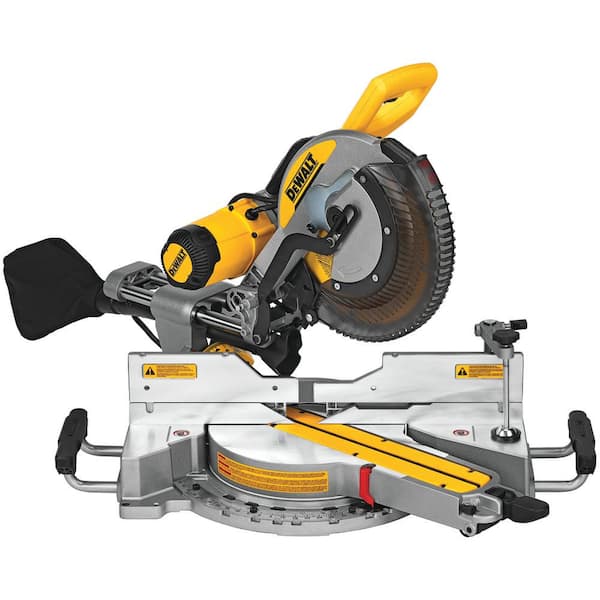
To change the blade on a Dewalt compound miter saw, start by unplugging the saw and raising the blade guard. Use the blade wrench to remove the bolt and washer, and then replace the blade, making sure the teeth are facing in the right direction.
Secure the new blade with the washer and bolt, and then lower the blade guard before plugging the saw back in. Remember to wear gloves and goggles for safety.
Introducing the process of changing the blade on a Dewalt compound miter saw is crucial for maintaining the tool’s functionality and ensuring safety during operation.
By following a few simple steps, users can effectively replace the saw blade and continue with their woodworking projects in no time.
Understanding the proper procedure for blade replacement is imperative for DIY enthusiasts and professionals alike in order to maintain the saw’s performance and safety standards.

Contents
Safety Precautions
Looking to change the blade on your Dewalt compound miter saw? Follow these safety precautions to ensure a smooth and accident-free process.
Wearing Safety Gear
Before changing blade on Dewalt Compound Miter Saw, wear safety gear like safety goggles and gloves.
Switching Off Power Source
Ensure the saw is completely turned off by unplugging it from the power source.
Tools Required
When changing the blade on a Dewalt compound miter saw, having the right tools is crucial to ensuring a smooth and safe process. The following tools will be necessary for this task.
List Of Necessary Tools
Before beginning the blade change, make sure to have the following tools readily available:
- Hex key: This will be needed to remove the arbor bolt that holds the blade in place.
- Blade wrench: Used to secure the arbor bolt when removing or tightening the blade.
- Gloves: Protect your hands from sharp edges and potential injury.
- Safety goggles: Ensure your eyes are shielded from any debris that may be dislodged during the process.
- Workbench or sturdy surface: Provide a stable area to work on the saw while changing the blade.
Step 1: Preparation
Step 1: Preparation
Before changing the blade on your Dewalt Compound Miter Saw, it is crucial to follow certain preparatory steps to ensure your safety. By taking a few precautions, you can avoid any potential accidents or mishaps during the process.
Unplug The Saw
The first and most important step is to unplug the saw from the power source. This simple action eliminates any chance of accidental activation and guarantees your safety throughout the entire process. Remember, safety should always be your top priority.
Adjust Blade Guard
Next, you need to adjust the blade guard on your Dewalt Compound Miter Saw. The blade guard protects your hands and fingers from coming into contact with the sharp edges of the blade. It is essential to inspect the guard for proper functioning and ensure that it is fully operational.
To adjust the blade guard, locate the lever on the side of the saw that controls its movement. Gently push or pull the lever to adjust the guard’s position. Make sure that when released, the guard snaps back into place to cover the blade completely.
Inspect the guard for any damages, such as cracks or missing pieces. If you notice any issues, it is crucial to replace the guard before proceeding further. Remember, a well-maintained blade guard plays a significant role in preventing accidents and injuries.
Once you have adjusted and inspected the blade guard, you are now ready to move on to the next step of changing the blade on your Dewalt Compound Miter Saw.
Step 2: Loosening The Blade
Now that the blade lock is engaged, it’s time to move on to the next step: Loosening the Blade. Follow these easy instructions to loosen the blade of your Dewalt Compound Miter Saw.
Releasing The Blade Lock
Begin by releasing the blade lock mechanism of your Dewalt Compound Miter Saw. The blade lock is in place to secure the blade during changing, ensuring your safety throughout the process. Look for the blade lock button or lever and disengage it to free the blade for loosening.
Removing The Blade Bolt
Using an adjustable wrench, turn the blade bolt in a counterclockwise direction to loosen it. Ensure that you hold the blade with one hand to prevent it from rotating while you’re loosening the bolt.
Keep in mind that some models of Dewalt Compound Miter Saws may have specific instructions for removing the bolt, so refer to your saw’s user manual for any additional guidance.
Step 3: Changing The Blade
With the old blade removed, it’s time to install a new one following these steps.
Installing The New Blade
- Place the new blade onto the arbor, ensuring the teeth point downwards.
- Align the center hole of the blade with the arbor ensuring a secure fit.
- Slide the blade onto the arbor, making sure it sits flush and doesn’t wobble.
Tightening The Blade Bolt
- Using a wrench, tighten the blade bolt clockwise until it is snug.
- Check the blade for any movement or looseness.
- If necessary, make any adjustments to ensure secure tightening.
Step 4: Testing The Blade
Once the blade has been securely changed, it’s time to move on to Step 4: Testing the Blade.
Checking Blade For Alignment
Before moving forward, it’s important to check the blade for proper alignment.
- Ensure the blade is sitting flush against the blade housing.
- Inspect for any signs of wobbling or misalignment.
- If alignment issue is detected, adjust the blade accordingly.
Testing Cuts With New Blade
Next, it’s critical to test the cuts with the new blade to ensure smooth operation.
- Place a test material on the miter saw.
- Make a few sample cuts at different angles.
- Observe the quality of cuts and any vibrations.
If any issues are detected during testing, re-adjust the blade and retest until satisfactory results are achieved.

Frequently Asked Questions
How Do You Change The Blade On A Compound Miter Saw?
To change the blade on a compound miter saw, follow these steps:
1. Unplug the saw for safety.
2. Locate the blade lock button or pin on the saw’s motor housing.
3. Press and hold the button or insert the pin to lock the blade.
4. Use a wrench to loosen and remove the bolt holding the blade.
5. Replace with a new blade and tighten the bolt securely.
How Do You Unlock The Blade On A Dewalt Miter Saw?
To unlock the blade on a DeWalt miter saw, first, unplug the saw for safety. Then, locate the blade lock button or lever near the blade.
Press or pull it to release the blade, and carefully move it to the desired position. Always wear safety equipment when handling power tools.
How To Change Blade On Dewalt Miter Saw Dw715?
To change the blade on a DeWalt miter saw dw715, first unplug the saw, loosen the blade bolt with a wrench, remove the blade, insert the new blade, tighten the bolt, and plug it back in.
How Do You Change A Blade On A Dewalt Saw?
To change a blade on a DeWalt saw, first unplug the saw for safety. Loosen the blade nut using the wrench provided.
Remove the old blade, insert the new blade, and tighten the nut. Plug in the saw and test the new blade for proper function.
Conclusion
Changing the blade on your Dewalt compound miter saw is a simple and crucial maintenance task. By following the step-by-step guide provided in this blog post, you can ensure the longevity and efficiency of your tool.
Regular blade changes will also result in cleaner, more precise cuts for your woodworking projects. Don’t forget to prioritize safety during the process.