If you’re wondering how to change blade on a Milwaukee multi-tool, it’s simpler than you might think. Start by locating the blade release lever on the tool. Press it to unlock the current blade and remove it carefully. Then, insert the new blade, making sure it’s properly secured before releasing the lever.
Knowing how to change blade on a Milwaukee multi-tool will ensure your tool stays in top condition, whether you’re working on a DIY project or a professional job. This quick, easy process can be done in just a few minutes, letting you get back to your tasks with minimal downtime.

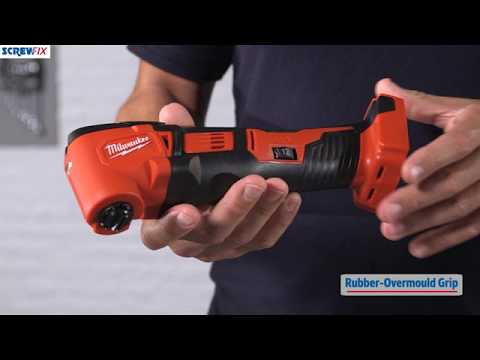
Credit: m.youtube.com
Step-by-step Guide
Are you looking to change the blade on your Milwaukee multi-tool but not sure where to start? Don’t worry; we’ve got you covered with this step-by-step guide on how to change the blade on your Milwaukee multi-tool. With the right tools and a little know-how, you can have your multi-tool back in action in no time.
Step 1: Unplug The Tool
Before you begin, always remember to unplug the tool from the power source to ensure safety. This step is crucial to prevent any accidental start-up while working on the blade.
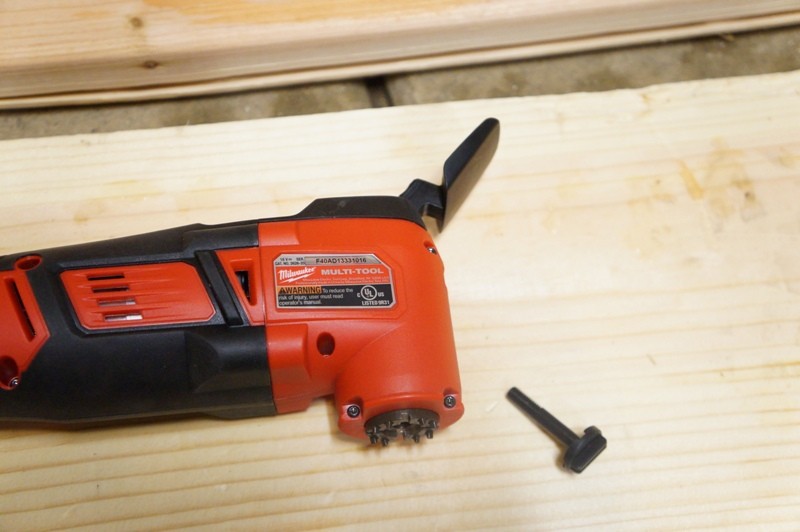
Step 2: Loosen The Screw
Locate the screw that secures the blade in place. Using the appropriate screwdriver, carefully loosen the screw to release the old blade. Be sure to keep track of the screw to avoid misplacing it.
Step 3: Remove The Blade
Once the screw is loosened, gently remove the old blade from the tool. Take care when handling the old blade to avoid any accidental cuts or injuries. Properly dispose of the old blade according to local regulations.
Step 4: Insert The New Blade
Take the new blade and carefully insert it into the designated slot on the tool. Ensure that the blade is securely in place before proceeding to the next step.
Step 5: Tighten The Screw
Using the screwdriver, tighten the screw to secure the new blade in place. Ensure that the screw is tightened properly to prevent any movement of the blade during operation.
Step 6: Test The Tool
Once the new blade is secured, it’s time to test the tool to ensure everything is in working order. Plug the tool back in and test the new blade on a suitable surface to verify its functionality.
Credit: toolsinaction.com
Tips And Tricks
When it comes to using a Milwaukee multi-tool, knowing how to change the blade is essential for maintaining its efficiency. In this section, we’ll explore some valuable tips and tricks to make the blade-changing process easier and more effective.
Tip 1: Use Gloves
Before starting the blade-changing process, wear protective gloves to safeguard your hands from potential injuries. The sharp edges of the blades can be hazardous, and using gloves ensures your safety. It also provides a better grip when handling the tool and the blade, making the process smoother and safer.
Tip 2: Keep The Tool Clean
Regularly clean the multi-tool to prevent any debris or dust from accumulating around the blade attachment area. A clean tool ensures that the blade-changing mechanism functions smoothly and reduces the risk of any obstructions during the process. It also prolongs the lifespan of the tool and maintains its performance at an optimal level.
Tip 3: Use The Right Blade
When changing the blade on your Milwaukee multi-tool, ensure that you select the appropriate blade for the specific task. Using the right blade not only enhances the tool’s efficiency but also prevents damage to the tool and the workpiece. It’s important to match the blade type with the material you’re working on to achieve the best results.
Tip 4: Store Blades Properly
After changing the blade, it’s crucial to store the spare blades properly. Using a blade storage case or container keeps them organized and prevents any damage or misplacement. Proper storage also ensures that the blades remain in good condition and ready for use when needed.

Credit: toolguyd.com
Frequently Asked Questions
How To Change Multi-tool Blade?
To change a multi-tool blade, follow these steps: 1. Unplug the tool. 2. Loosen the blade clamp. 3. Remove the old blade. 4. Insert the new blade. 5. Tighten the blade clamp. 6. Plug in the tool and test.
What Can You Use A Milwaukee Multi-tool For?
A Milwaukee multi-tool can be used for cutting, sanding, scraping, and grout removal. It is versatile for various DIY and professional projects, such as home improvement, woodworking, and remodeling. Its compact design allows for precision in tight spaces, making it a valuable tool for many tasks.
How To Change Blade On Dewalt Oscillating Tool?
To change the blade on a Dewalt oscillating tool, first unplug it. Then, use the supplied Allen wrench to loosen the blade screw and remove the old blade. Insert the new blade and tighten the screw. Finally, plug the tool back in and test the new blade.
How Do You Change The Blade On A Makita Multi-tool?
To change the blade on a Makita multi-tool, loosen the blade clamp screw, remove the old blade, insert the new blade, and tighten the screw securely.
Conclusion
Changing the blade on your Milwaukee multi-tool is a simple process that can greatly improve its performance. By following the steps outlined in this guide, you can easily and safely swap out old blades for new ones, ensuring that your tool is always ready for whatever task is at hand.
With these tips, you can keep your multi-tool in top shape and make the most of its versatility.