
Imagine tackling a home improvement project with confidence, knowing your lines are perfectly straight and your measurements are spot-on. Sounds great, right?
That’s exactly what a Bosch Laser Level can help you achieve. Whether you’re hanging a gallery wall, installing new shelves, or even taking on a more complex construction task, this handy tool is your secret weapon for precision and ease.
But how do you use it to its full potential? In this guide, you’ll discover step-by-step instructions and insider tips to make your projects not just easier, but better. Get ready to transform your DIY approach and give your projects the professional edge they deserve.
Contents
Choosing The Right Bosch Laser Level
Choosing the right Bosch laser level can enhance your projects significantly. With various models available, finding one that fits your needs is crucial. A suitable laser level ensures precision and efficiency, making your tasks simpler. Explore the different types and features to make an informed decision.
Types Of Bosch Laser Levels
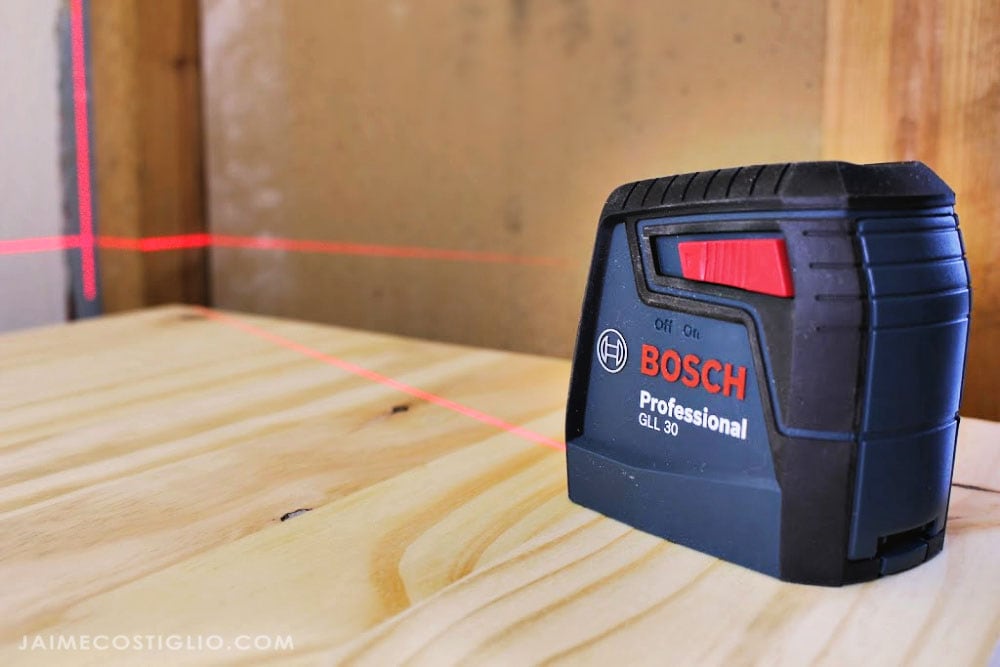
Bosch offers several laser levels, each designed for specific tasks. Cross-line laser levels project horizontal and vertical lines, ideal for aligning frames or tiles. Rotary laser levels provide 360-degree coverage, perfect for large spaces. Point laser levels pinpoint locations, useful for precise measurements.
Features To Consider
Consider the range of the laser level. Longer ranges are better for bigger spaces. Look at the accuracy of the device. Higher accuracy ensures better results. Check the battery life. Longer battery life means uninterrupted work.
Evaluate the ease of use. User-friendly models save time and effort. Consider durability. A robust design withstands tough conditions. Look for self-leveling features. This function reduces setup time.
Setting Up Your Bosch Laser Level
Setting up your Bosch Laser Level correctly is crucial for accurate measurements. Whether you’re a professional or a DIY enthusiast, understanding the setup ensures precision. This guide will walk you through the essential steps to get your laser level ready for action.
Preparing The Workspace
Start by clearing the area where you’ll work. Remove any clutter that might obstruct the laser line. Ensure the surface is stable and flat. This minimizes errors during measurement.
Check the lighting conditions. Bright lights can affect laser visibility. Adjust the room’s lighting for optimal laser line clarity. Safety is important, so make sure the workspace is secure.
Mounting The Laser Level
Choose a sturdy tripod for mounting. It provides stability for your laser level. Attach the laser level securely to the tripod. Ensure it’s tightly fixed to prevent any wobbling.
Adjust the height of the tripod. Position the laser level at the desired height for your project. Use the built-in spirit level to level the device. Make sure it’s perfectly horizontal for accurate readings.
Turn on the Bosch Laser Level. Adjust settings according to your project’s requirements. Check alignment and make necessary tweaks. Ensure the laser line is visible and clear across the workspace.
Calibrating For Accuracy
Calibrating your Bosch Laser Level is essential for precise measurements. Accuracy ensures your projects meet professional standards. This guide will walk you through checking and adjusting settings for optimal performance.
Checking Level Alignment
Begin by ensuring the laser level is placed on a flat surface. Check the bubble vial; it should be centered. If not, adjust the level until the bubble is within the marked lines. This step confirms your tool is properly aligned.
Next, turn on the laser level. Observe the projected line on the wall or surface. It should be straight. If the line appears crooked, reposition the level. Make minor adjustments to achieve a perfectly straight line.
Adjusting Settings
Access the settings menu on your Bosch Laser Level. Start by setting the preferred units of measurement. Choose between meters or feet, depending on your project needs.
Adjust the laser intensity as required. Bright settings work well in daylight, while lower settings suit dim environments. This ensures visibility and accuracy in different lighting conditions.
Finally, calibrate the laser angle if needed. Some models offer advanced angle settings for complex tasks. Use the user manual to guide you through specific adjustments.

Credit: www.boschtools.com
Using Bosch Laser Level For Common Projects
Using a Bosch Laser Level can simplify many home improvement tasks. This tool ensures accuracy and efficiency. It’s ideal for both professionals and DIY enthusiasts. With its precise laser beams, you can tackle various projects with ease. Here, we explore how to use it for common tasks around the house.
Wall Layouts
A Bosch Laser Level is perfect for creating straight lines on walls. It helps in aligning pictures, shelves, or cabinets. First, set up the laser level on a tripod. Ensure it’s stable. Then, turn on the device and project the laser line. Adjust the line to the desired height. Mark the spots along the laser line. This ensures everything is perfectly aligned.
Flooring Installation
Installing floor tiles or hardwood can be challenging. The Bosch Laser Level makes it easier. Place the level in the center of the room. Turn on the device. Project the laser lines across the floor. This helps in laying tiles or planks in straight rows. It ensures a neat and professional finish. Always double-check the alignment before securing the flooring.
Ceiling Projects
Ceiling tasks require precision. Whether installing lights or crown molding, the Bosch Laser Level is helpful. Attach the level to a ceiling mount. Project the laser line onto the ceiling. It guides you in placing fixtures accurately. This reduces mistakes and saves time. Always ensure the laser is level before marking your spots.
Enhancing Precision With Accessories
Precision is key when using a Bosch laser level. Accessories can significantly boost accuracy. They provide stability and extend the laser’s range. Explore essential tools that enhance precision.
Using Tripods
Tripods are vital for steady laser alignment. They keep the laser level stable. A tripod prevents movement, ensuring accurate measurements. Choose a tripod with adjustable legs for uneven surfaces. This feature helps maintain a level base. Lightweight models are easy to carry and set up. Consider the tripod’s height range. It should meet your project needs.
Employing Laser Receivers
Laser receivers detect laser beams over long distances. They are crucial for outdoor work. Bright sunlight can obscure the laser beam. A laser receiver helps locate the beam accurately. It saves time by reducing guesswork. Choose a receiver compatible with your laser level. Check the range and battery life for efficiency. Use it to extend the working range of your laser level.
Maintaining Your Bosch Laser Level
Operating a Bosch Laser Level requires careful setup and regular maintenance. Ensure a stable surface to prevent misalignment. Regularly check the battery to keep it working efficiently.
Maintaining your Bosch Laser Level is crucial for ensuring its accuracy and longevity. Regular upkeep helps keep it in top-notch condition, ready for your next project. Whether you’re a DIY enthusiast or a professional, a well-maintained tool can save you time and headaches.Routine Cleaning
Cleaning your Bosch Laser Level isn’t just about appearances. Dust and debris can affect its performance. After each use, gently wipe the laser level with a soft, dry cloth. Avoid using harsh chemicals or water, as they can damage the sensitive components. I remember once using a damp cloth in a hurry, only to find the laser acting up the next day. Lesson learned—keep it dry!Storage Tips
Where you store your Bosch Laser Level matters. Store it in its original case, if possible, to prevent accidental drops and bumps. Keep it in a cool, dry place away from direct sunlight and extreme temperatures. I once left mine in a hot car, and it threw off the calibration. Take a moment to find a safe spot; it’s worth it. Are you taking full advantage of your Bosch Laser Level’s capabilities? Proper maintenance ensures it performs at its best, every time you need it.Troubleshooting Common Issues
Troubleshooting common issues with your Bosch laser level can save time. Understanding these problems helps keep your tool in top shape. Here are some frequent issues and solutions. This will ensure your laser level works efficiently.
Dealing With Laser Drift
Laser drift can affect accuracy. Check if the surface is stable. Vibrations or uneven surfaces cause drift. Place the level on a solid base. Avoid areas with heavy foot traffic. Ensure the laser is not in a windy location. Wind can cause slight movements. Regularly calibrate your laser level. Calibration ensures precise measurements.
Battery And Power Problems
Power issues often disrupt work. First, check the battery. Ensure it is fully charged. Replace old or weak batteries. Use fresh batteries for best performance. Clean battery contacts regularly. Dust can interfere with connections. Store the laser level in a cool, dry place. Heat can drain batteries quickly. Always have spare batteries handy. This avoids unexpected downtime.

Credit: www.youtube.com
Credit: jaimecostiglio.com
Conclusion
Using a Bosch Laser Level transforms your projects. It ensures accuracy and saves time. Follow guidelines to get the best results. This tool is user-friendly and reliable. Perfect for DIY enthusiasts and professionals alike. Practice often to gain confidence. Always check calibration before use.
Keep it clean for long-lasting performance. Safety first; use protective gear if needed. Bosch Laser Level helps achieve precise measurements. Enjoy smoother workflows and better outcomes. Invest in quality tools for effective work. Happy leveling!