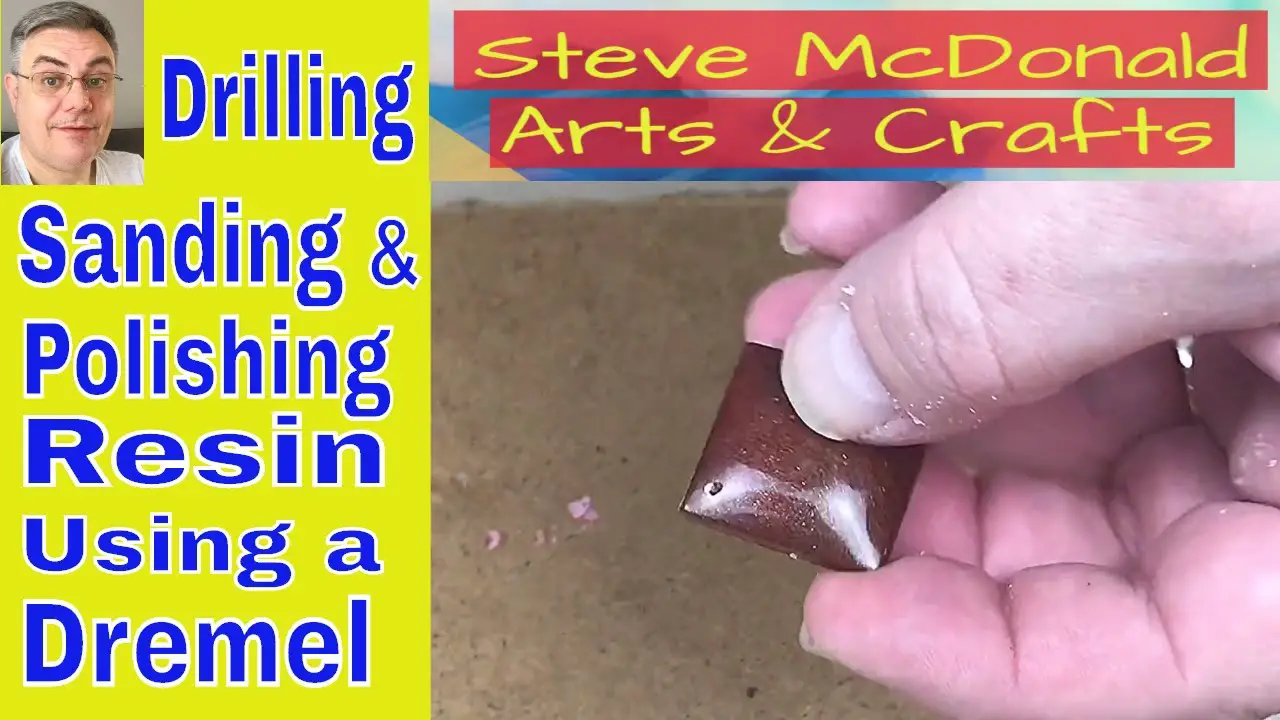
To polish resin with a Dremel, attach a polishing wheel and apply polishing compound. Gently buff the resin surface until desired shine is achieved.
Resin is a versatile material used in various crafts and DIY projects. While resin pieces are durable and long-lasting, they can sometimes develop a dull or scratched surface over time. To restore the shine and smoothness of resin, polishing with a Dremel tool can be an effective solution.
By following the correct steps and using the right tools, you can easily polish resin to a high gloss finish. This article will guide you through the process of polishing resin with a Dremel, helping you achieve professional-looking results in no time.

Contents
- Introduction To Resin Crafting
- Essential Tools For Resin Polishing
- Preparation Before Polishing
- Starting With Dremel: Step-by-step Guide
- Progressing Through Grit Levels
- Finishing Touches For A Professional Shine
- Cleaning And Maintenance Of Dremel
- Advanced Tips And Tricks
- Showcasing Your Finished Product
- Frequently Asked Questions
- Conclusion
Introduction To Resin Crafting
Introduction to Resin Crafting:
Popularity Of Resin Projects
Resin crafting has gained immense popularity due to its versatility and the ability to create stunning and unique pieces.
Basics Of Working With Resin
Working with resin involves a few key steps such as measuring, mixing, pouring, curing, and finishing for polished results.
Essential Tools For Resin Polishing
When it comes to polishing resin, having the right tools is essential for achieving a professional finish. The use of a Dremel rotary tool can greatly enhance the polishing process, allowing for precision and control.
In this section, we will explore the essential tools required for resin polishing, with a focus on the Dremel and its attachments.
Introducing The Dremel
The Dremel rotary tool is a versatile and powerful instrument that is widely used for a variety of crafting and DIY projects. Its compact size and range of compatible attachments make it an ideal choice for polishing resin.
Equipped with variable speed settings, the Dremel allows for customizable polishing techniques, catering to different resin types and finishes.
Selecting The Right Dremel Attachments
Choosing the appropriate attachments for your Dremel is crucial for achieving optimal resin polishing results. From abrasive buffing wheels to polishing pads, the right attachments can make all the difference in the final finish of your resin pieces.
Selecting attachments that are specifically designed for resin polishing will ensure efficiency and precision in the polishing process.
Preparation Before Polishing
Before polishing resin with a Dremel, it’s crucial to prepare the surface. Start by sanding the resin with progressively finer grits to remove any imperfections and smooth out the surface. Then, clean the resin thoroughly to ensure a flawless finish.
Before you begin polishing your resin piece with a Dremel, it’s important to take some safety measures and prep the resin to ensure a smooth and successful process.
Safety Measures
Wear Protective Gear: Before starting the polishing process, make sure you wear protective gear such as gloves, safety glasses, and a dust mask to protect your skin, eyes, and lungs from any potential harm.
Adequate Ventilation: Ensure that the area where you will be polishing the resin is well-ventilated to prevent any buildup of fumes or dust.
Secure the Resin: To prevent the resin from slipping or moving while polishing, secure it in a vice or clamp.
Prepping The Resin Piece
Clean the Resin: Use a mild soap and warm water to clean the resin piece and dry it thoroughly before polishing.
Sand the Resin: Start by sanding the resin with a low-grit sandpaper, then gradually work your way up to a high-grit sandpaper to remove any imperfections or scratches on the surface.
Apply Polishing Compound: Apply a small amount of polishing compound to a soft cloth or felt polishing wheel and gently rub it onto the resin piece. Make sure you use the correct polishing compound for your type of resin.
Polish with Dremel: Attach a polishing bit to your Dremel and polish the resin piece in circular motions, applying light pressure. Avoid overheating the resin by taking breaks and allowing it to cool down before continuing. By following these preparation steps, you can ensure a successful and safe polishing process for your resin piece with a Dremel.
Starting With Dremel: Step-by-step Guide
Securing The Resin Workpiece
Before commencing the polishing process, secure the resin workpiece firmly onto a stable work surface using clamps or a vice grip to prevent any movement during the procedure.
Beginning With The Rough Grind
Begin the process by attaching a coarse sanding drum to the Dremel tool. Ensure the tool is set to a low speed to avoid overheating the resin. Hold the Dremel at a slight angle and start the rough grind, moving it evenly across the surface of the resin to remove any imperfections.
Progressing Through Grit Levels
Progressing through grit levels is a crucial step in achieving a smooth and polished finish when using a Dremel to work with resin. Understanding the grit sequences and employing the right techniques for smooth transitions is essential for a professional-looking result.
Understanding Grit Sequences
When working with resin and a Dremel, understanding the grit sequences is essential. Grit refers to the coarseness or fineness of an abrasive material, and it is typically measured in terms of the number of abrasive particles per square inch. Lower grit numbers signify coarser abrasives, while higher numbers indicate finer abrasives.
Techniques For Smooth Transitions
Smooth transitions between grit levels are crucial for achieving a polished resin surface. Begin with a lower grit to remove any imperfections and then gradually progress to higher grits to refine the surface.
It’s important to ensure complete removal of the scratches from the previous grit before moving on to the next level to achieve a flawless finish.
Finishing Touches For A Professional Shine
Achieve a professional finish by polishing resin with a Dremel tool. Enhance the shine and smoothness for a flawless look. Master the art of adding the perfect finishing touches for a polished outcome.
Once you have poured and cured your resin project, the next step is to achieve a professional shine. One way to do this is by using a Dremel tool to polish the surface.
In this guide, we’ll show you how to get that glossy finish with two simple steps: buffing and applying polishing compounds.
Buffing To A High Gloss
The first step to achieving a high gloss finish is to buff the surface of your resin project. Buffing is the process of using a soft abrasive material to remove any scratches or imperfections on the surface of your resin.
You will need a buffing wheel attachment for your Dremel tool to do this. To buff your resin, follow these steps:
- Attach the buffing wheel to your Dremel tool
- Apply a small amount of polishing compound to the buffing wheel
- Turn on your Dremel tool and buff the surface of your resin in circular motions
- Repeat this process until you achieve a smooth, high gloss finish
Applying Polishing Compounds
Once you have buffed the surface of your resin to a high gloss finish, the next step is to apply a polishing compound.
Polishing compounds are abrasive substances that help to remove any remaining imperfections and bring out a mirror-like shine on your resin. To apply polishing compounds to your resin, follow these steps:
- Choose a polishing compound that is suitable for your resin
- Apply a small amount of the polishing compound onto a soft cloth
- Using the cloth, gently rub the surface of your resin in circular motions
- Repeat this process with different polishing compounds until you achieve the desired shine
By following these simple steps, you can achieve a professional, high gloss finish on your resin project using a Dremel tool. Remember to take your time and be patient, as achieving a perfect shine may take several attempts.
Cleaning And Maintenance Of Dremel
When it comes to the cleaning and maintenance of your Dremel, proper care is essential to ensure its longevity and optimal performance.
Whether you’re a beginner or a seasoned user, understanding the post-polishing clean-up process and knowing how to care for your Dremel is crucial. Let’s dive into the essential steps for maintaining your Dremel after polishing resin with it.
Post-polishing Clean-up
After using your Dremel for polishing resin, it’s important to clean it thoroughly to maintain its effectiveness. Here are the post-polishing clean-up steps:
- Unplug the Dremel from the power source to ensure safety.
- Use a clean, dry cloth to wipe off any resin residue from the tool.
- Inspect the polishing attachments for any resin buildup and clean them using a brush or cloth.
- Check the ventilation openings and remove any dust or debris using a small brush or compressed air.
- Store the Dremel in a clean, dry place to prevent dust accumulation.
Caring For Your Dremel
Proper maintenance of your Dremel is essential for its longevity. Here are some tips for caring for your Dremel:
- Regularly inspect the power cord and plug for any signs of damage and replace if necessary.
- Keep the Dremel’s motor housing clean and free from debris to prevent overheating.
- Apply a small amount of lubricating oil to the tool’s moving parts to ensure smooth operation.
- Store the Dremel in its case or a designated storage area to protect it from dust and damage.
- Refer to the user manual for specific maintenance guidelines and follow them diligently.

Advanced Tips And Tricks
Discover advanced tips and tricks for polishing resin with a Dremel tool. Learn expert techniques to achieve a flawless finish on your resin projects with precision and finesse. Elevate your crafting skills and create professional-looking resin pieces effortlessly.
Troubleshooting Common Issues
Creative Polishing Techniques
Discovering advanced tips and tricks for polishing resin with a Dremel can enhance your crafting projects. Let’s explore some creative polishing techniques and ways to troubleshoot common issues that may arise.
Troubleshooting Common Issues
- Ensure Dremel speed is appropriate for resin type
- Check for any scratches or imperfections before polishing
- Use a dust mask and eye protection for safety
Creative Polishing Techniques
- Experiment with different polishing attachments
- Apply gentle pressure to avoid overheating the resin
- Use a polishing compound for a glossy finish
Showcasing Your Finished Product
After polishing resin with a Dremel, it’s time to showcase your masterpiece. Displaying polished resin art can enhance its beauty and attract attention.
Displaying Polished Resin Art
When displaying polished resin art, consider using a clean, well-lit area to highlight its shine. Place the piece on a pedestal or stand to give it prominence.
Protecting The Shine Over Time
To protect the shine of your polished resin art, consider using a clear sealant or resin topcoat. Apply a thin layer evenly to ensure long-lasting luster.
Frequently Asked Questions
Can I Use A Dremel To Polish Resin?
Yes, you can use a Dremel to polish resin. It is an effective tool for smoothing and shining resin surfaces.
What Is The Easiest Way To Polish Resin?
The easiest way to polish resin is by using a fine-grit sandpaper followed by a polishing compound.
How Do You Make Dull Resin Shiny?
To make dull resin shiny, polish it using a fine grit sandpaper, then buff with a polishing compound.
Can You Polish Resin Without Sanding?
Yes, you can polish resin without sanding. Using a plastic polish or a liquid resin polish can help achieve a glossy finish without the need for sanding.
Conclusion
Polishing resin with a Dremel is a versatile and effective technique. With the right tools and methods, you can achieve a smooth and professional finish.
Remember to prioritize safety and take your time to achieve the best results. Explore different techniques to find what works best for you.

